My Top Styling Tips for Interior Design Photoshoots

As a Dallas Interiors Photographer, I’ve seen time and time again the massively important role that styling plays in creating the most beautiful imagery possible. I’ve compiled this handy guide to help you better understand the importance of styling and floral planning in advance for your photo shoots. It’s the single greatest way to elevate your imagery, attract higher caliber clients, and land more press features.
Why Should I Hire a Professional Stylist for my Photoshoot?
They are absolute magicians when it comes to understanding how a camera reads the space. The fastest way to elevate your design portfolio is to 1) hire a professional photographer who specializes in interiors and architecture photography, and 2) hire a stylist (and possibly a florist) to create imagery you’re proud to share with the world.
What if I Can't Afford to Hire a Stylist at this Time?
You can book my Storyboard planning service, which includes a walk-through of the spaces to be photographed, followed up by a Zoom call where we plan the shot list and build the prop list so you know what to prep for the session. If you’re a new designer working with a photographer for the first time, I highly recommend it.
The more advance planning you do before our session takes place, the less stress you’ll feel and the more smooth the day will be.
I highly recommend you visit the spaces we are photographing to CLEAN and STYLE the day BEFORE our session takes place. We will make micro movements and adjustments the day of our session, but having the majority of the work done beforehand will allow us to capture more images together.
The one thing I absolutely don’t recommend is styling on the fly. Not only will it eat up all of our session time, but the day will feel rushed, much harder and way more stressful.
The Cost: What to Expect When You Hire A Photo Stylist
On average, you can expect to spend as much on a stylist as you spend on a photographer. I’ve worked with stylists with day rates ranging anywhere between $600 - $1,200 a day, and that does not include perishables like food, plants, vintage items, and beverages.
Depending on the size of your project, your stylist should either style the spaces the day before we photograph them, or arrive 2-3 hours before our session start time to prepare east facing rooms so I can hit the ground running when I arrive.
I’ve created a guideline of styling rules that I see repeated over and over again at sessions, so I thought it might be helpful to share them below.
Tip #1: Bring More Items Than You Think You’ll Need or Use(yes, that goes for produce too)
Having options is good, but having an abundance of options is best. That goes for produce to fill that bowl on the kitchen counter, books to stack on an built-in shelf, and vases to create floral arrangements for each space.
For kitchens this can look like chopping vegetables for a recipe, pouring some whiskey in a few meticulously placed glasses, etc. Whatever story you want to tell, bring all of the items to achieve that.
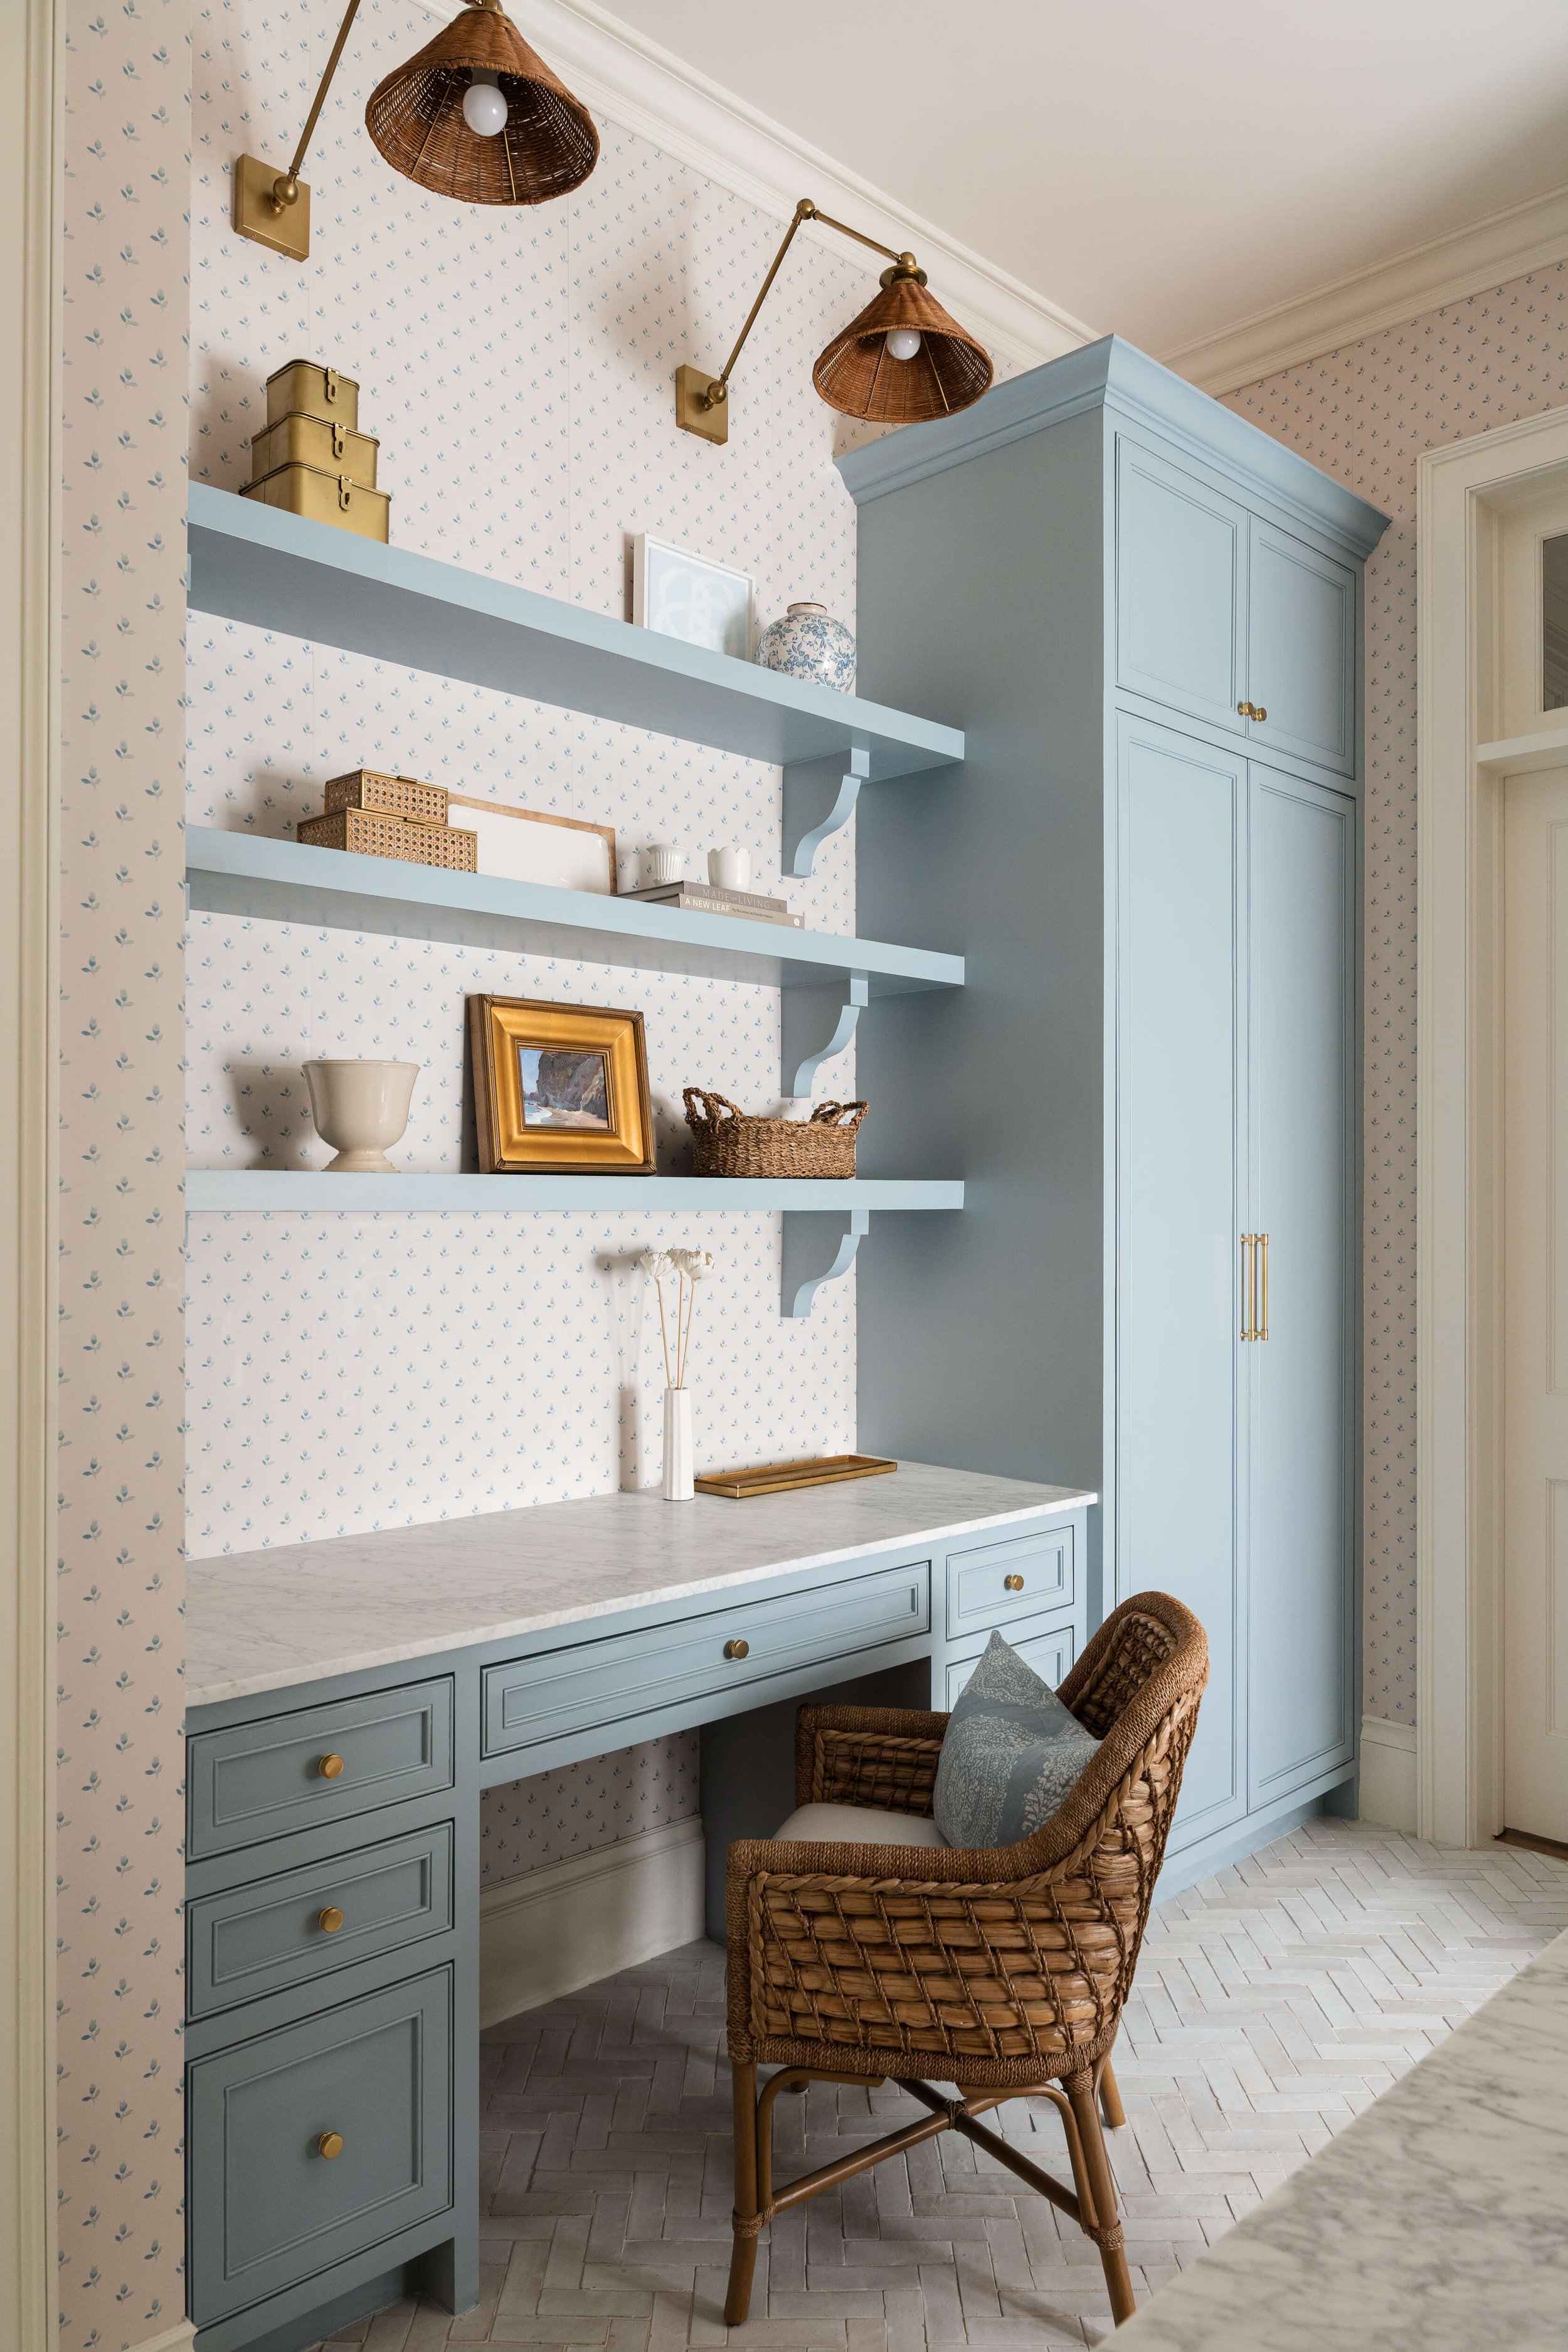
A large variety of styling options will allow you to fine-tune the overall impact of a single image. This is especially true when styling shelves and large room views.

Ample options for styling this living and dining room allowed for several iterations of each surface and corner before landing on what felt best for this composition.
Tip #2: Install The Whole Room, Style and Edit for the Single Shot
Installing the project for clients to live in is one thing, and styling for the camera is another ball game. Once the composition is set up, we will move objects and create space between items. Sometime that even involves removing an object or a piece of furniture altogether, simply because it really doesn’t work for the shot. This is totally normal, and it often throws people for a loop when seeing this process unfold in person.
The same goes for adding something that might not be there at all, such as a bench or a small cocktail table next to a chair. These small moments will work to enhance the image and help to tell the overall story of your design, and the lifestyle that can be created in finished projects.
Balanced in weight, color, and texture, both of these spaces shine because of the many styling options available that day.
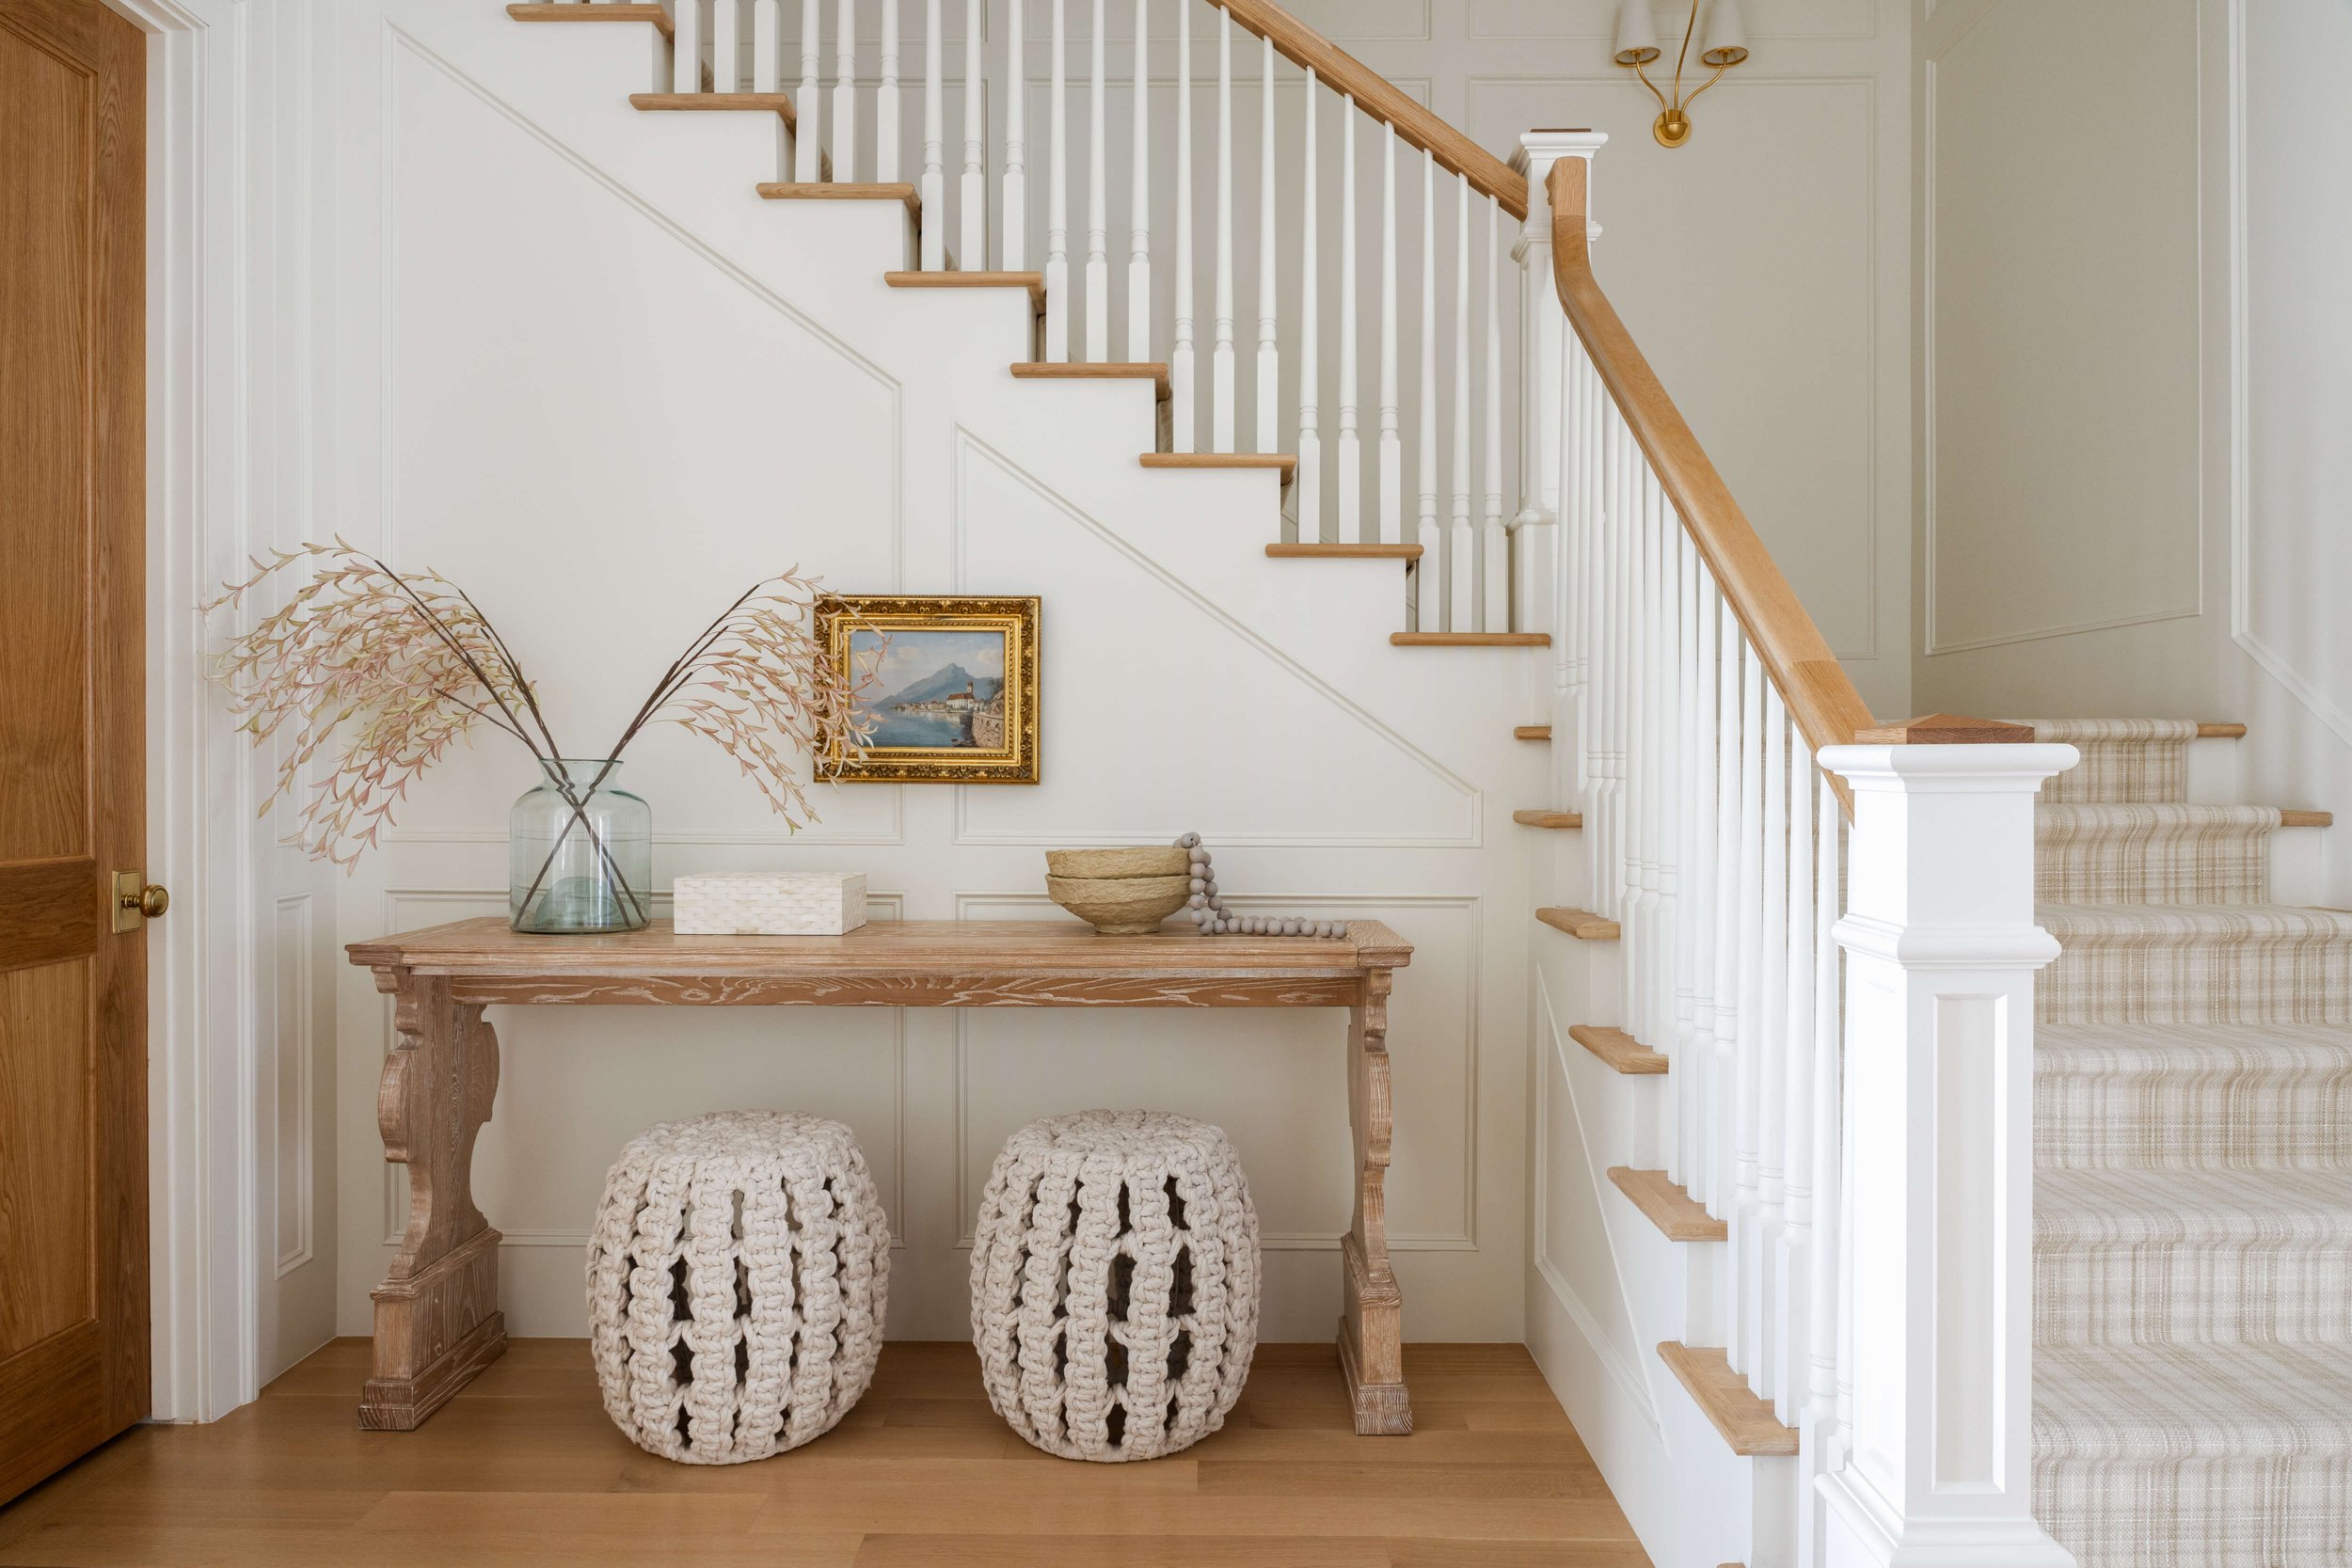
Too many items on this console table would hinder real-life use of this entryway, however, these styling elements appropriately fill the large space while enhancing features of the staircase.
Tip #3: Create Lifestyle Moments
Adding a lived-in, task based, cozy touch to the space is an opportunity for the viewer to imagine themselves being there. This can create a mood, a feeling, and an overall aspirational vibe with your styling. This is where the road between the functionality of the home design and the memories that will be made there once the project wraps up and the families move in converge, and some of my favorite moments are created with this in mind.
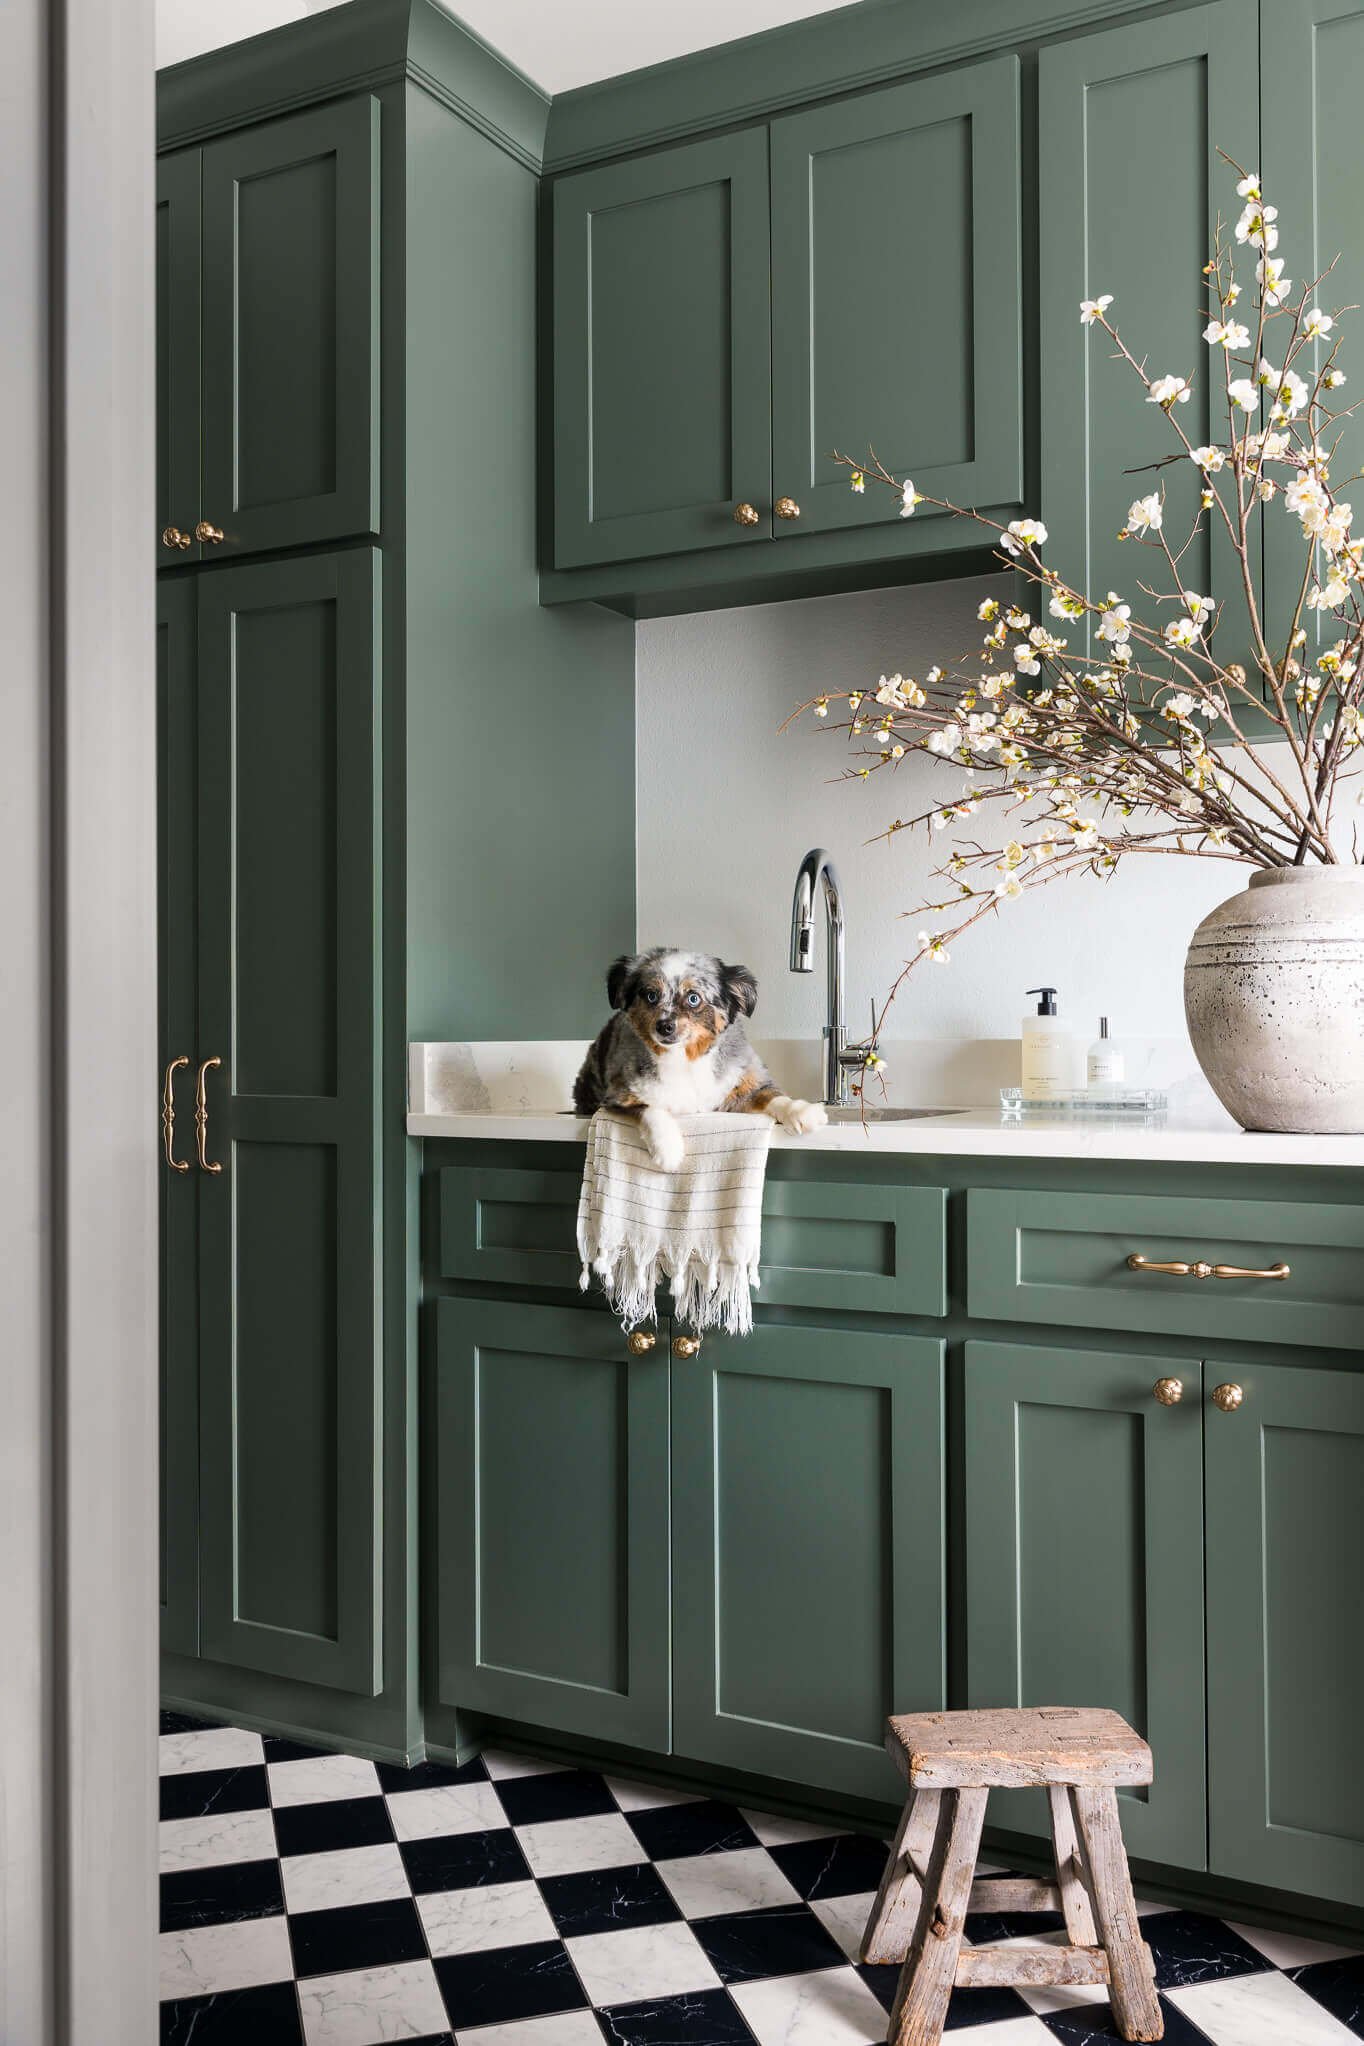
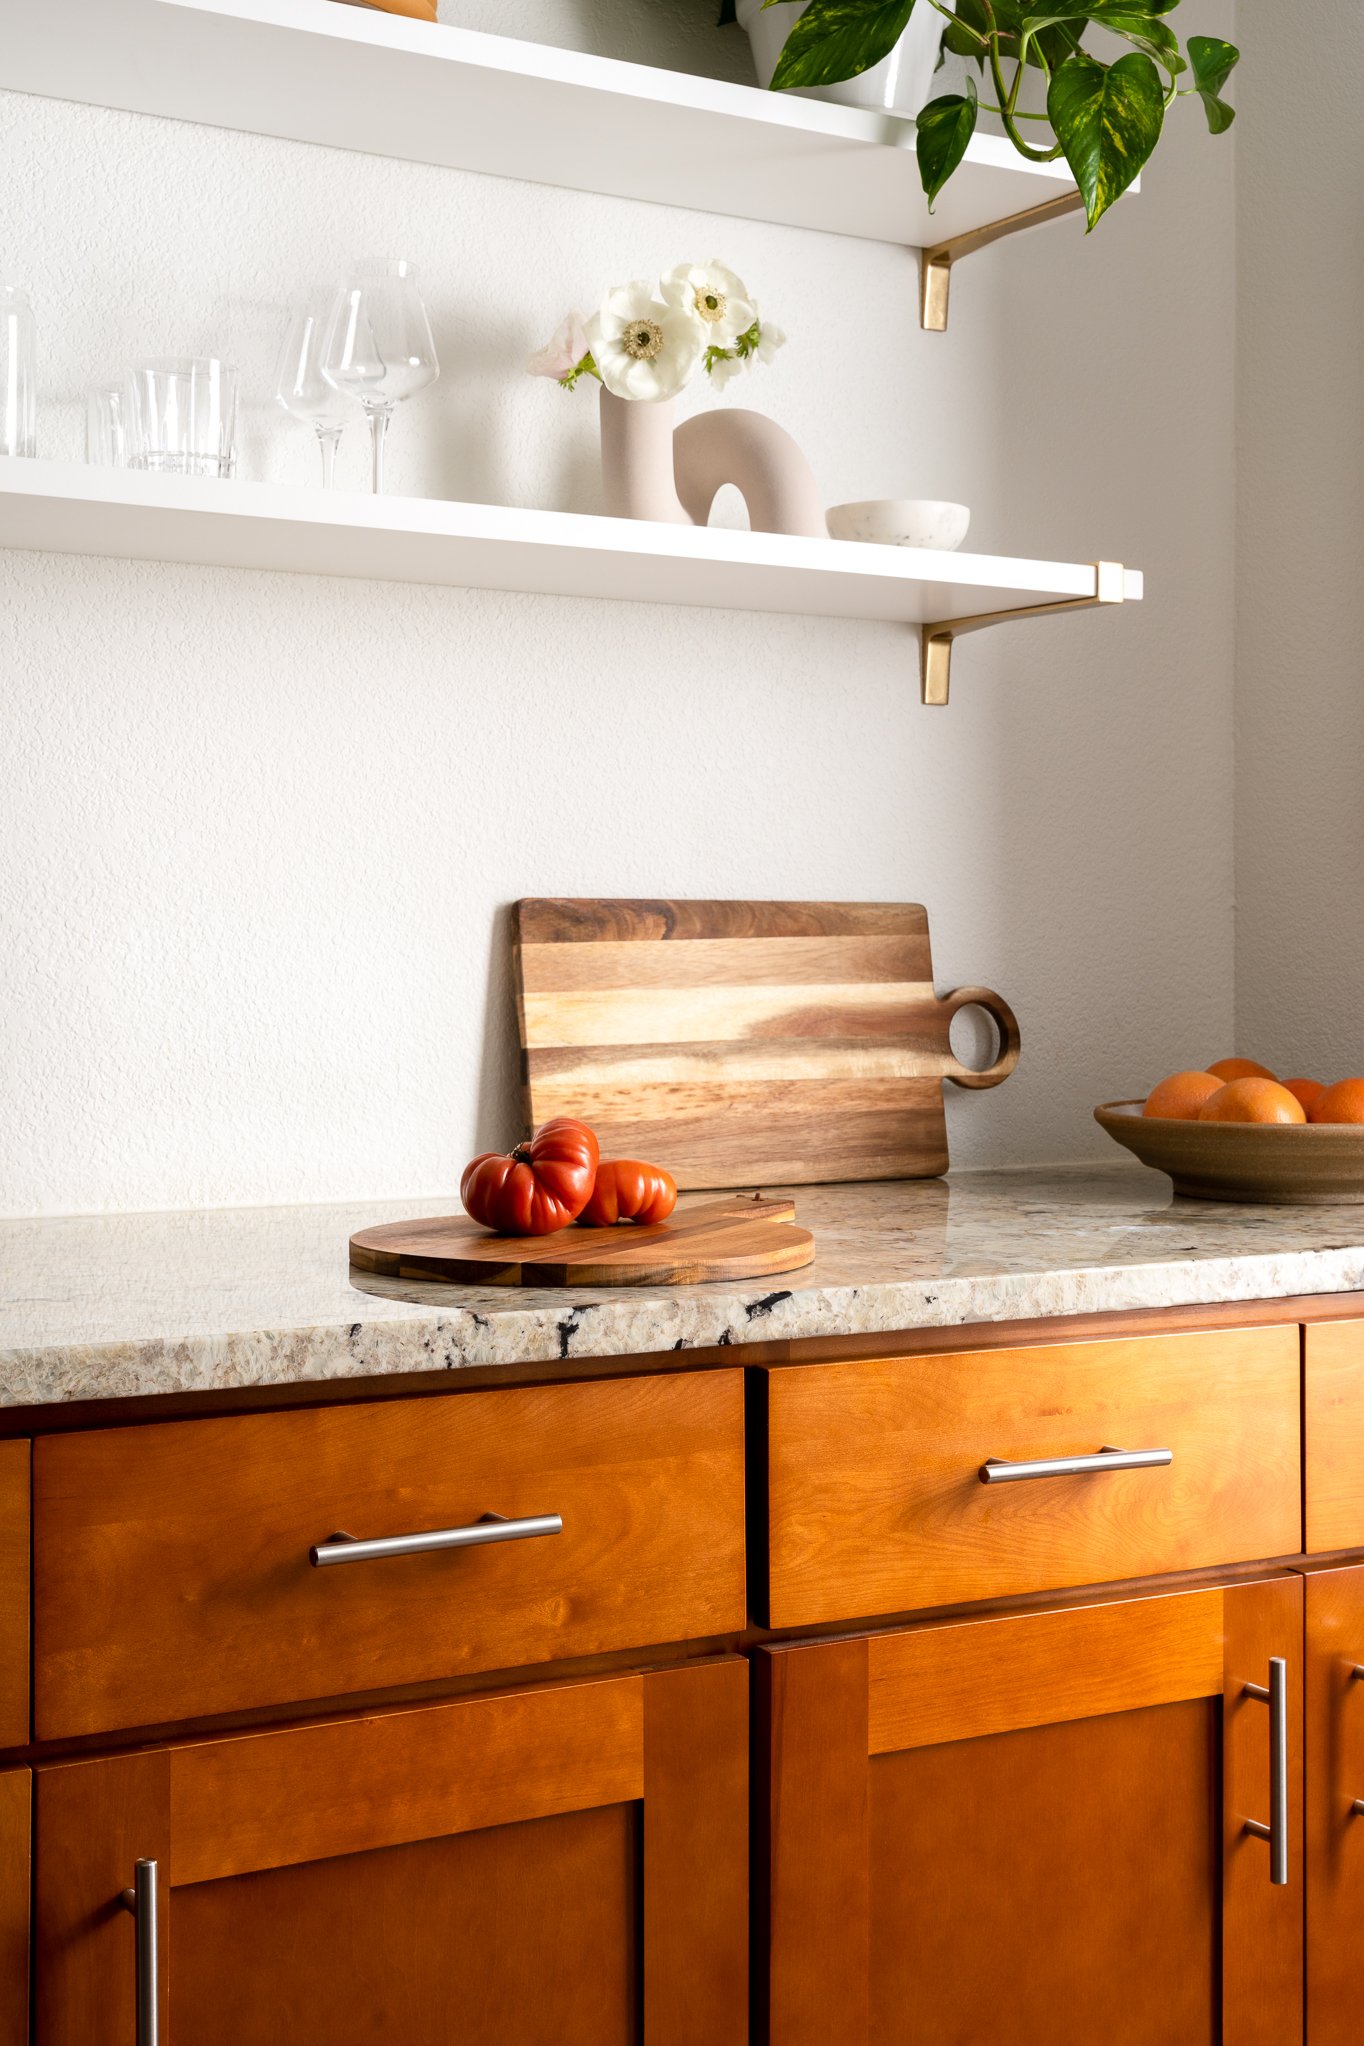
Both of these spaces use styling objects to suggest these rooms are being used frequently. From the muddy puppy in the sink of this laundry room, or the tomatoes on the cutting board in the kitchen, it shows that somebody’s been here, using these spaces.

Incorporating florals into your styling is a great way to bring much needed life into a space. If you add one styling item, make it unique florals or greenery for each space.
Tip #4: Remove Everything, and Slowly Add Styling Items Back
Helen Parker, the creative genius behind Devol Kitchens, will remove everything from the counters and shelves in a kitchen, and slowly add items back when she styles them for photoshoots. I love this method because you’re beginning with a clean slate. It allows you to experiment, and if anything distracts or feels visually heavy, remove it.
When clients can’t decide, I’ll take a photo with the items in the space, and one without, and we’ll compare both on the iPad. Sometimes you have to see both side-by-side to make an informed decision.
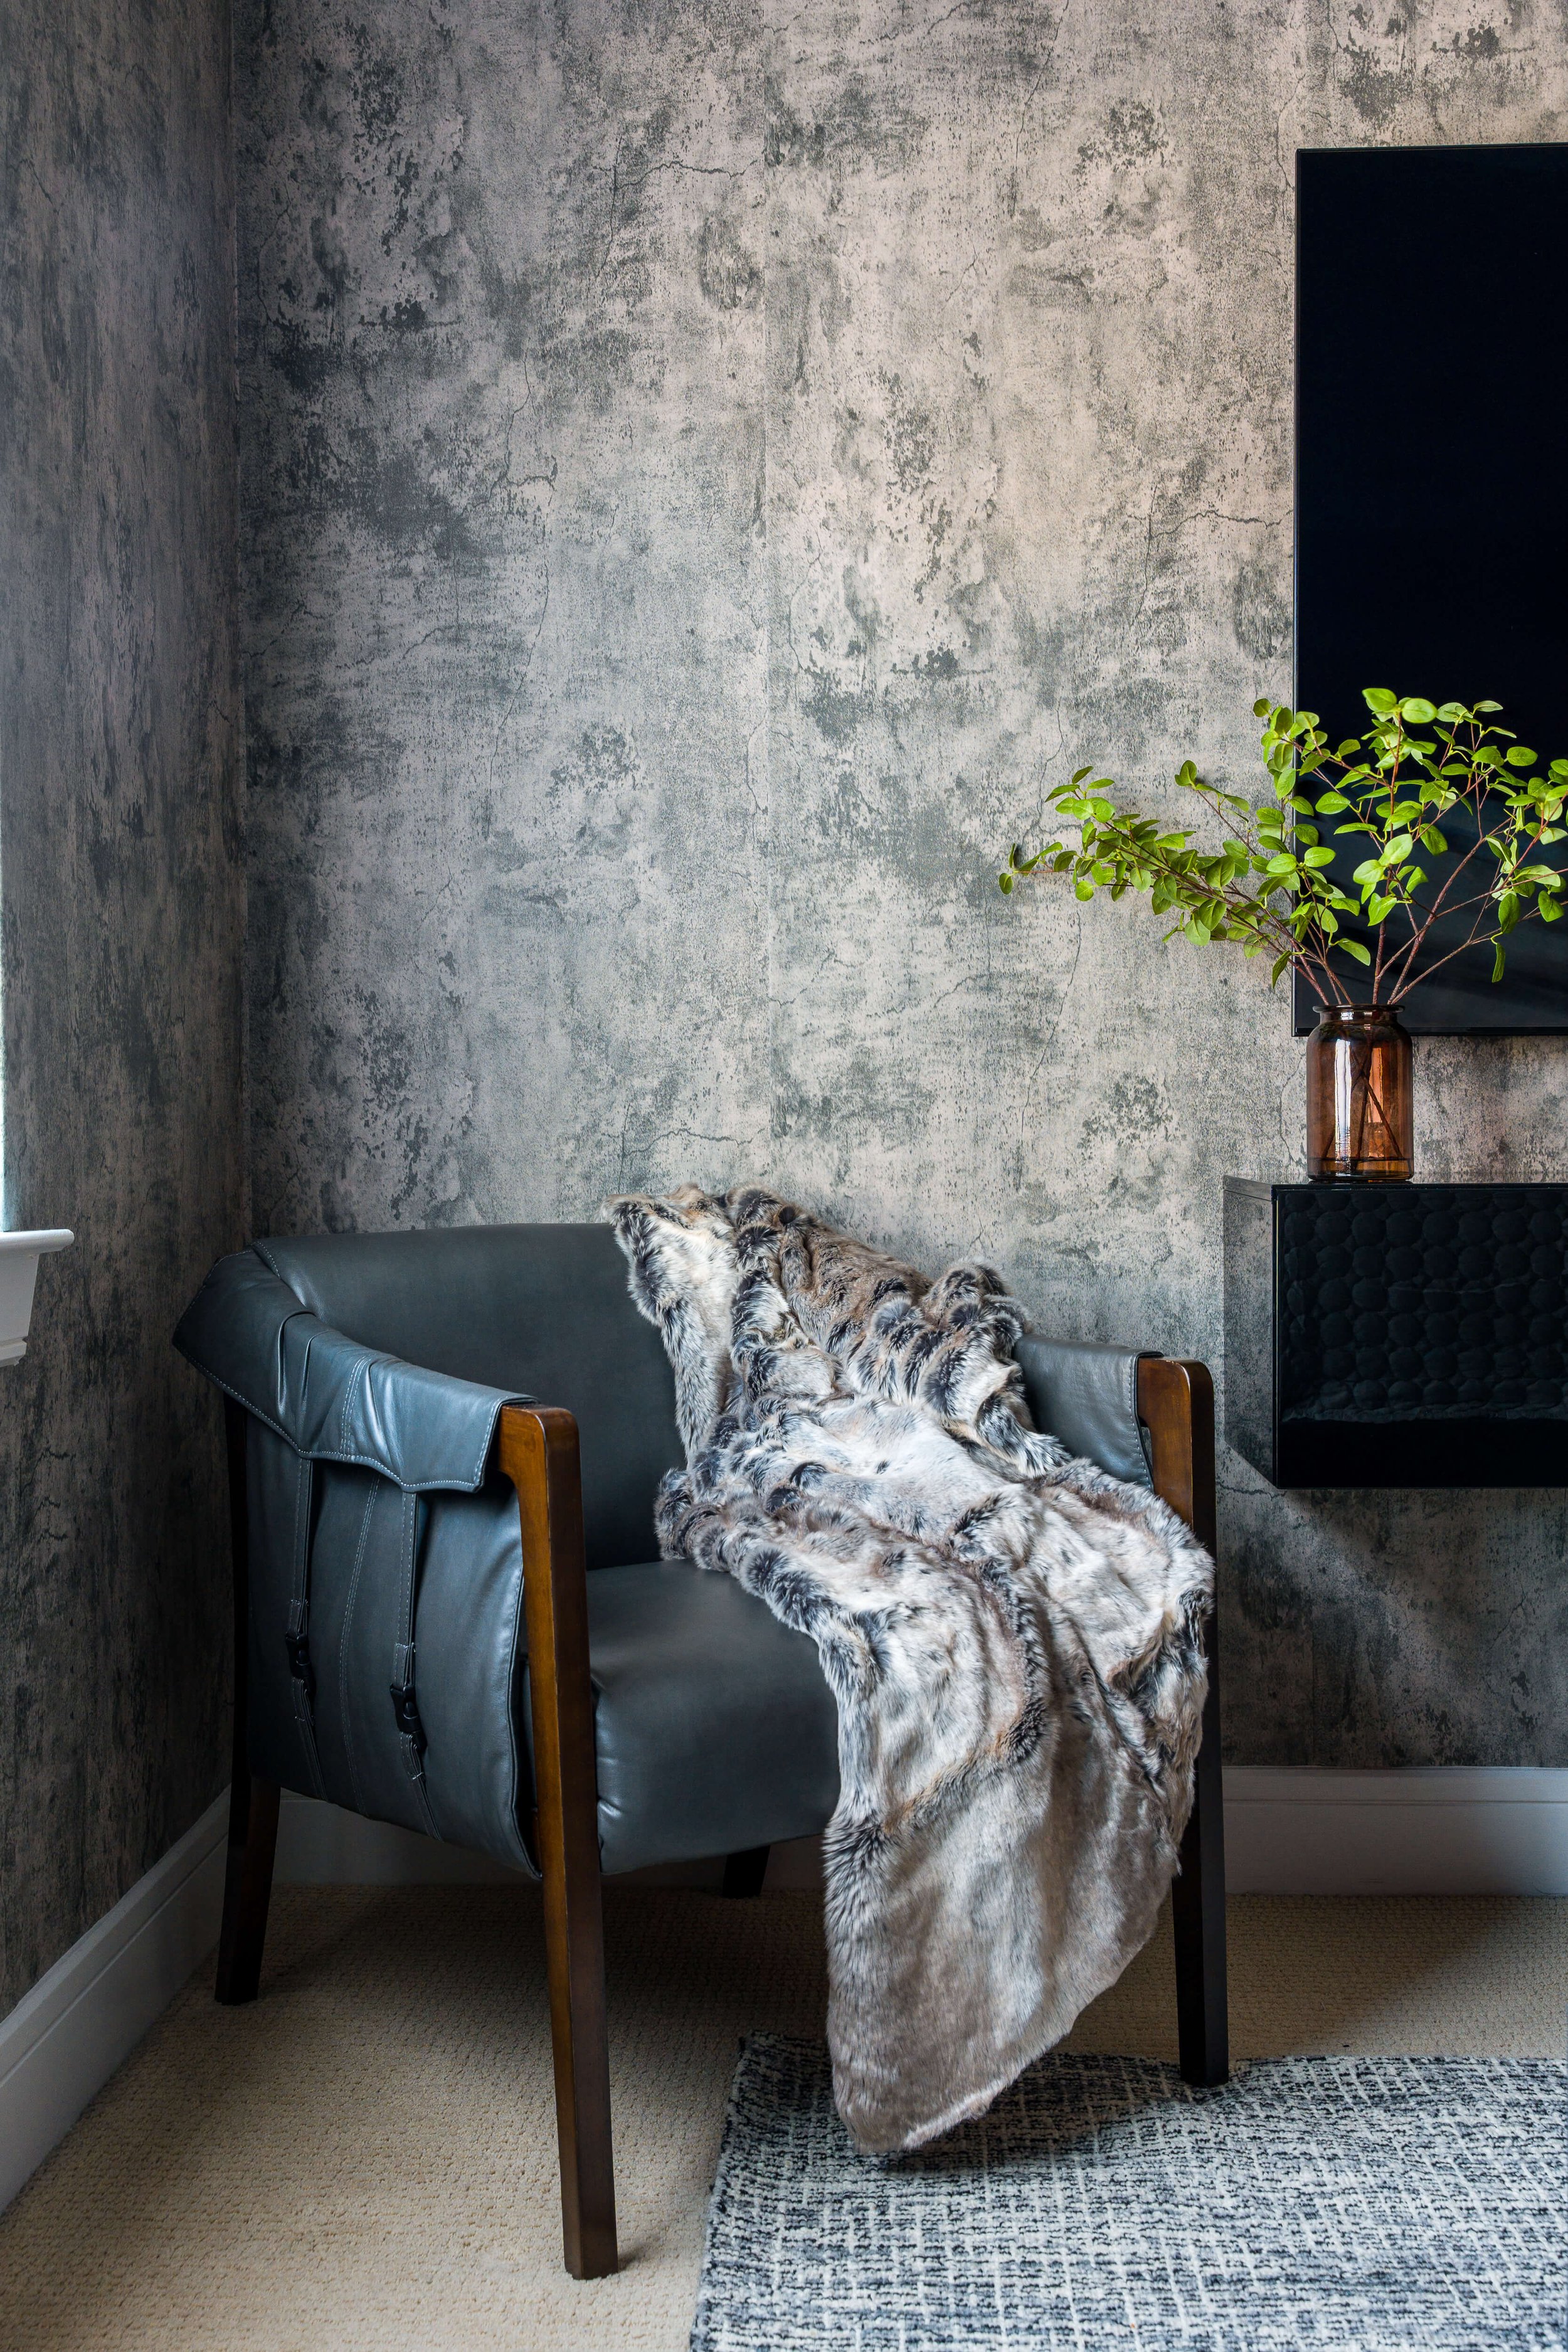
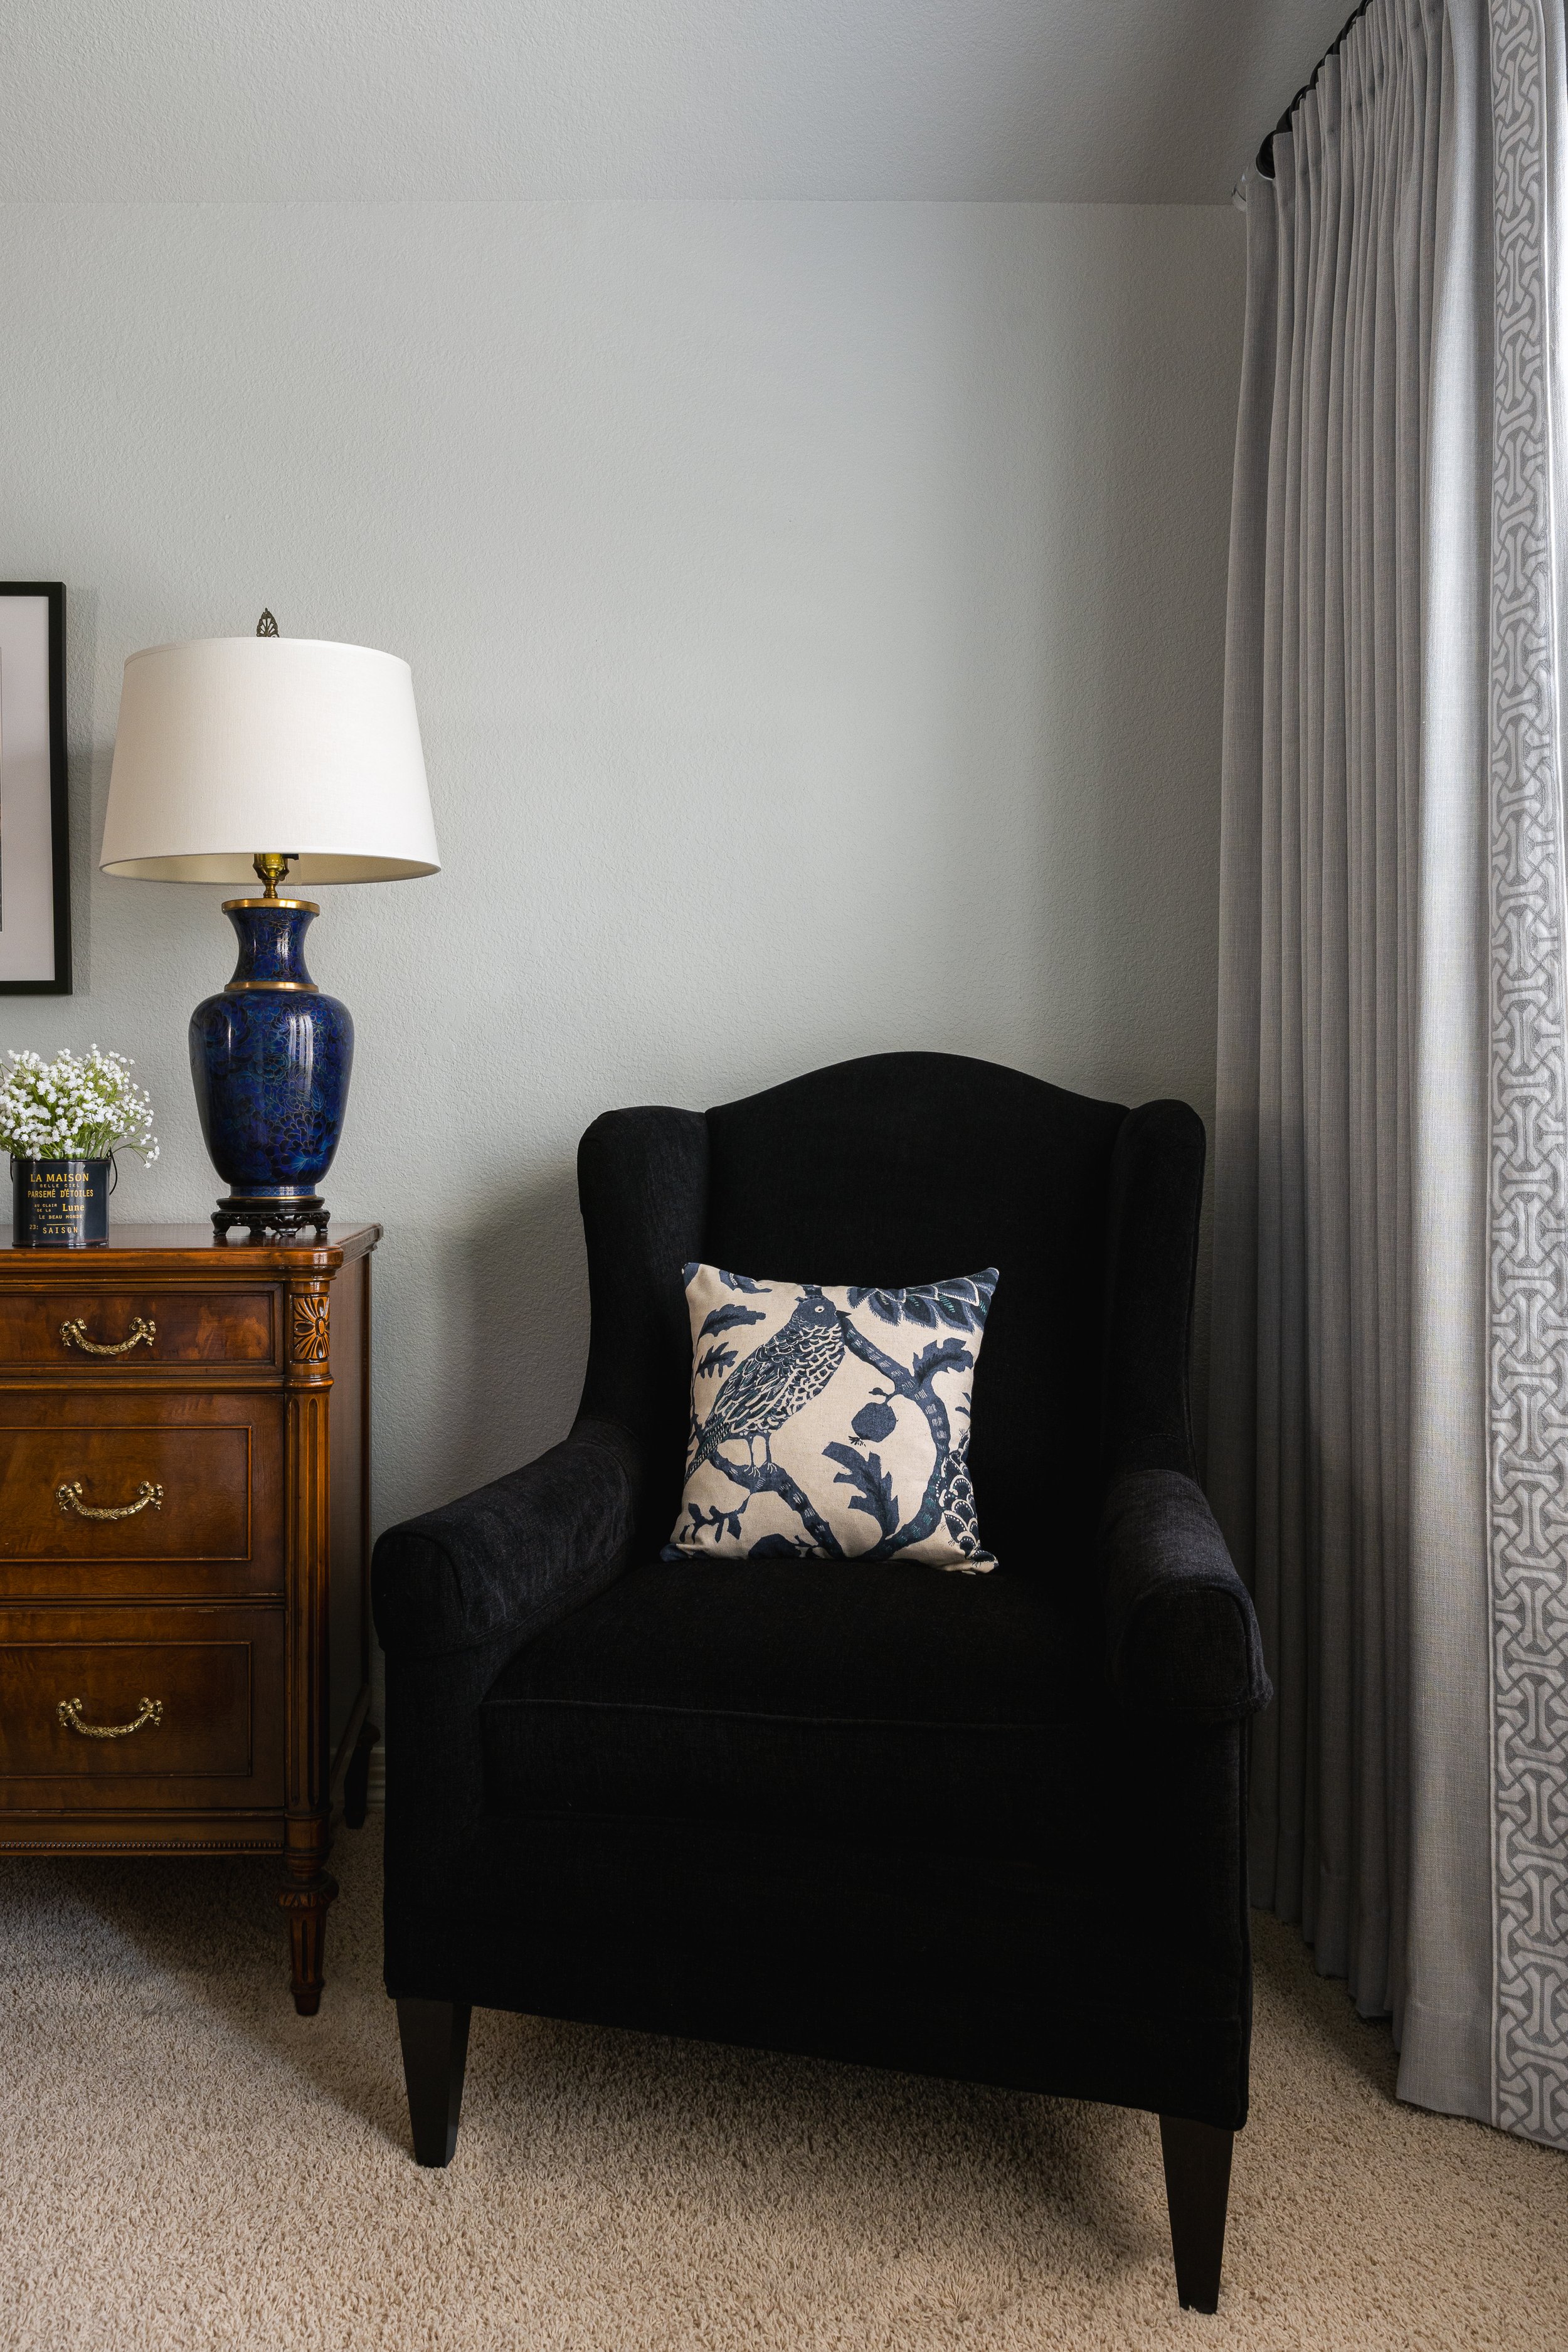
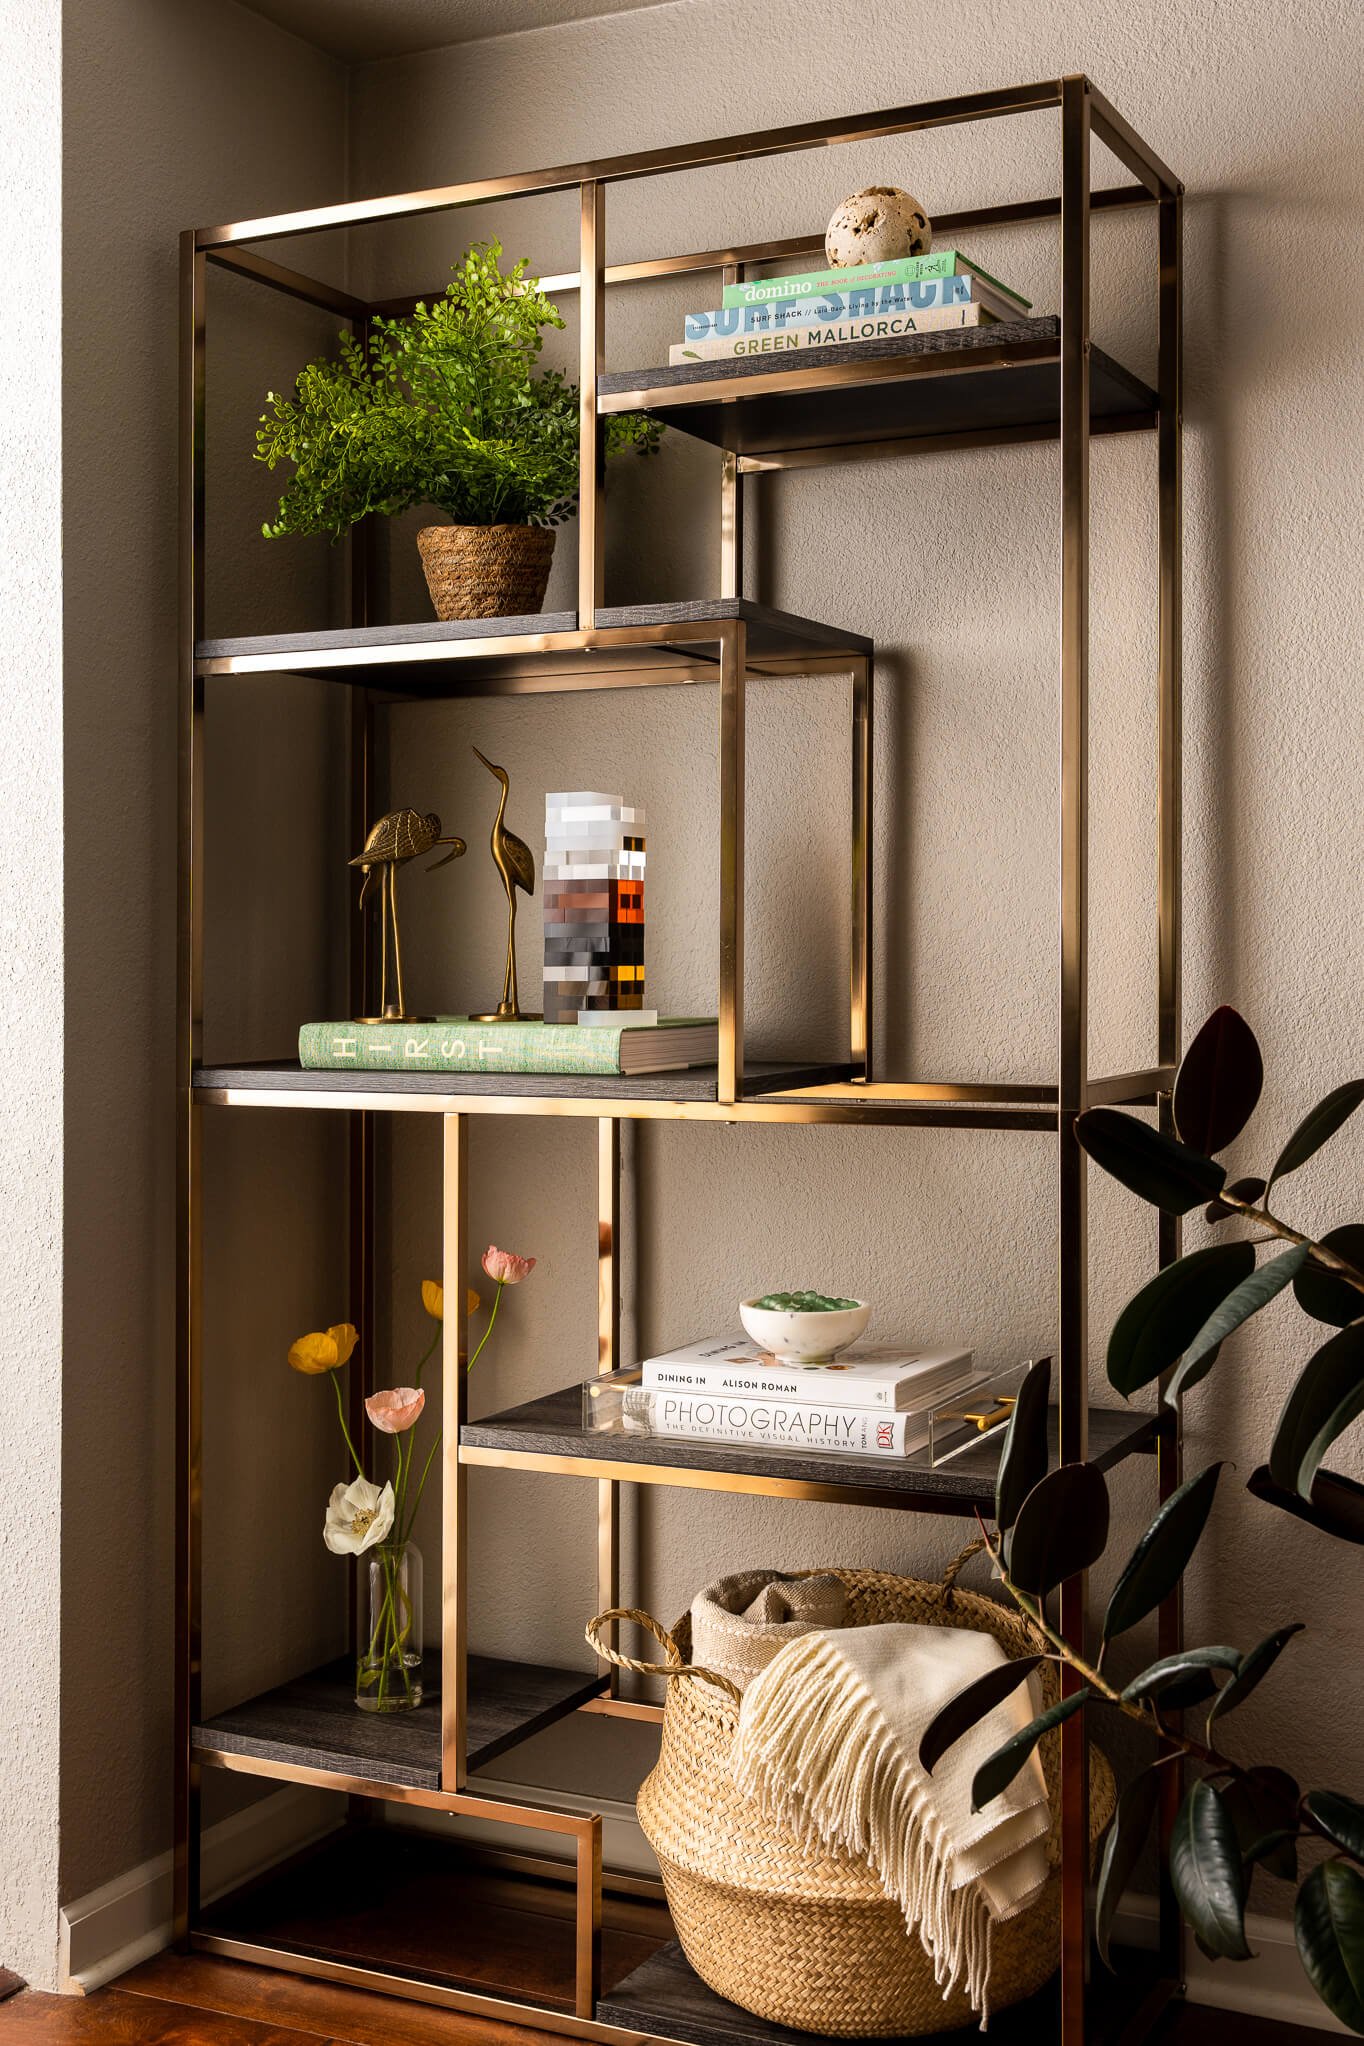
Less is truly more in both of these vignettes where layering too many objects would take away from the chairs, and the corresponding accessories.
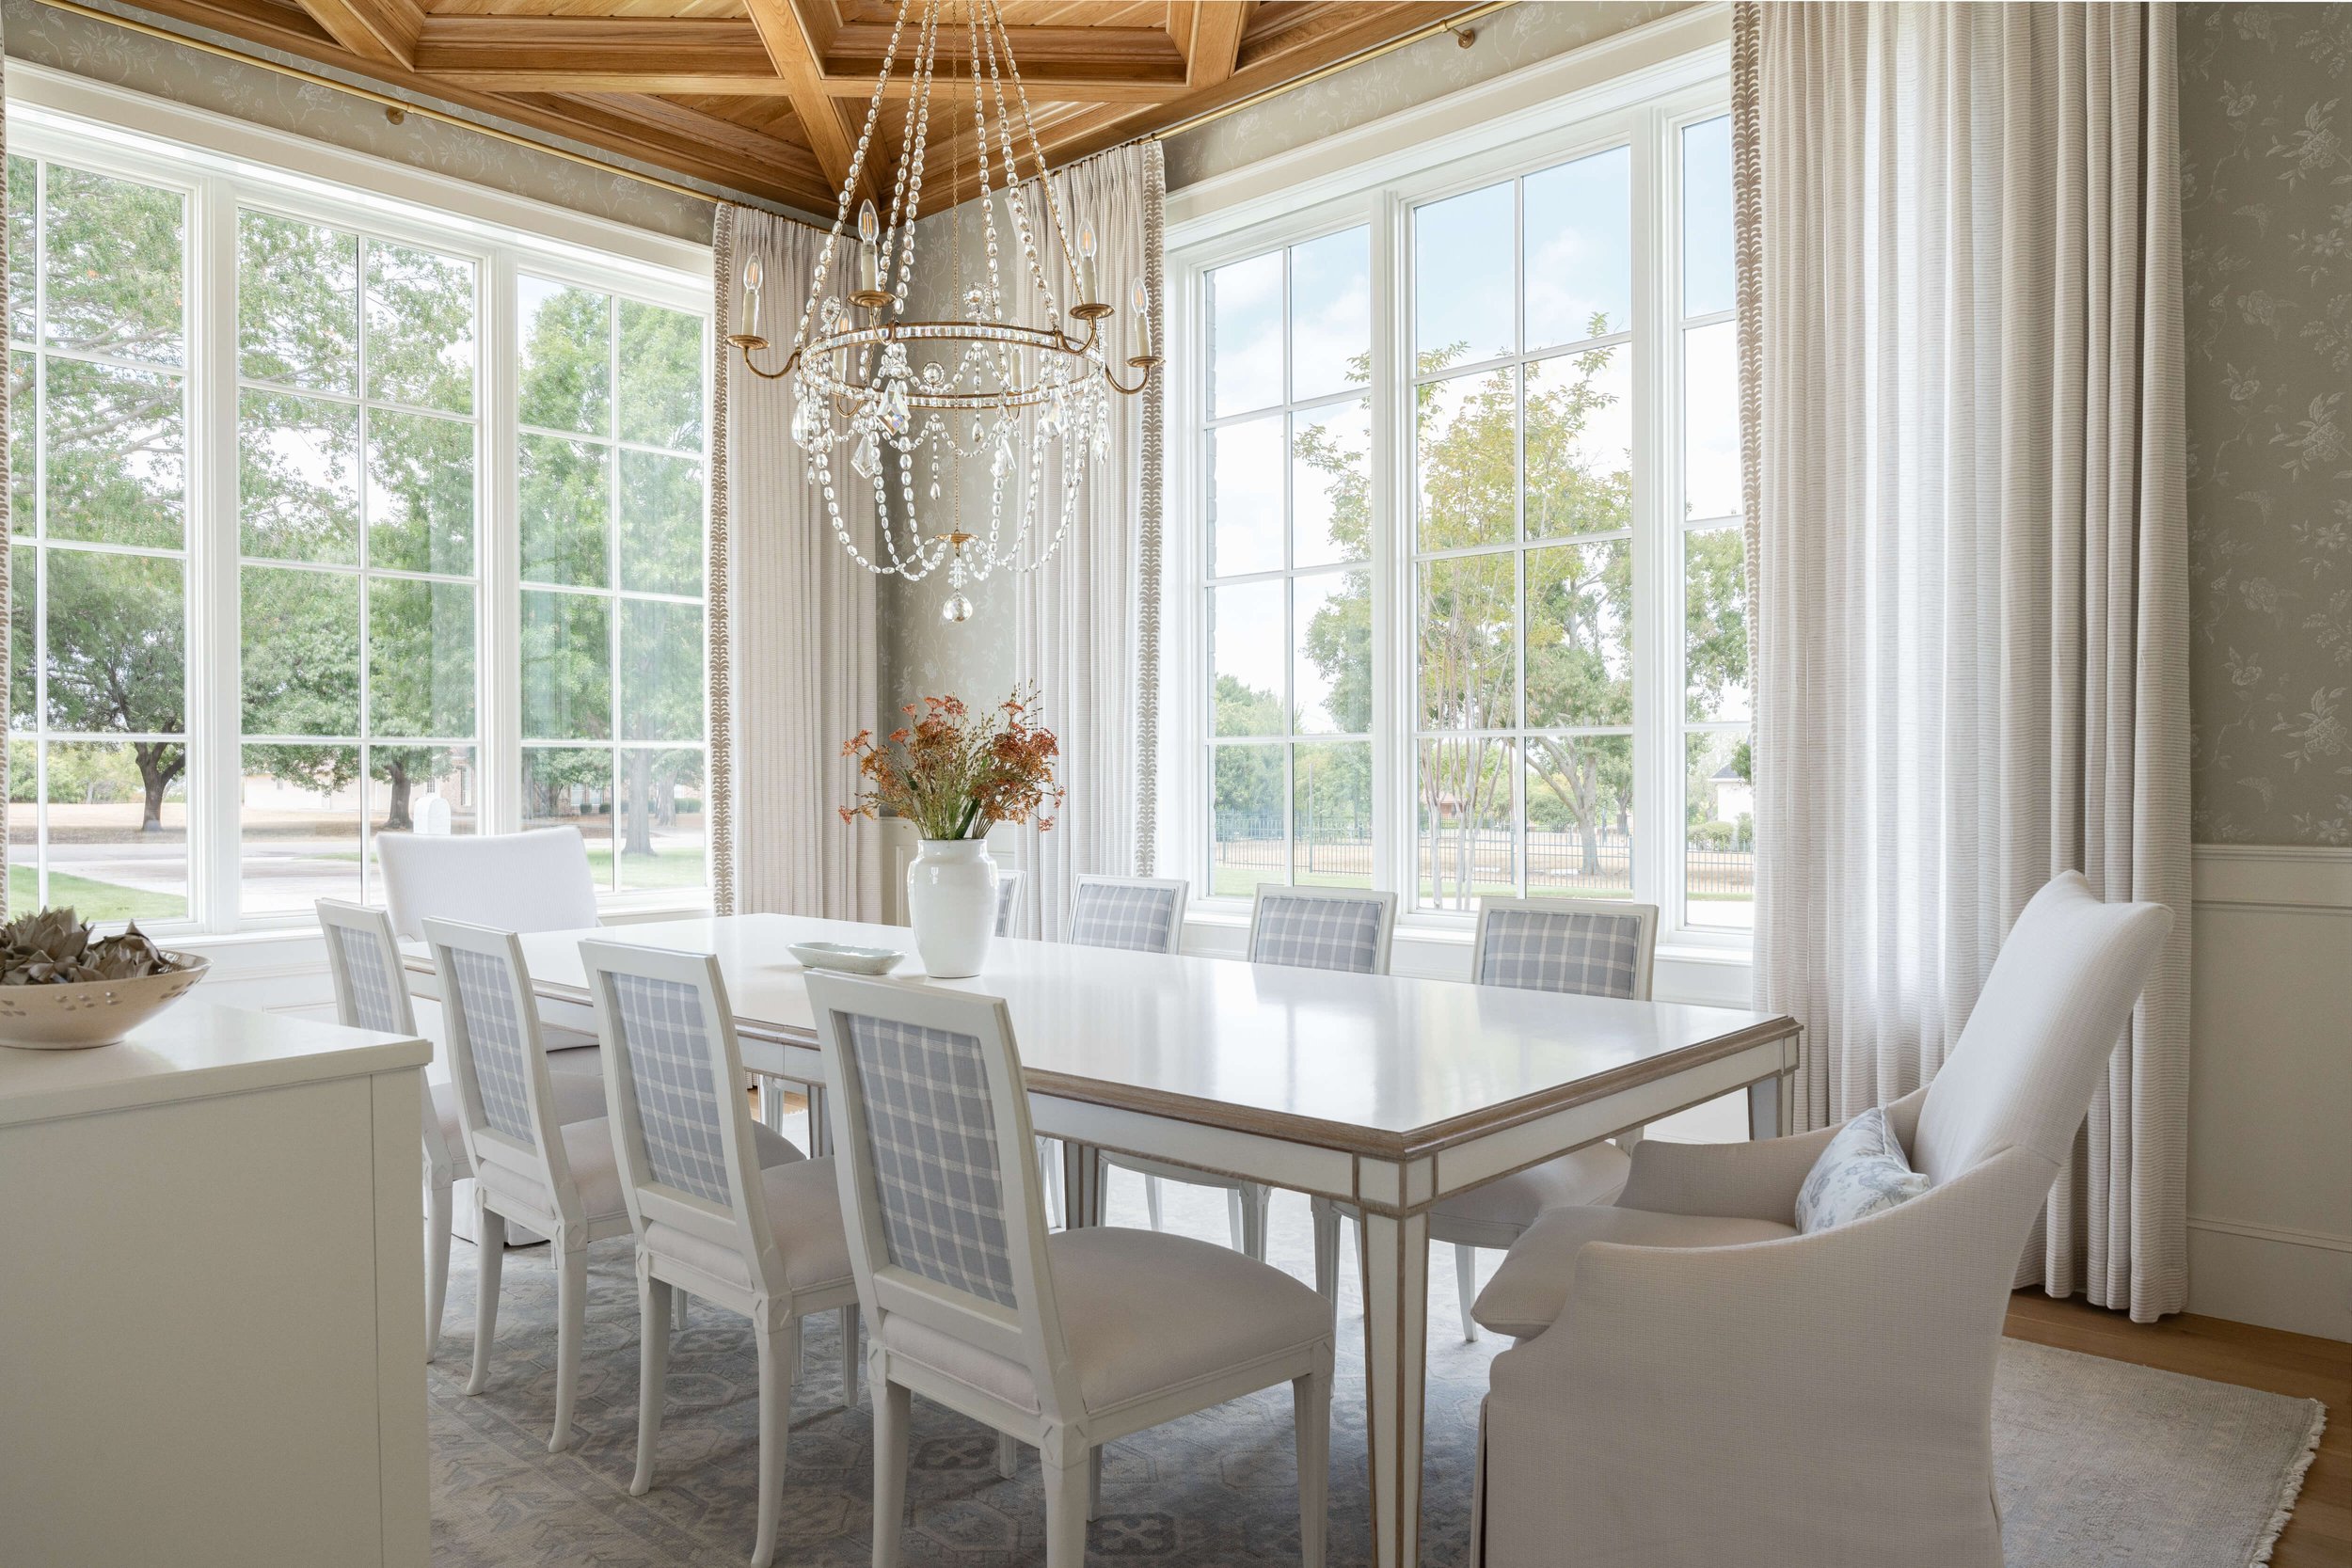
Minimal styling objects simply play supporting roles in this clean dining room space where the design choices tell their own story.
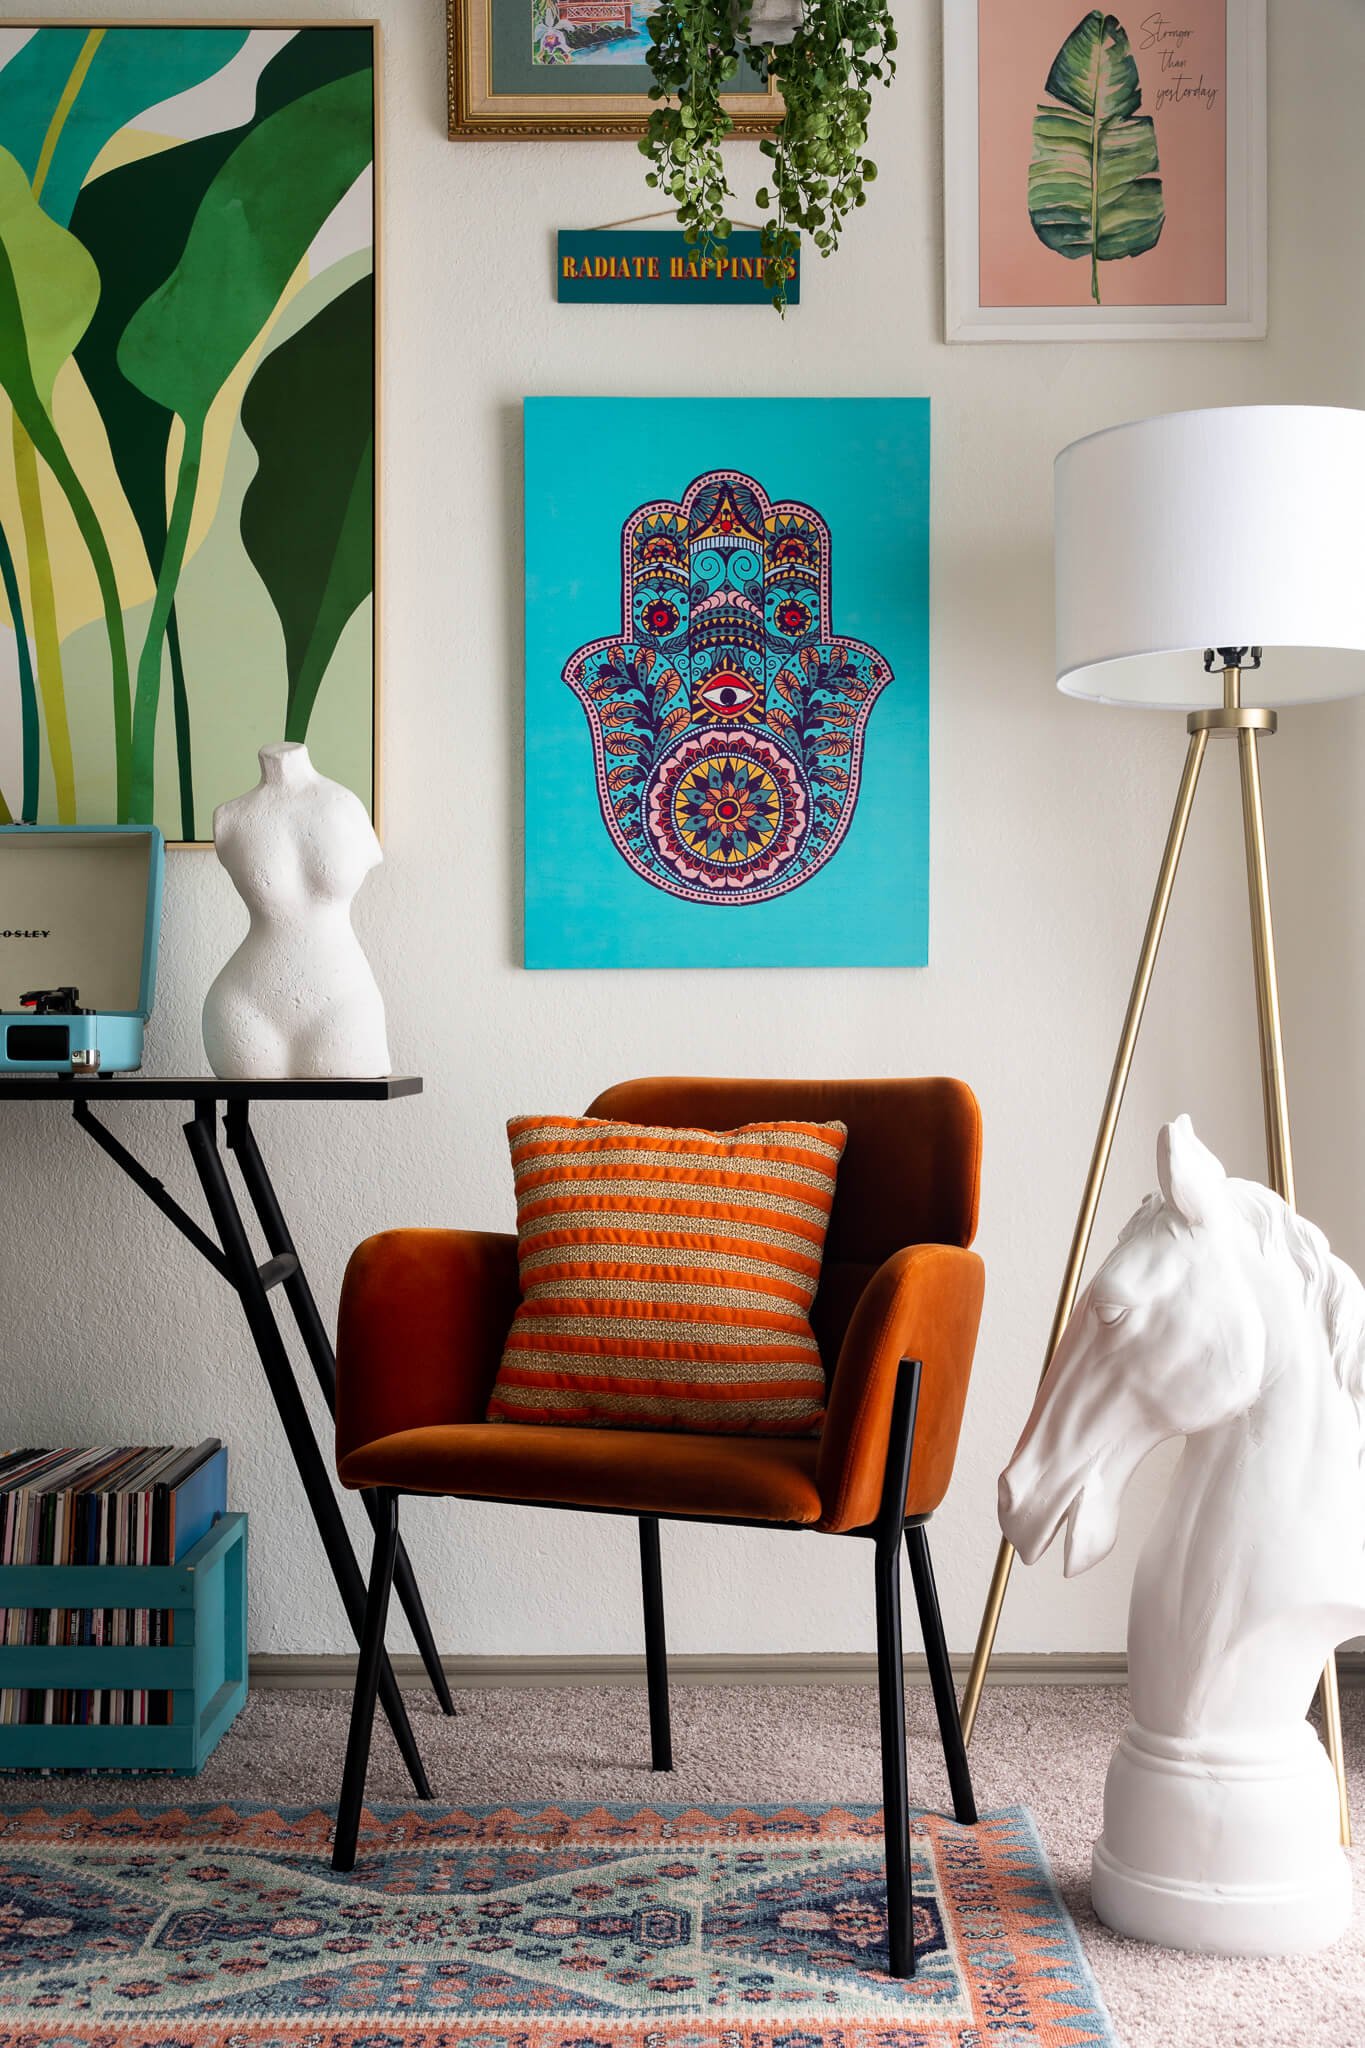
Tip #5: Don’t be Afraid to Mix Different Design Styles Together
The best spaces are the ones that tell a specific color story, and incorporate various design styles and honor the different design eras. Don’t be afraid to layer a beautiful vintage vase of flowers on a modern table, and vice versa. A mid-century dresser styled with modern marble lamps is a beautiful sight. It creates moments that are unexpected and compelling to look at.
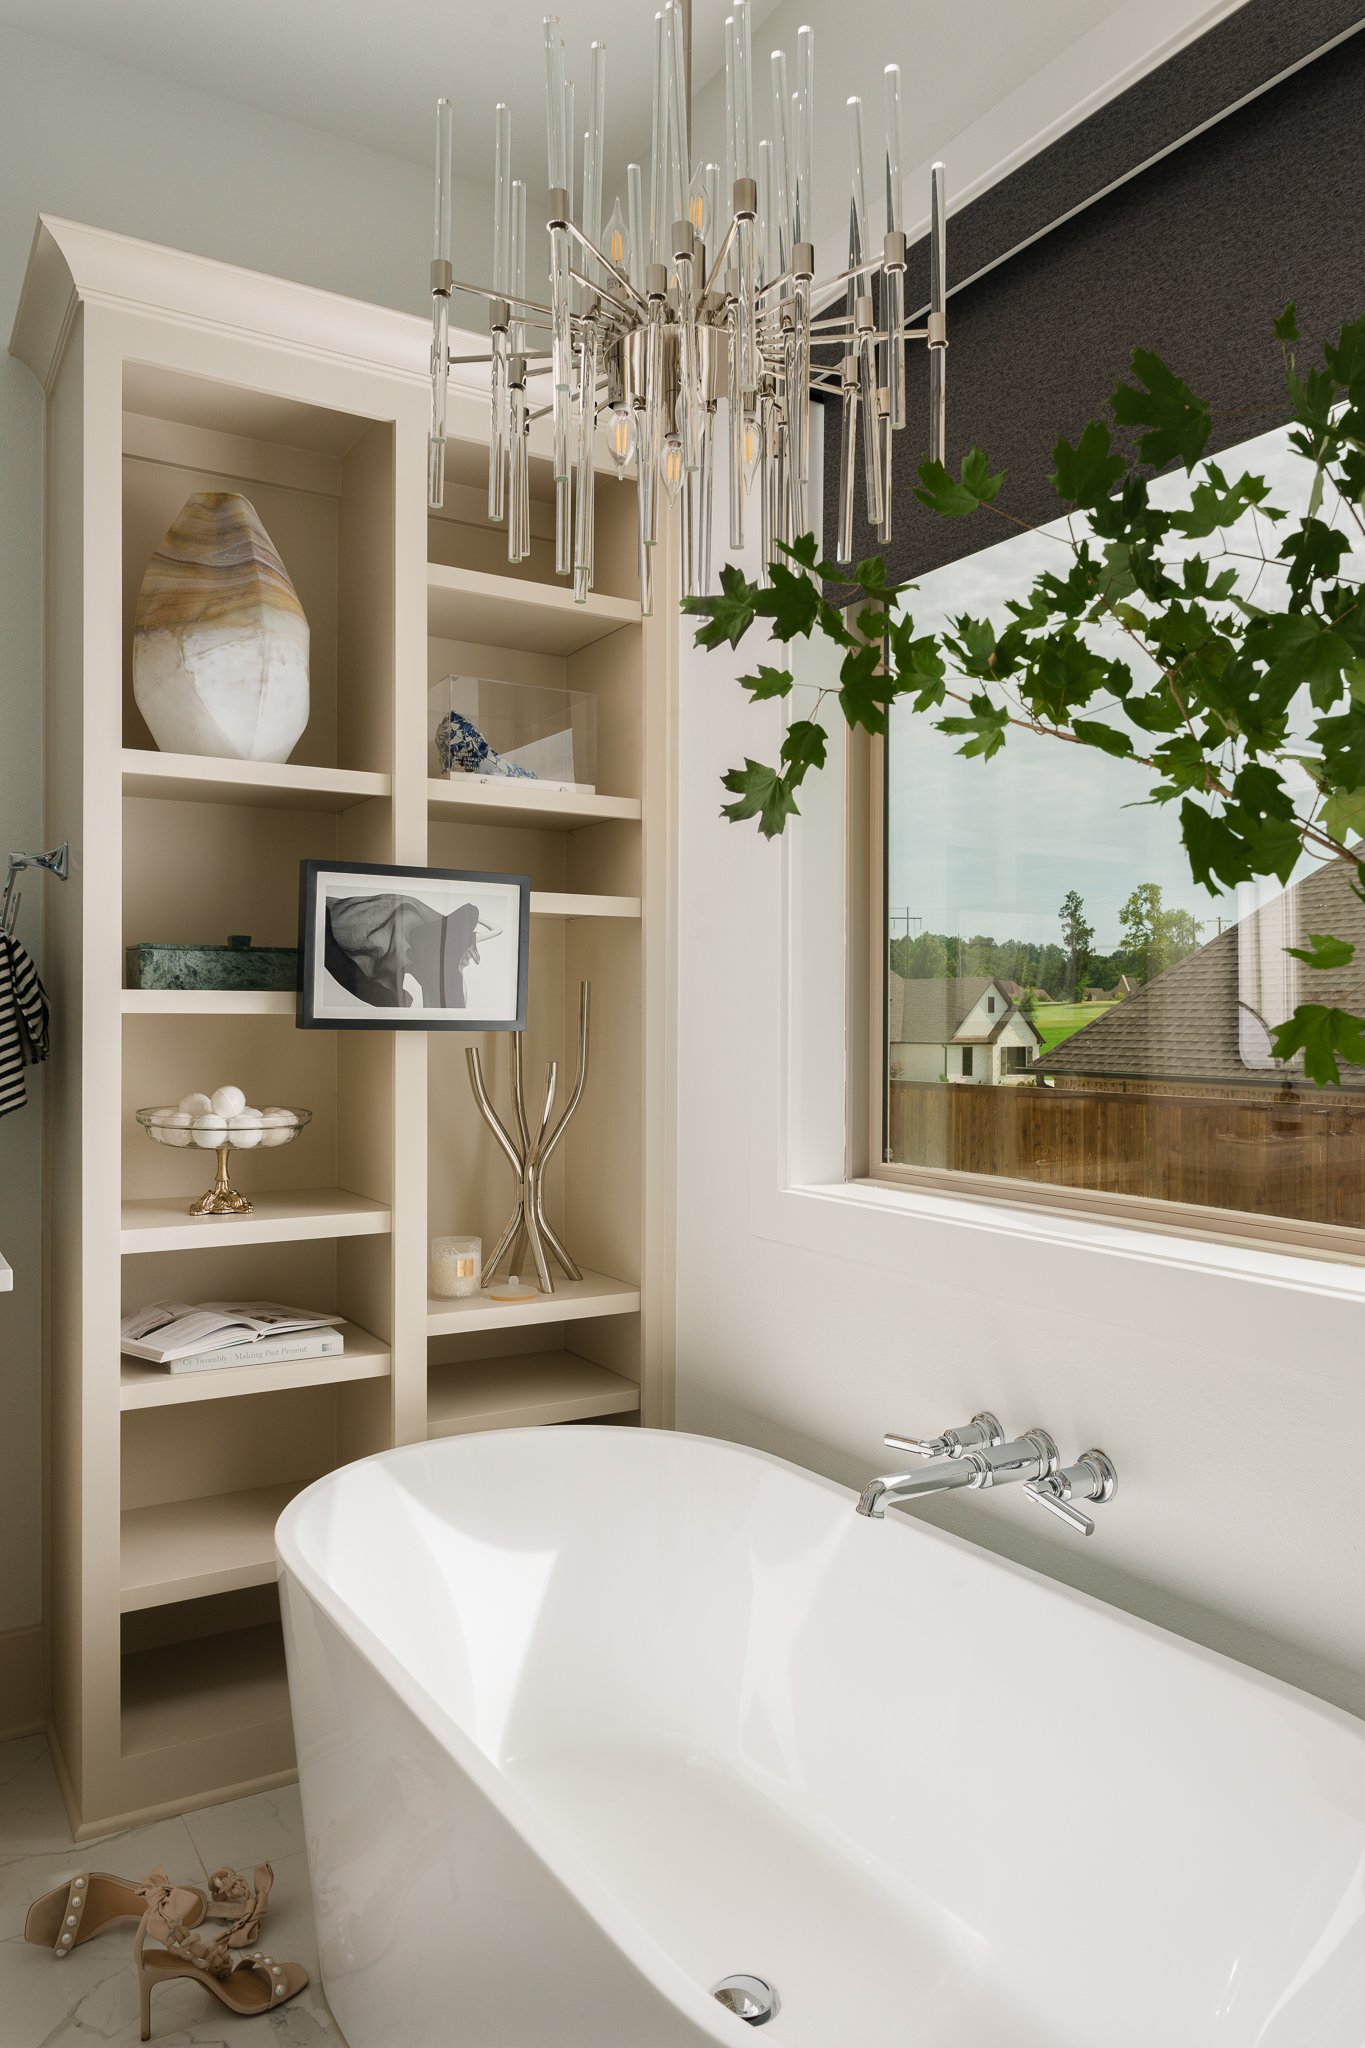
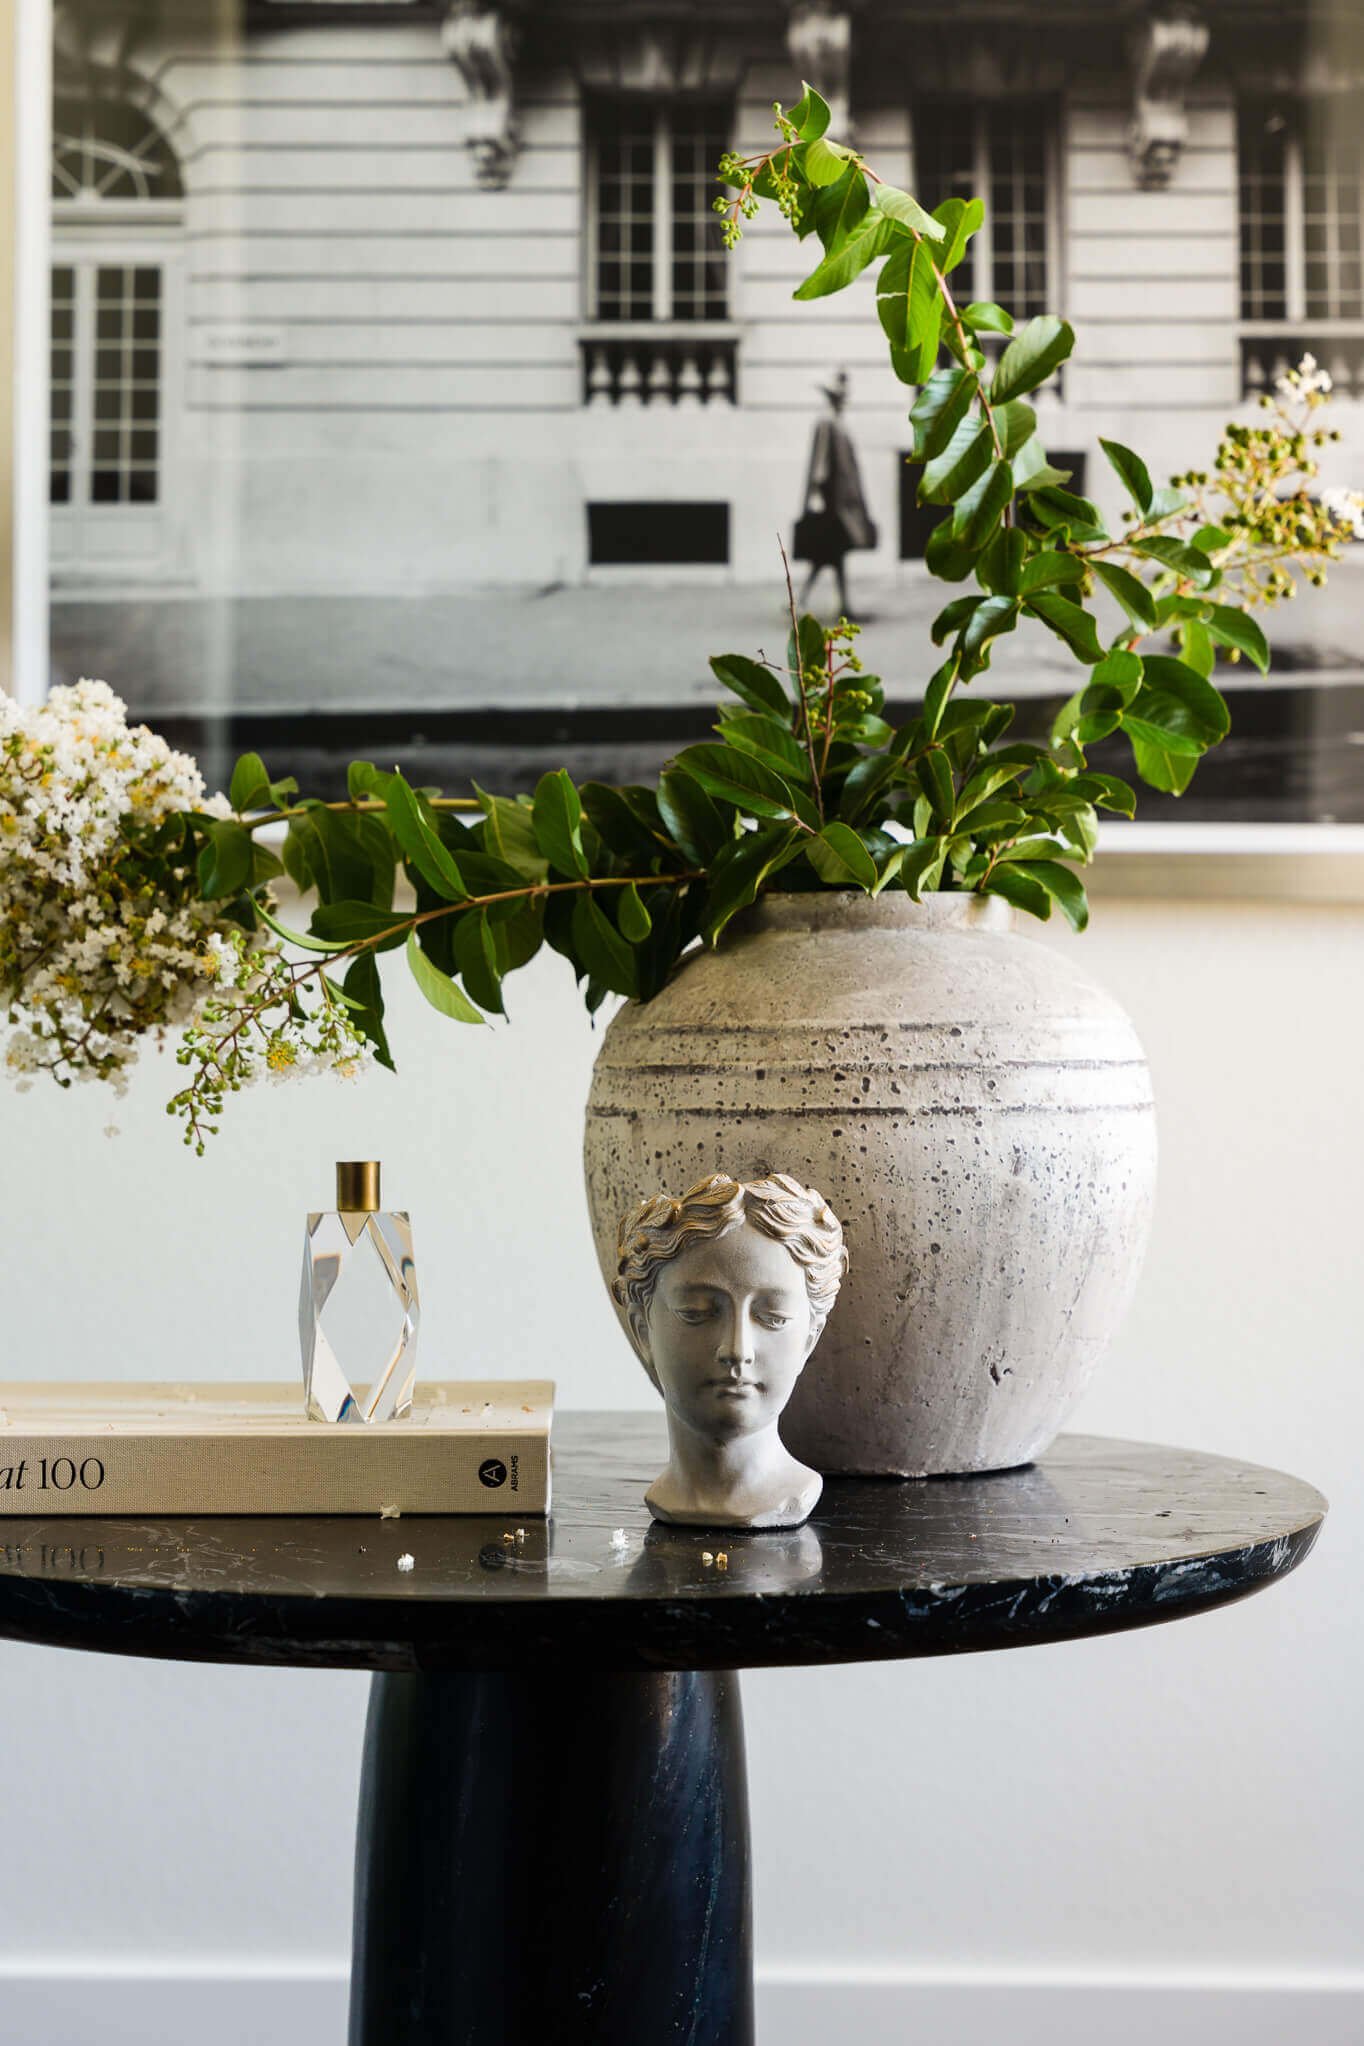
The branches, high heel shoes, and open book bring a lived-in, relaxing vibe to this primary bathroom. Something old and something new adds much needed visual interest. The foraged flowering branches, and vintage vase help to suggest the new yet lived-in vibe on top of this modern console table in this entryway.


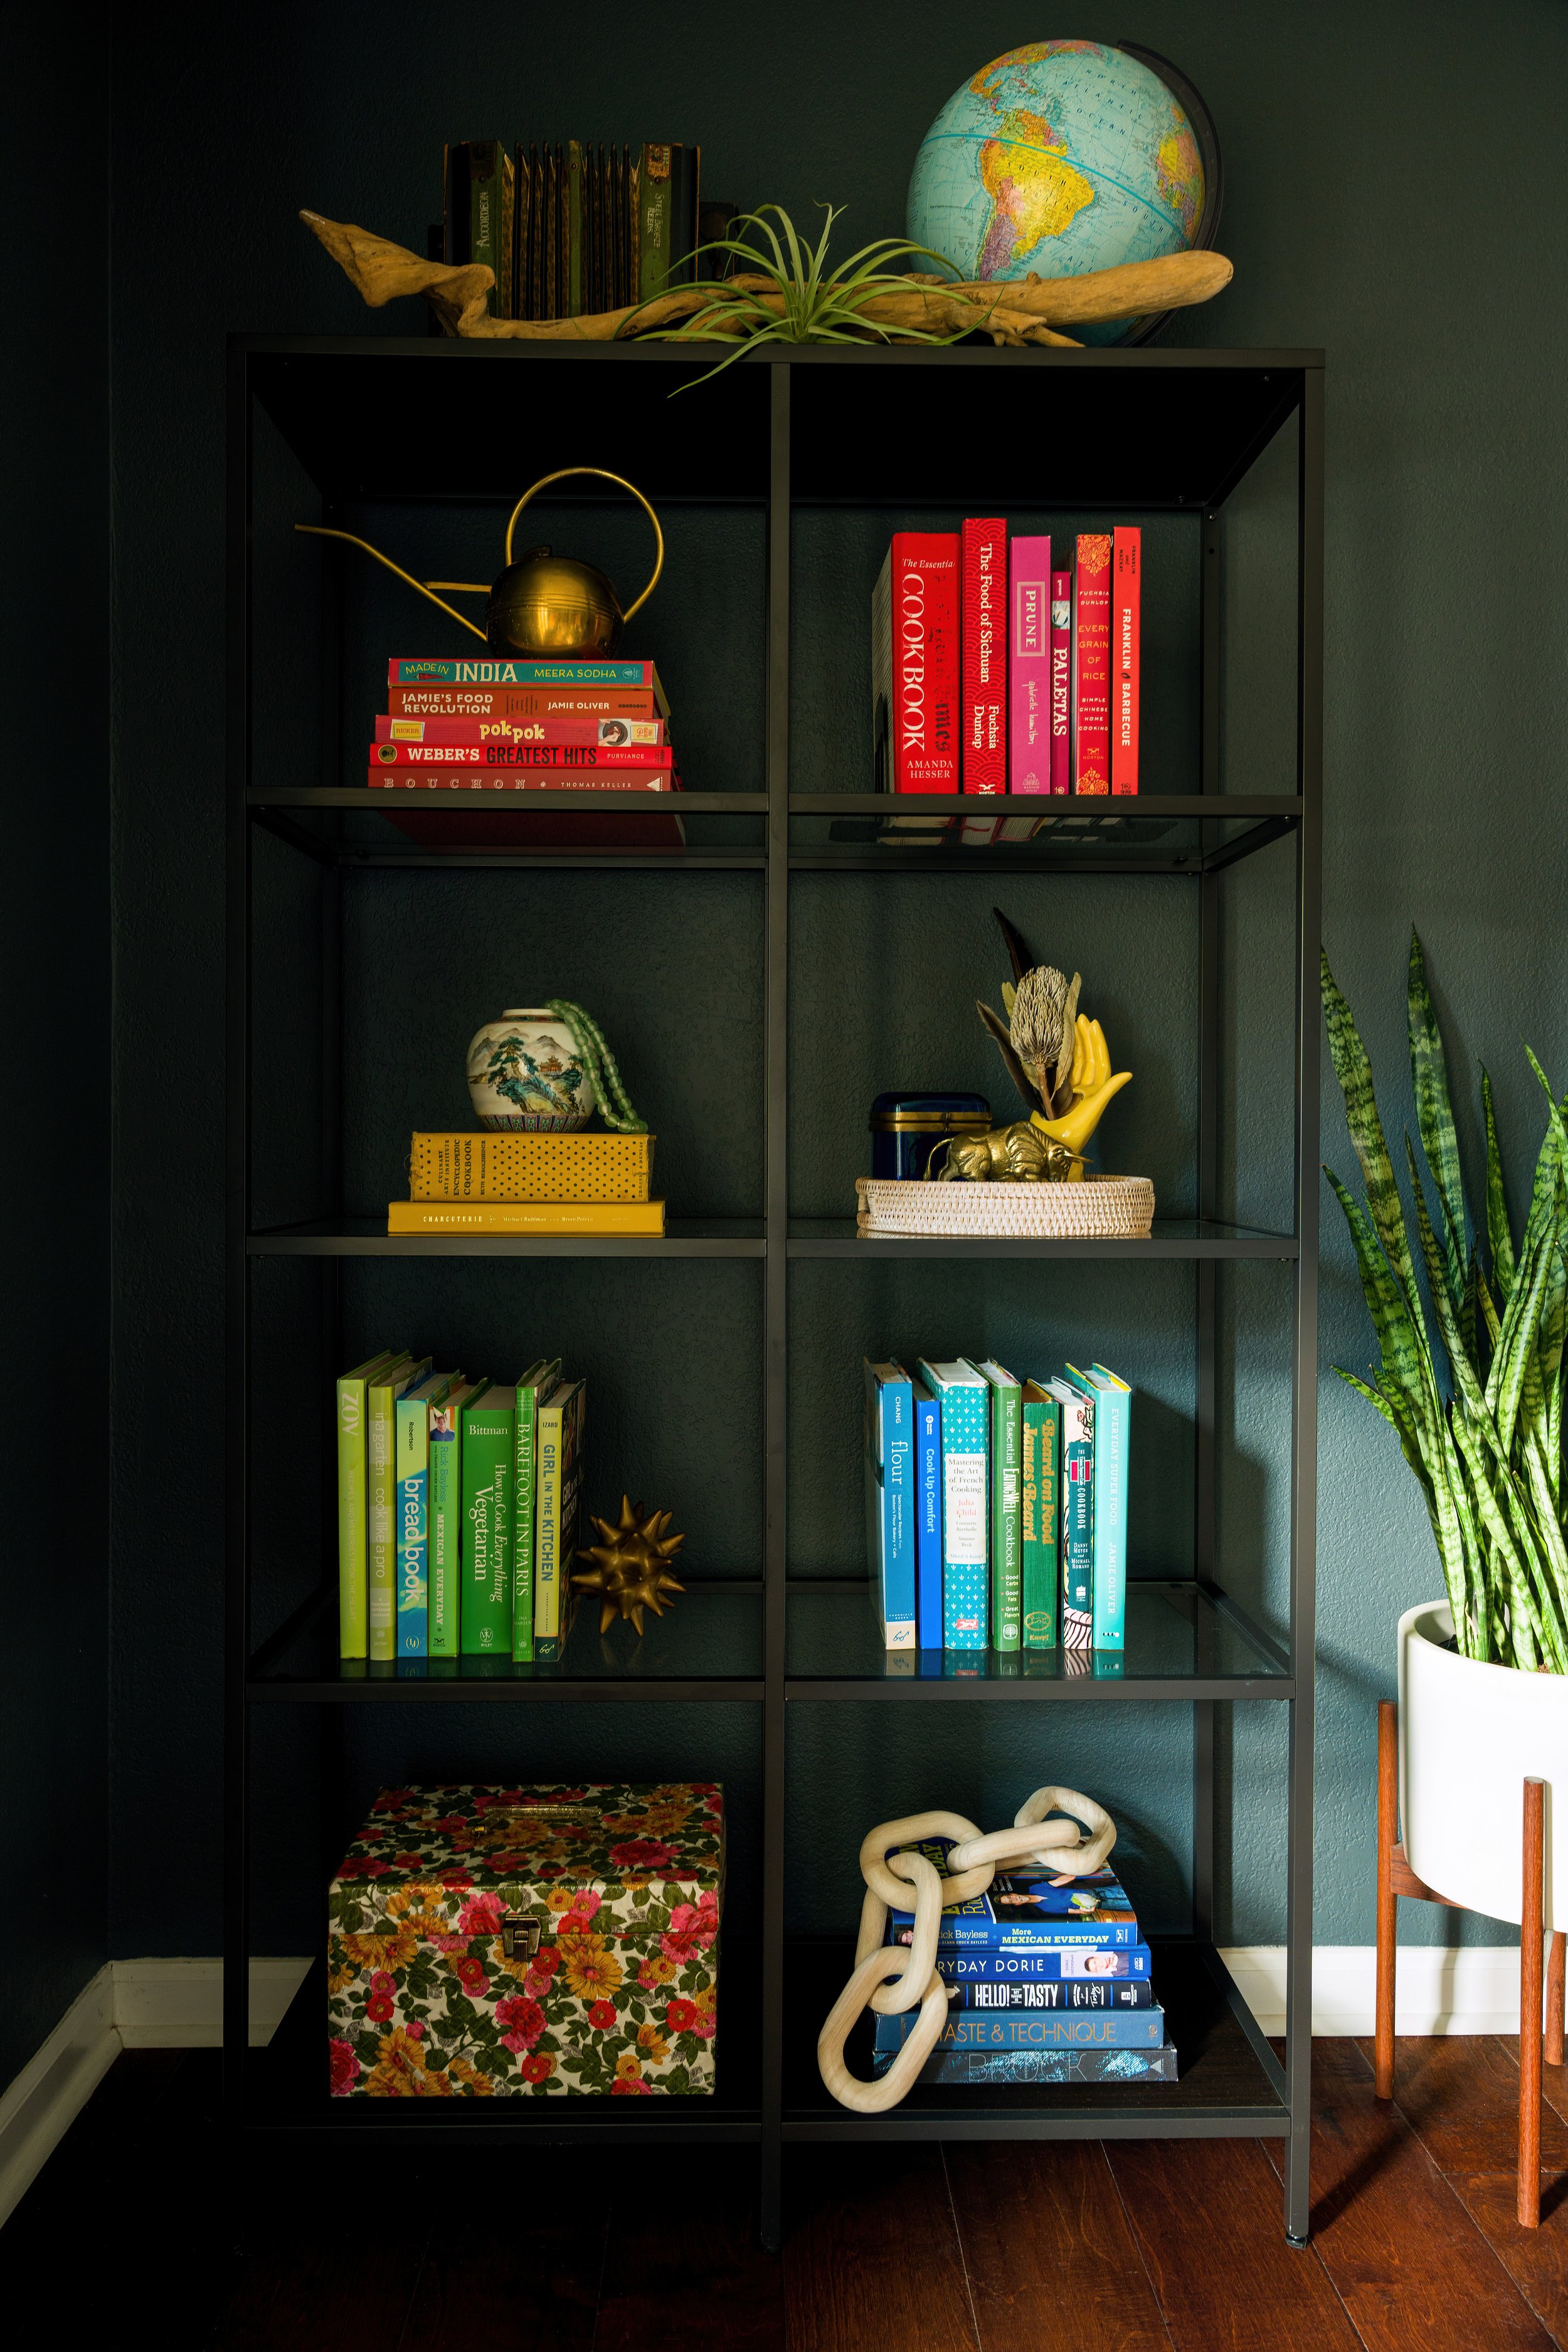
A mix of textures, colors, and various period elements make for an eye-catching image in this guest bedroom. The eclectic aesthetic of this colorful dining room is reinforced by the styling choices on the bookcases.
My List of Go To Styling Items:
If you don’t know where to start, don’t fret. Here’s a list of items I see designers and stylists bring to every photo shoot:
Florals/Greenery (an absolute must, they add so much shape, texture and movement to images).
Vases and bowls (bring a large variety to pull from)
Books (both large and small sized)
Food/beverages (consider color, texture, scale)
Textiles (e.g., throw blankets, hand towels, pillows, bed linens)
Dishes, glassware, and a dutch oven or copper pot for styling the stovetop in a kitchen
A toolkit fitted with a garment steamer, scissors, garden shears, gaffer tape, floral frogs, museum putty, and a tape measure.
Thanks for reading. Interested in booking a session, please fill out my contact form to schedule a complimentary call. Looking forward to hearing from you.
Stacy Markow is a former sommelier turned Interior Design & Architecture Photographer servicing design clients across the Dallas Fort Worth metroplex. Not only can I capture the beauty of your next interior design project for your portfolio, I can also help you celebrate reaching the finish line by choosing the perfect bottle of Champagne.
For more information on Stacy’s services, or to see more of my photography work, you can visit my website at www.stacymarkow.com