How to Prepare for Your Interior Design Photography Session

You’ve finished the project, scheduled the photography, and now there’s one last step before shoot day: getting the space ready to be photographed.
If this is your first time having a project professionally photographed, it’s completely normal to wonder what needs to happen beforehand. How much should you style? What should you bring? Does everything need to be finished? And what will we adjust once we start photographing?
The best interior photography sessions are collaborative, but they also begin with a space that is ready for us to get to work.
Here’s what I recommend doing before I arrive.
Finish the Space as Much as Possible
Ideally, photography happens once the project is truly complete.
That means artwork is installed, window treatments are hung, furniture has arrived, accessories are in place, and the little items that have been lingering on the punch list have been addressed.
Of course, anyone who works in design knows that "completely finished" and "ready to photograph" aren't always exactly the same thing. A backordered piece or small unfinished detail doesn't necessarily mean we need to postpone the entire session.
What matters is identifying those things ahead of time.
During Creative Production Planning, we'll talk through the spaces being photographed, the images you need, and anything that may affect our approach on shoot day. If something won't be complete, tell me. We can decide whether to work around it, adjust the shot list, or photograph that particular space another time.
Have the Home Professionally Cleaned
The camera notices everything.
Dust on a dark cabinet, fingerprints on an appliance, streaks across a window, debris on the floor, or smudges on a mirror can become surprisingly noticeable once we're looking at a finished photograph at full resolution.
I recommend scheduling a thorough cleaning as close to the photography date as possible.
Pay particular attention to:
Cabinet and appliance fronts
Mirrors and glass
Windows, especially when the view is important
Floors and baseboards
Countertops
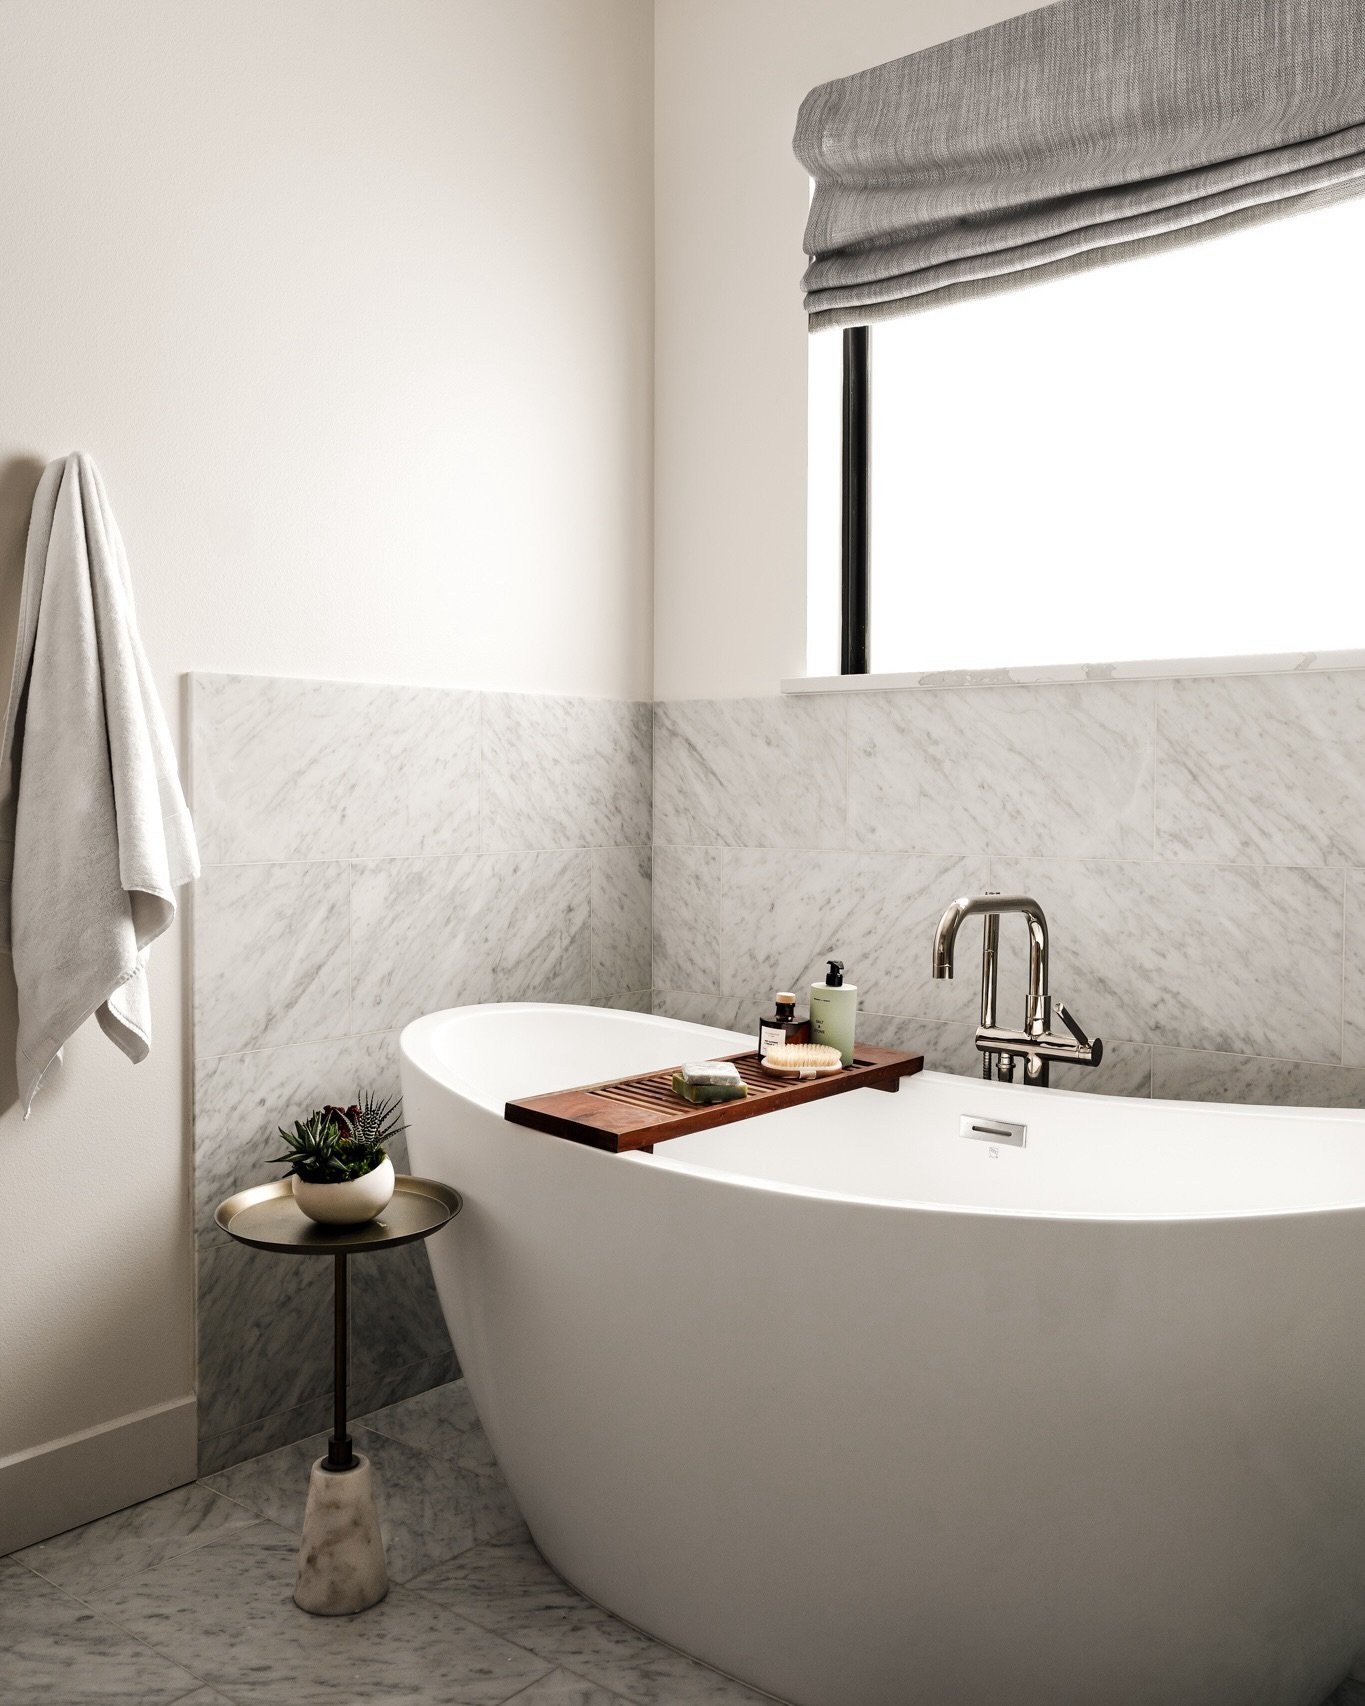
Plumbing fixtures
Reflective surfaces
Retouching can accomplish a lot, but starting with a beautifully prepared space allows us to spend our time creating photographs rather than correcting things that could have been handled beforehand.
Do the Major Styling Before Shoot Day
I want the space to feel like your project, not like I arrived and restyled it into mine.
That's why I recommend having your primary styling completed before photography begins.
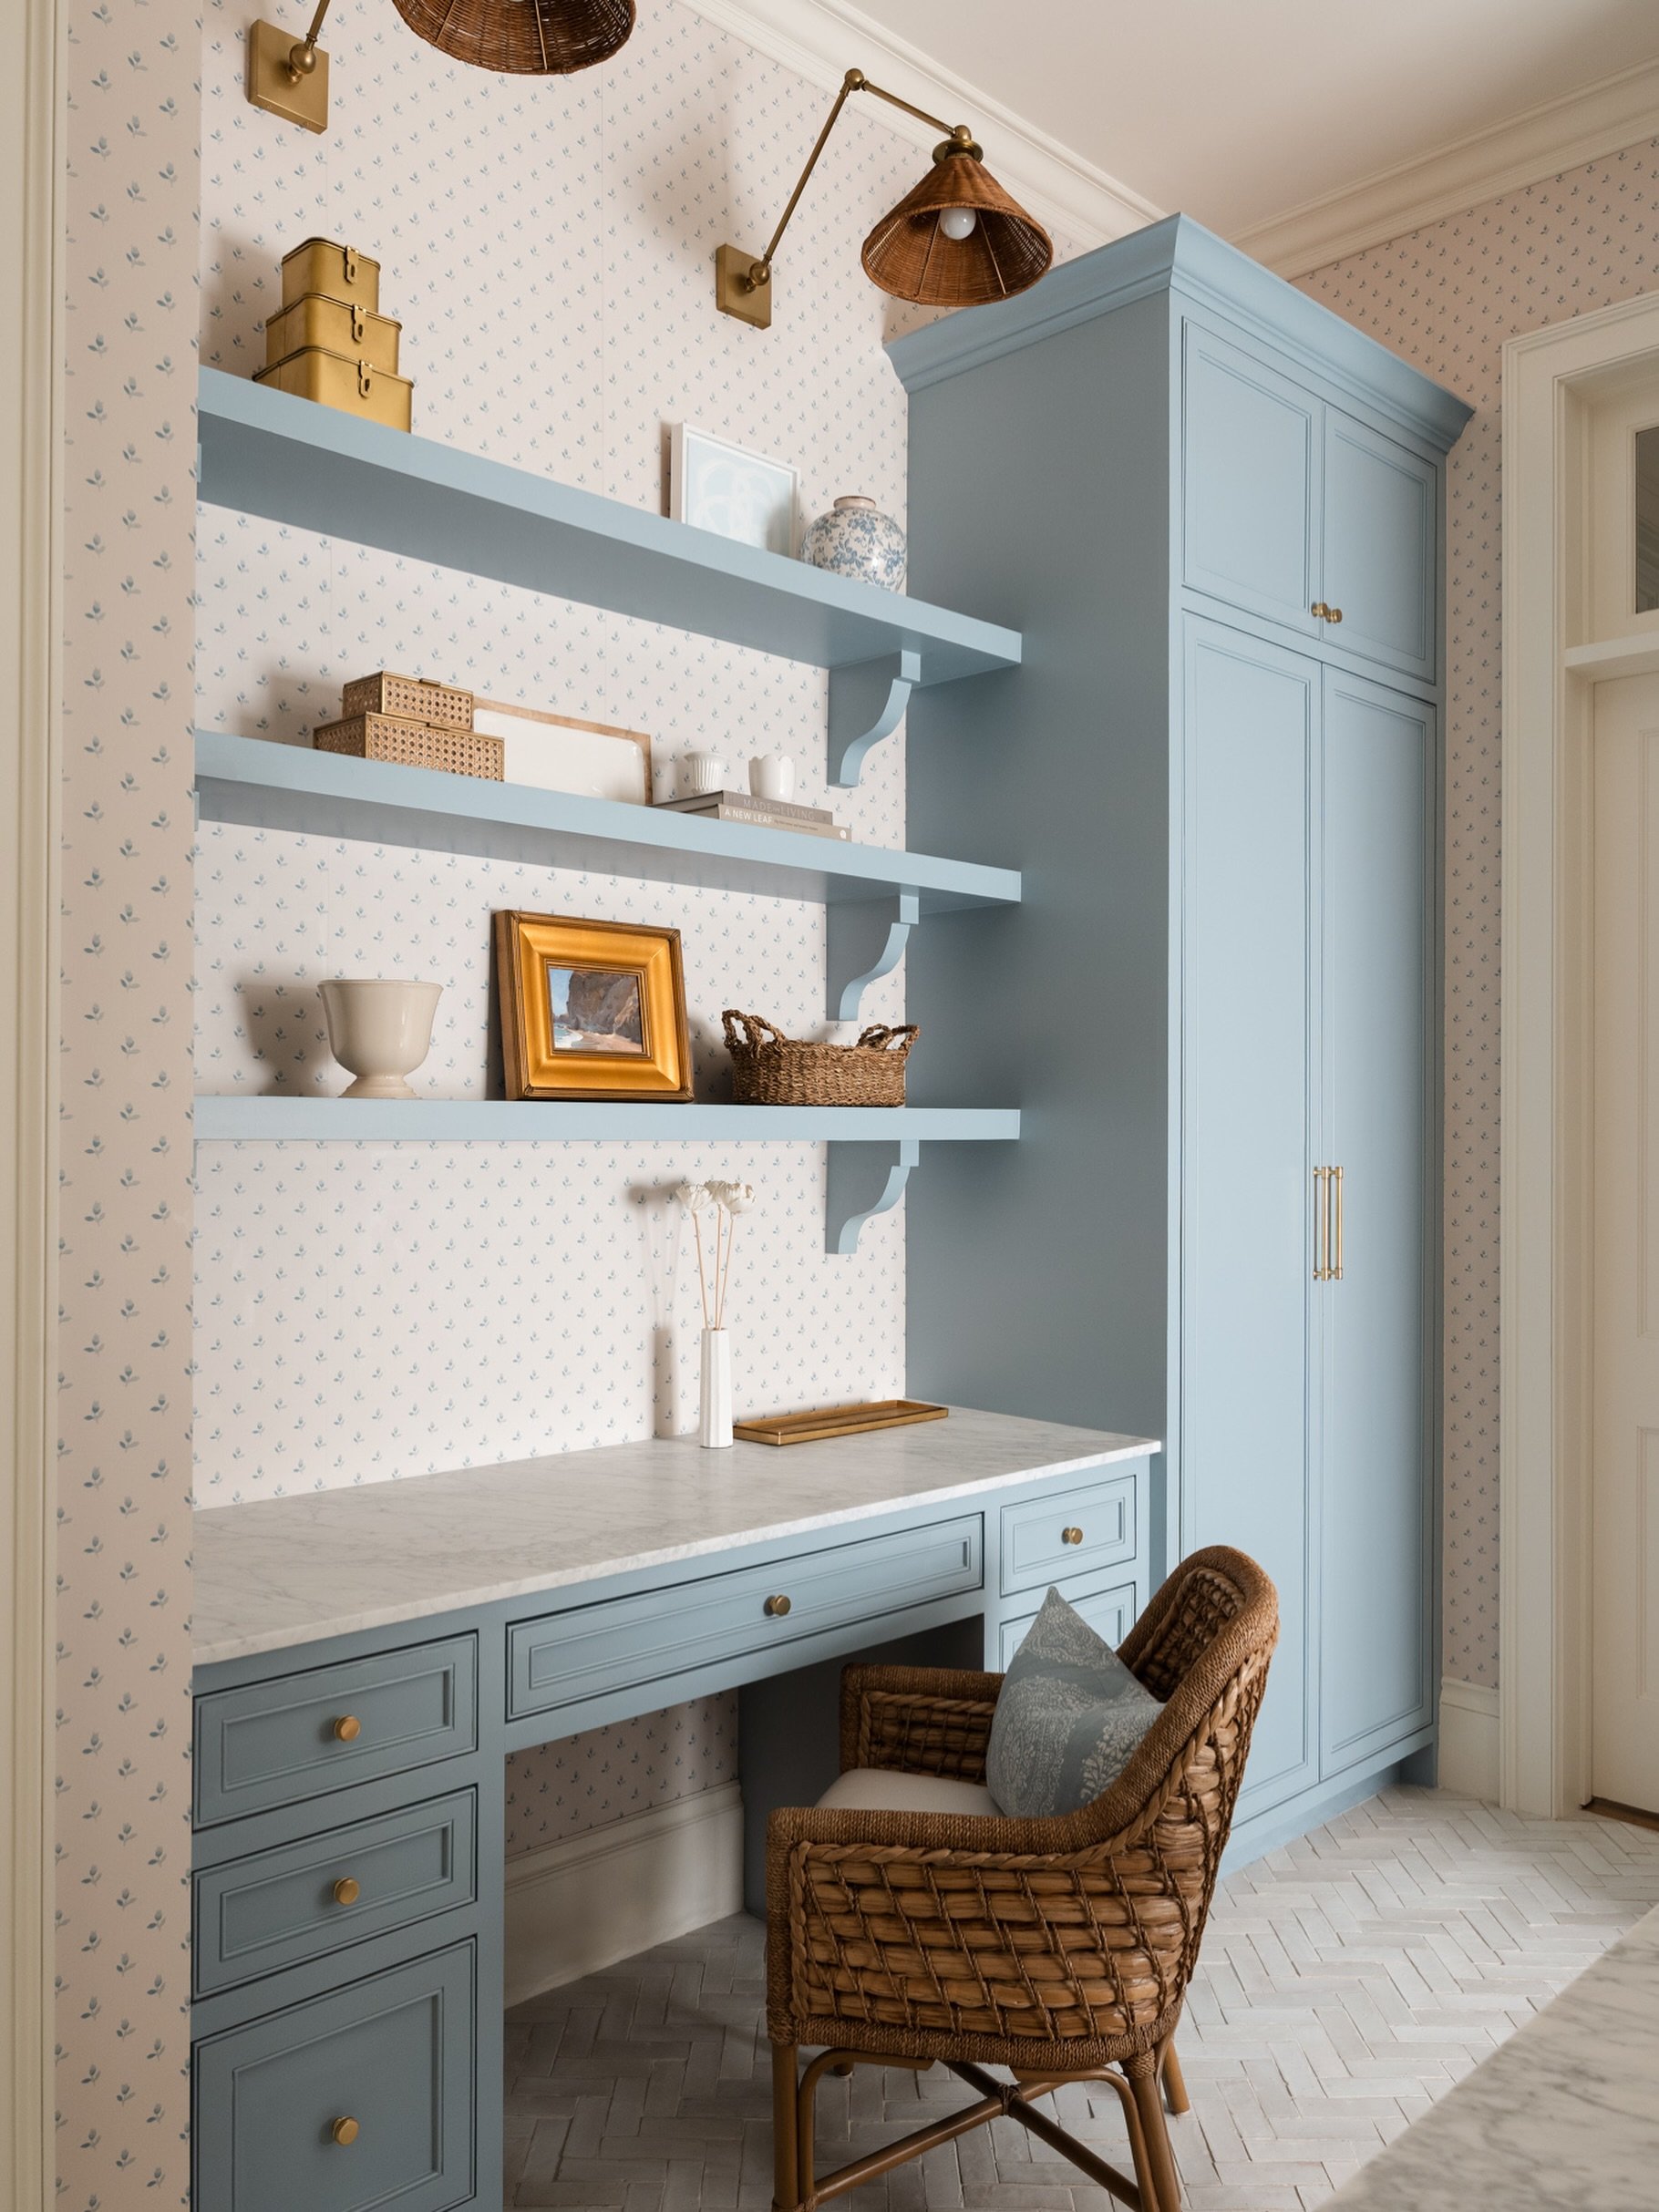
Place the books. Style the shelves. Make the beds. Arrange the pillows. Decide which artwork and accessories belong in the room. If you're bringing in florals or greenery, have those ready too.
Once we begin photographing, we'll absolutely make adjustments.
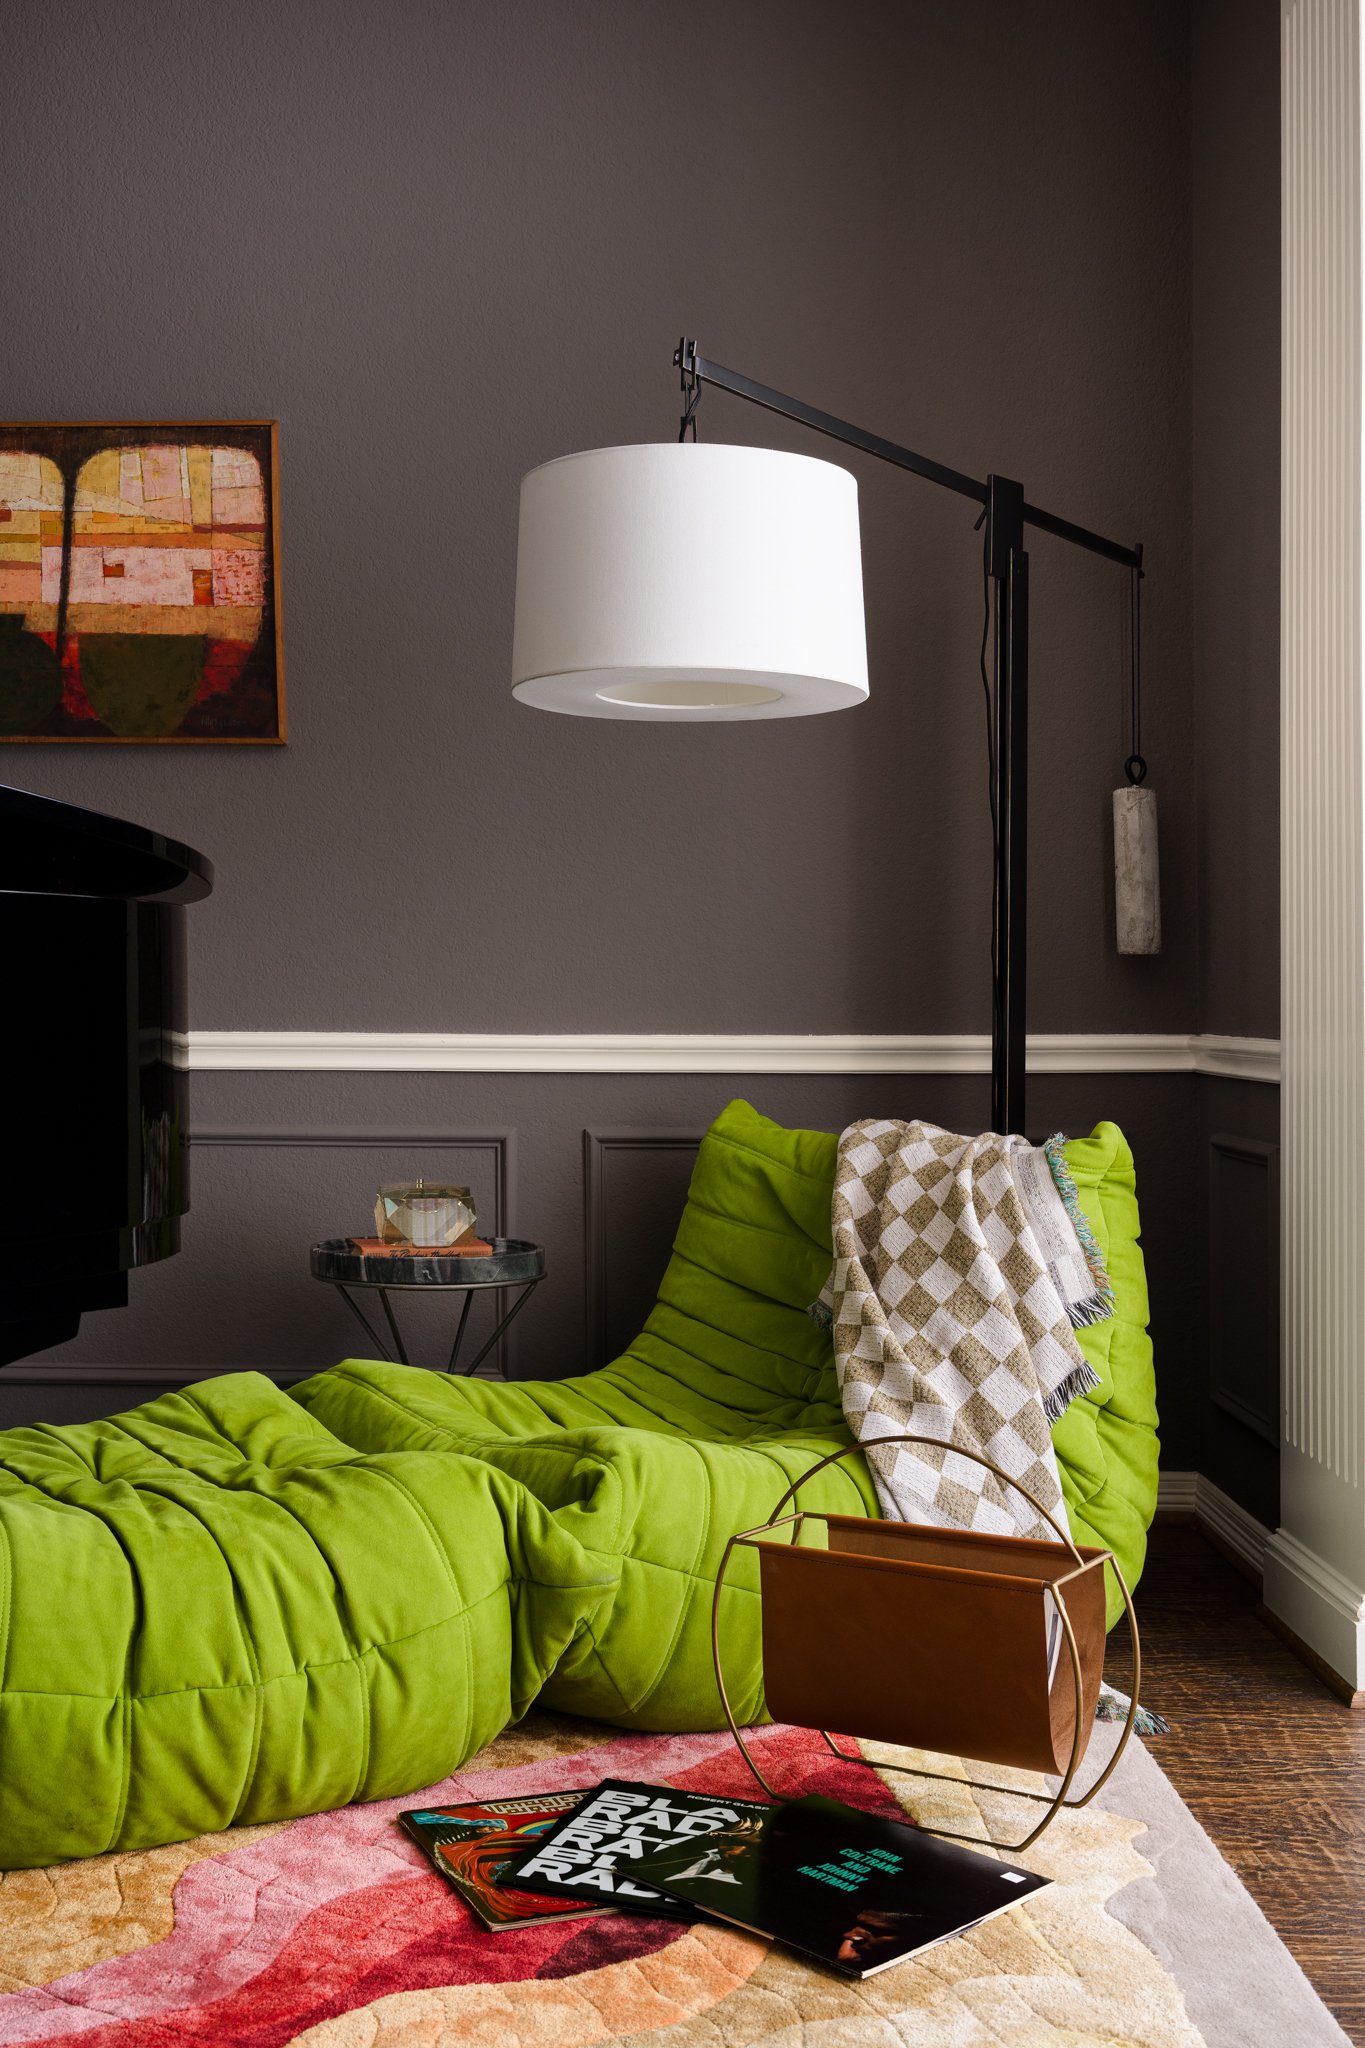
A chair that looks perfectly positioned when you're standing in the room may need to move several inches for the camera. A stack of books may need to come forward. We might remove an accessory, adjust a pillow, rotate a lamp, straighten a rug, or shift furniture to improve the composition.
Those are photographic refinements.
We don't want to spend the first hour of the session deciding how an unfinished bookshelf should be styled.
Bring More Styling Options Than You Think You'll Need
Something can look wonderful in person and disappear completely in a photograph.
That's why having a few additional styling pieces nearby can be incredibly helpful.
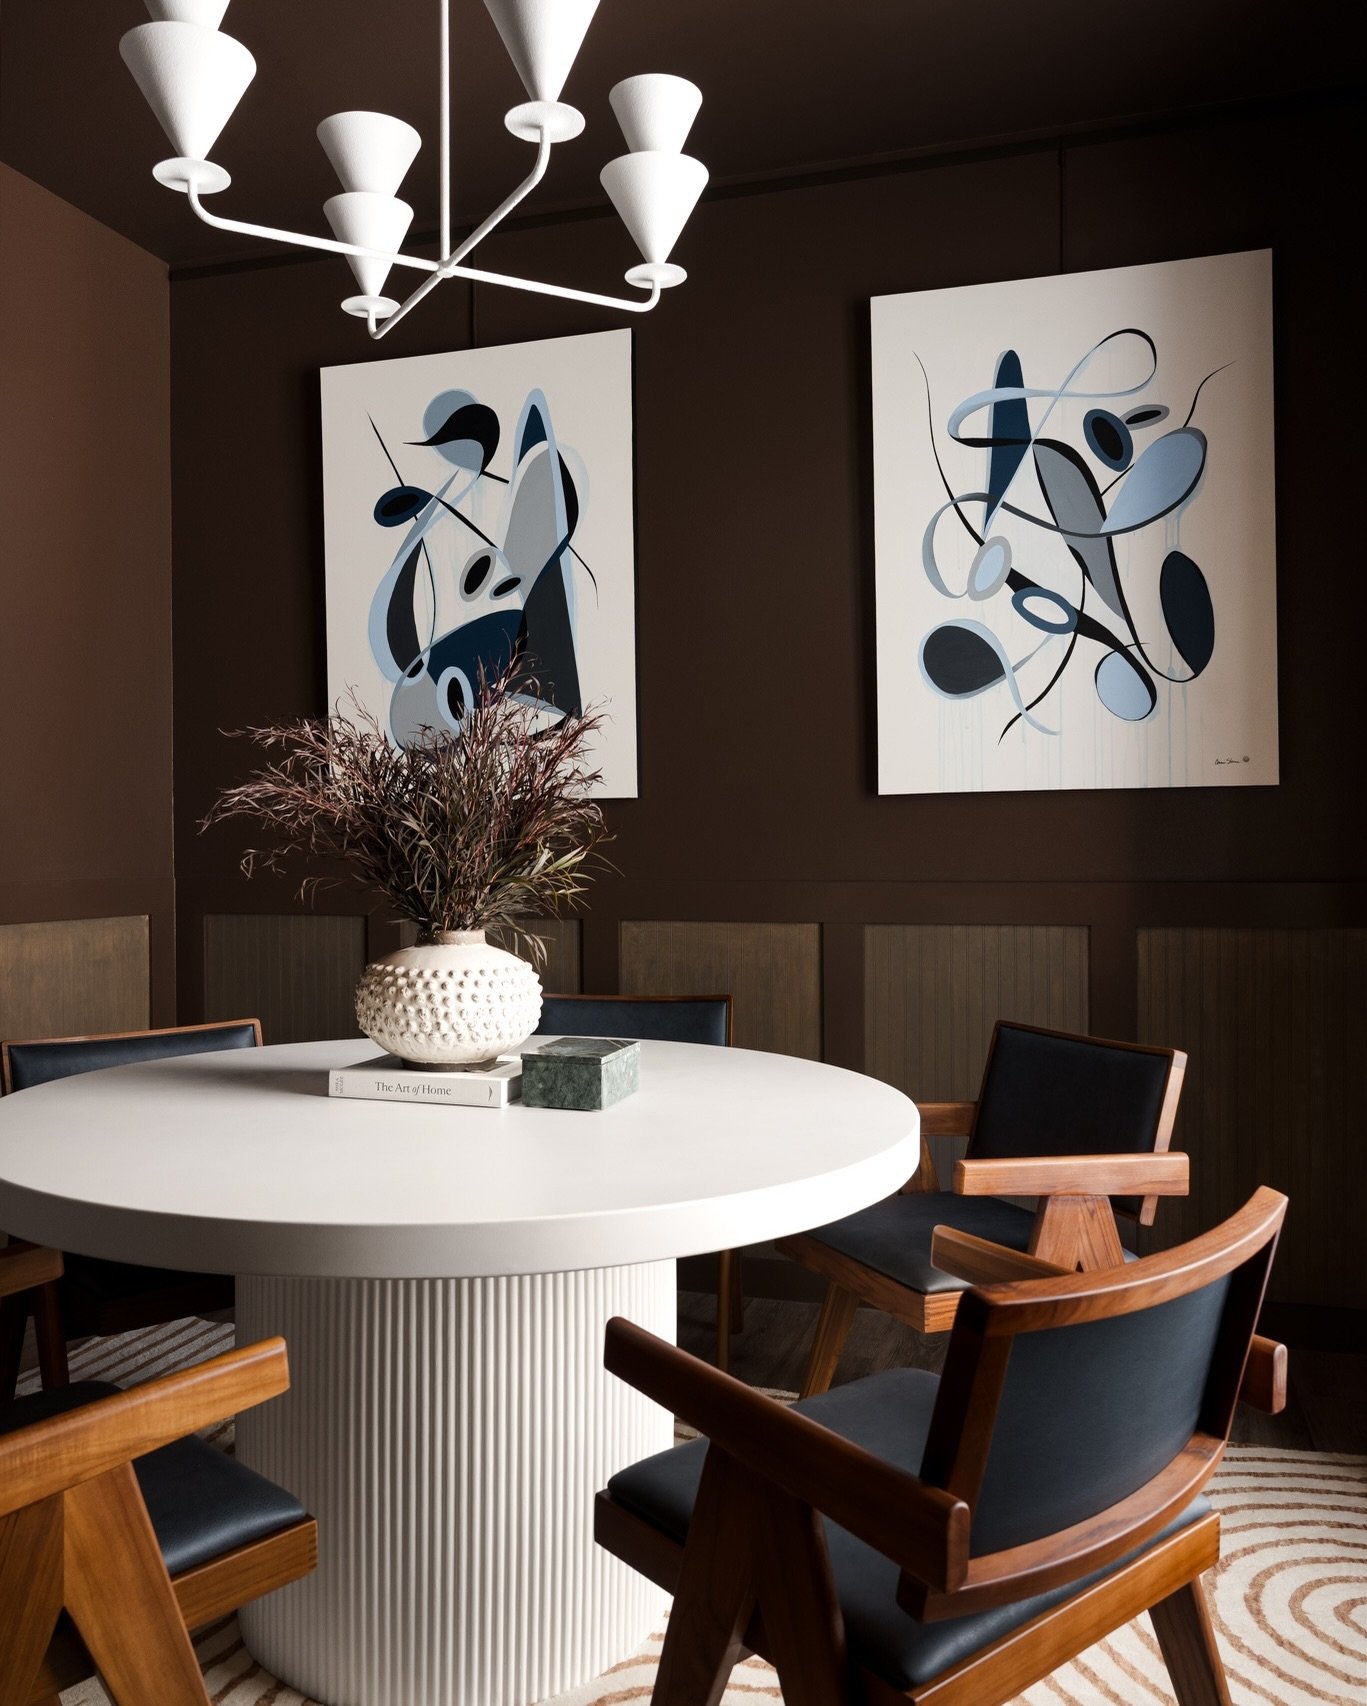
Books, trays, small sculptural objects, throws, pillows, bowls, vases, greenery, and florals give us options when a composition needs another layer, a little height, or something to balance the frame.
You don't need to bring an entire accessories closet.
The goal is simply to have enough flexibility that we aren't stuck if something that works beautifully in person doesn't translate quite the same way through the camera.
Pay Particular Attention to Florals and Greenery
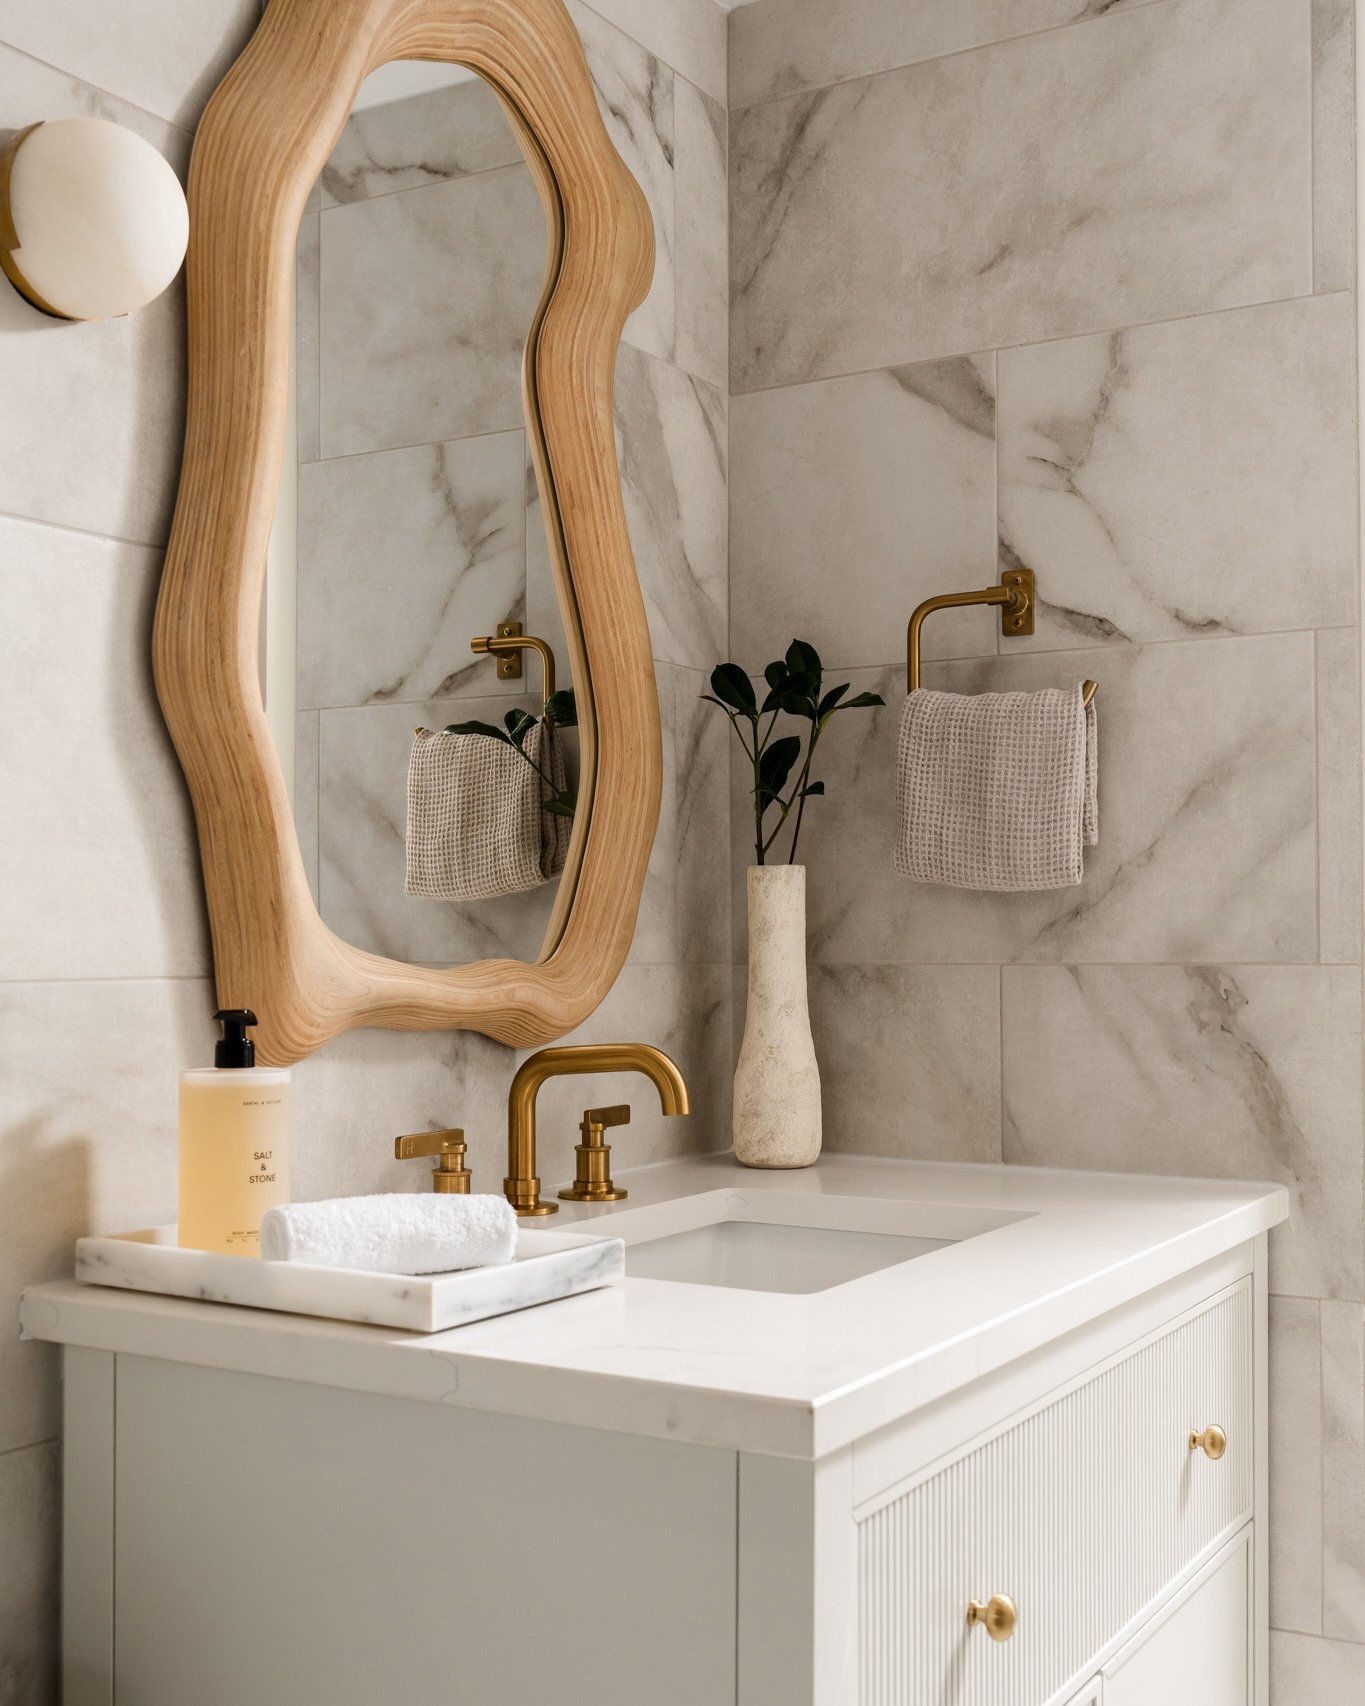
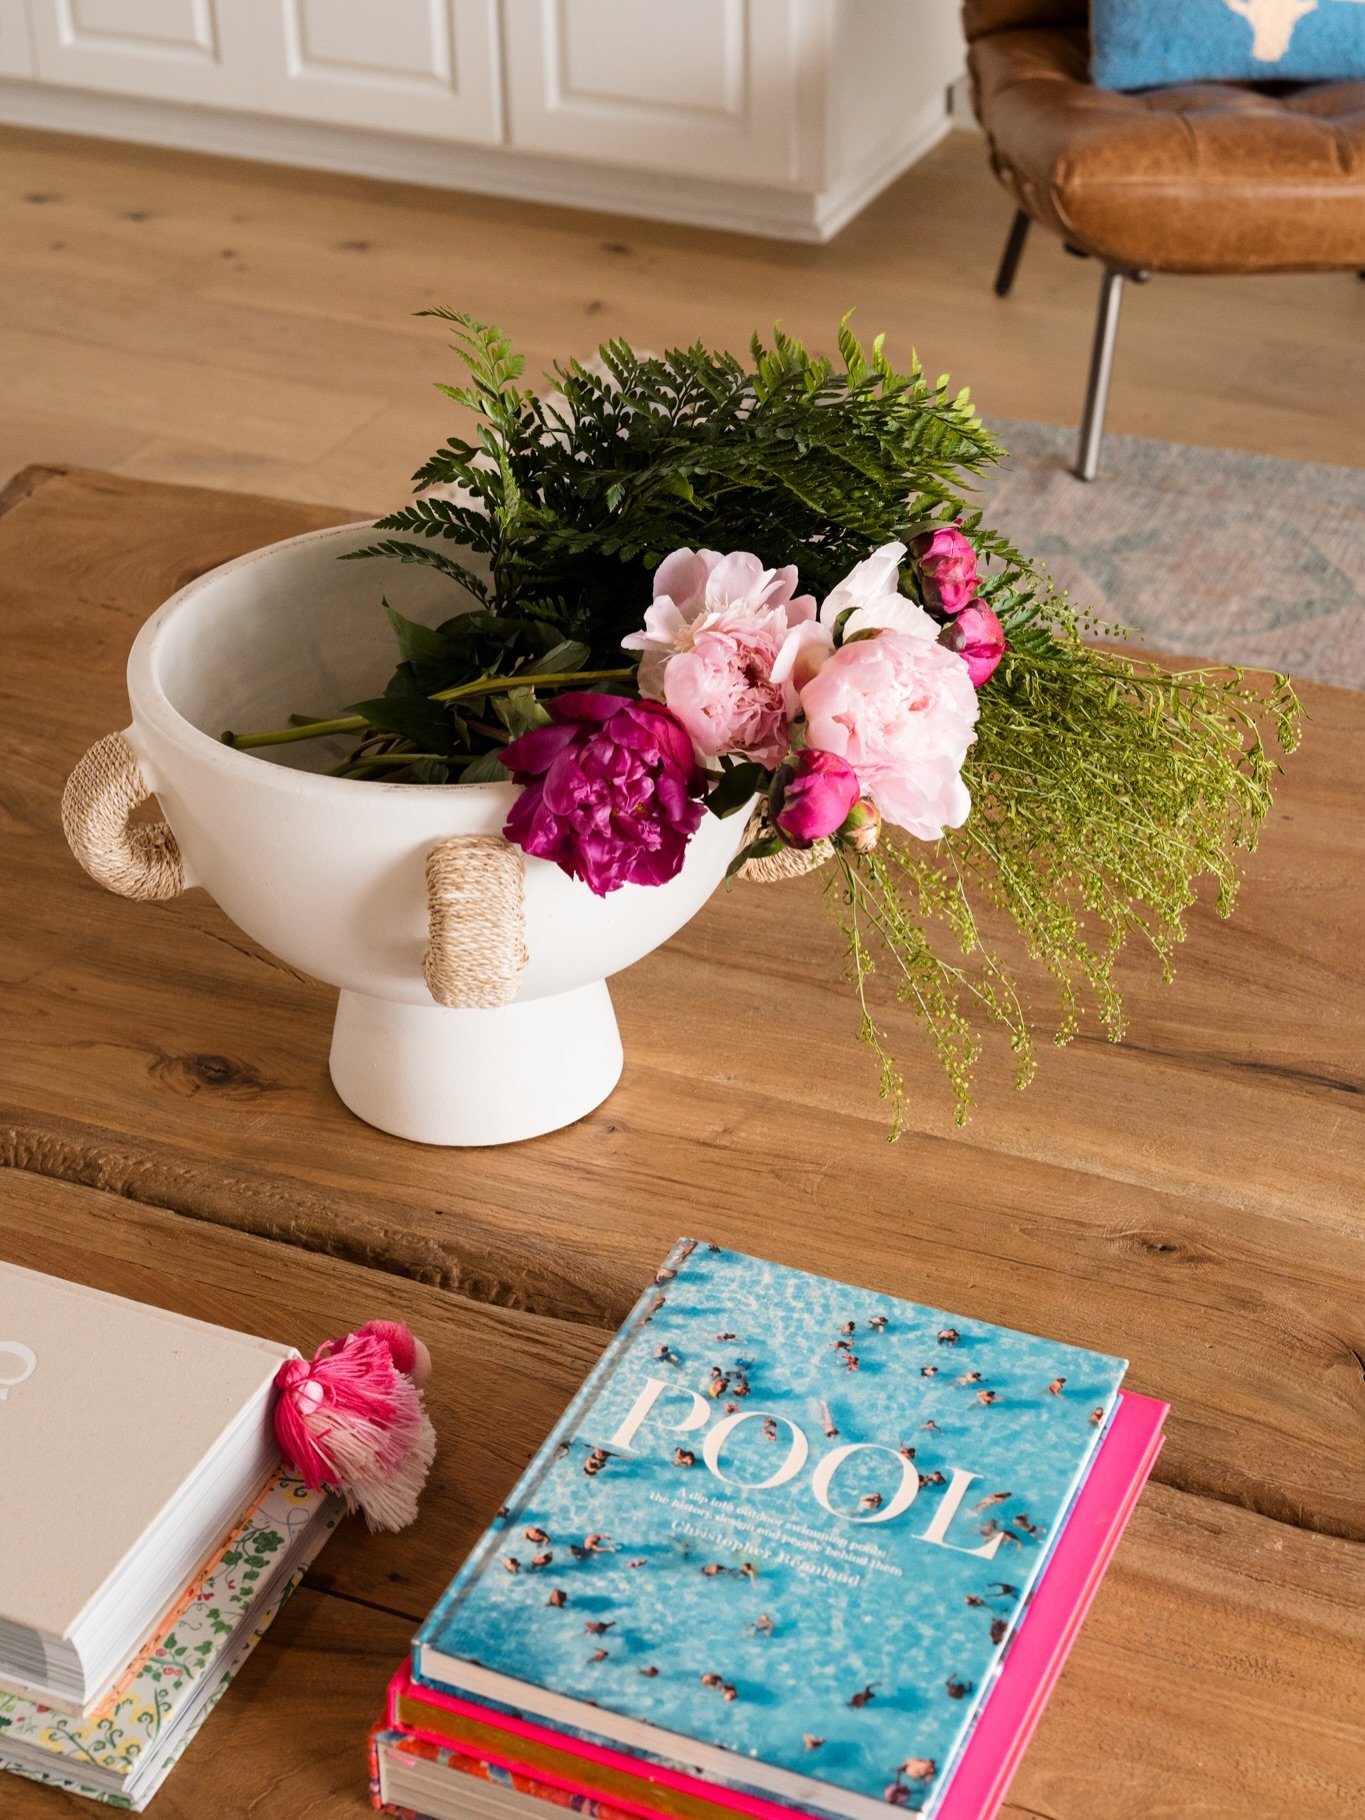
Florals can make an enormous difference in photographs.
They introduce organic shape, movement, color, and life into spaces that otherwise contain a lot of straight architectural lines and hard surfaces.
If florals are part of your photography plan, think about them in relation to the individual spaces rather than purchasing one arrangement and moving it throughout the house.
A kitchen island may call for something tall and sculptural. A bedside table might need only a small branch. A large living room may benefit from greenery that has enough scale to hold its own within a wide composition.
These are also things we can discuss during planning so you're not guessing about what to source.
Think About the Story You Want the Photographs to Tell
Preparation isn't only about cleaning and styling.
Before the session, think about why you made the design decisions you made.
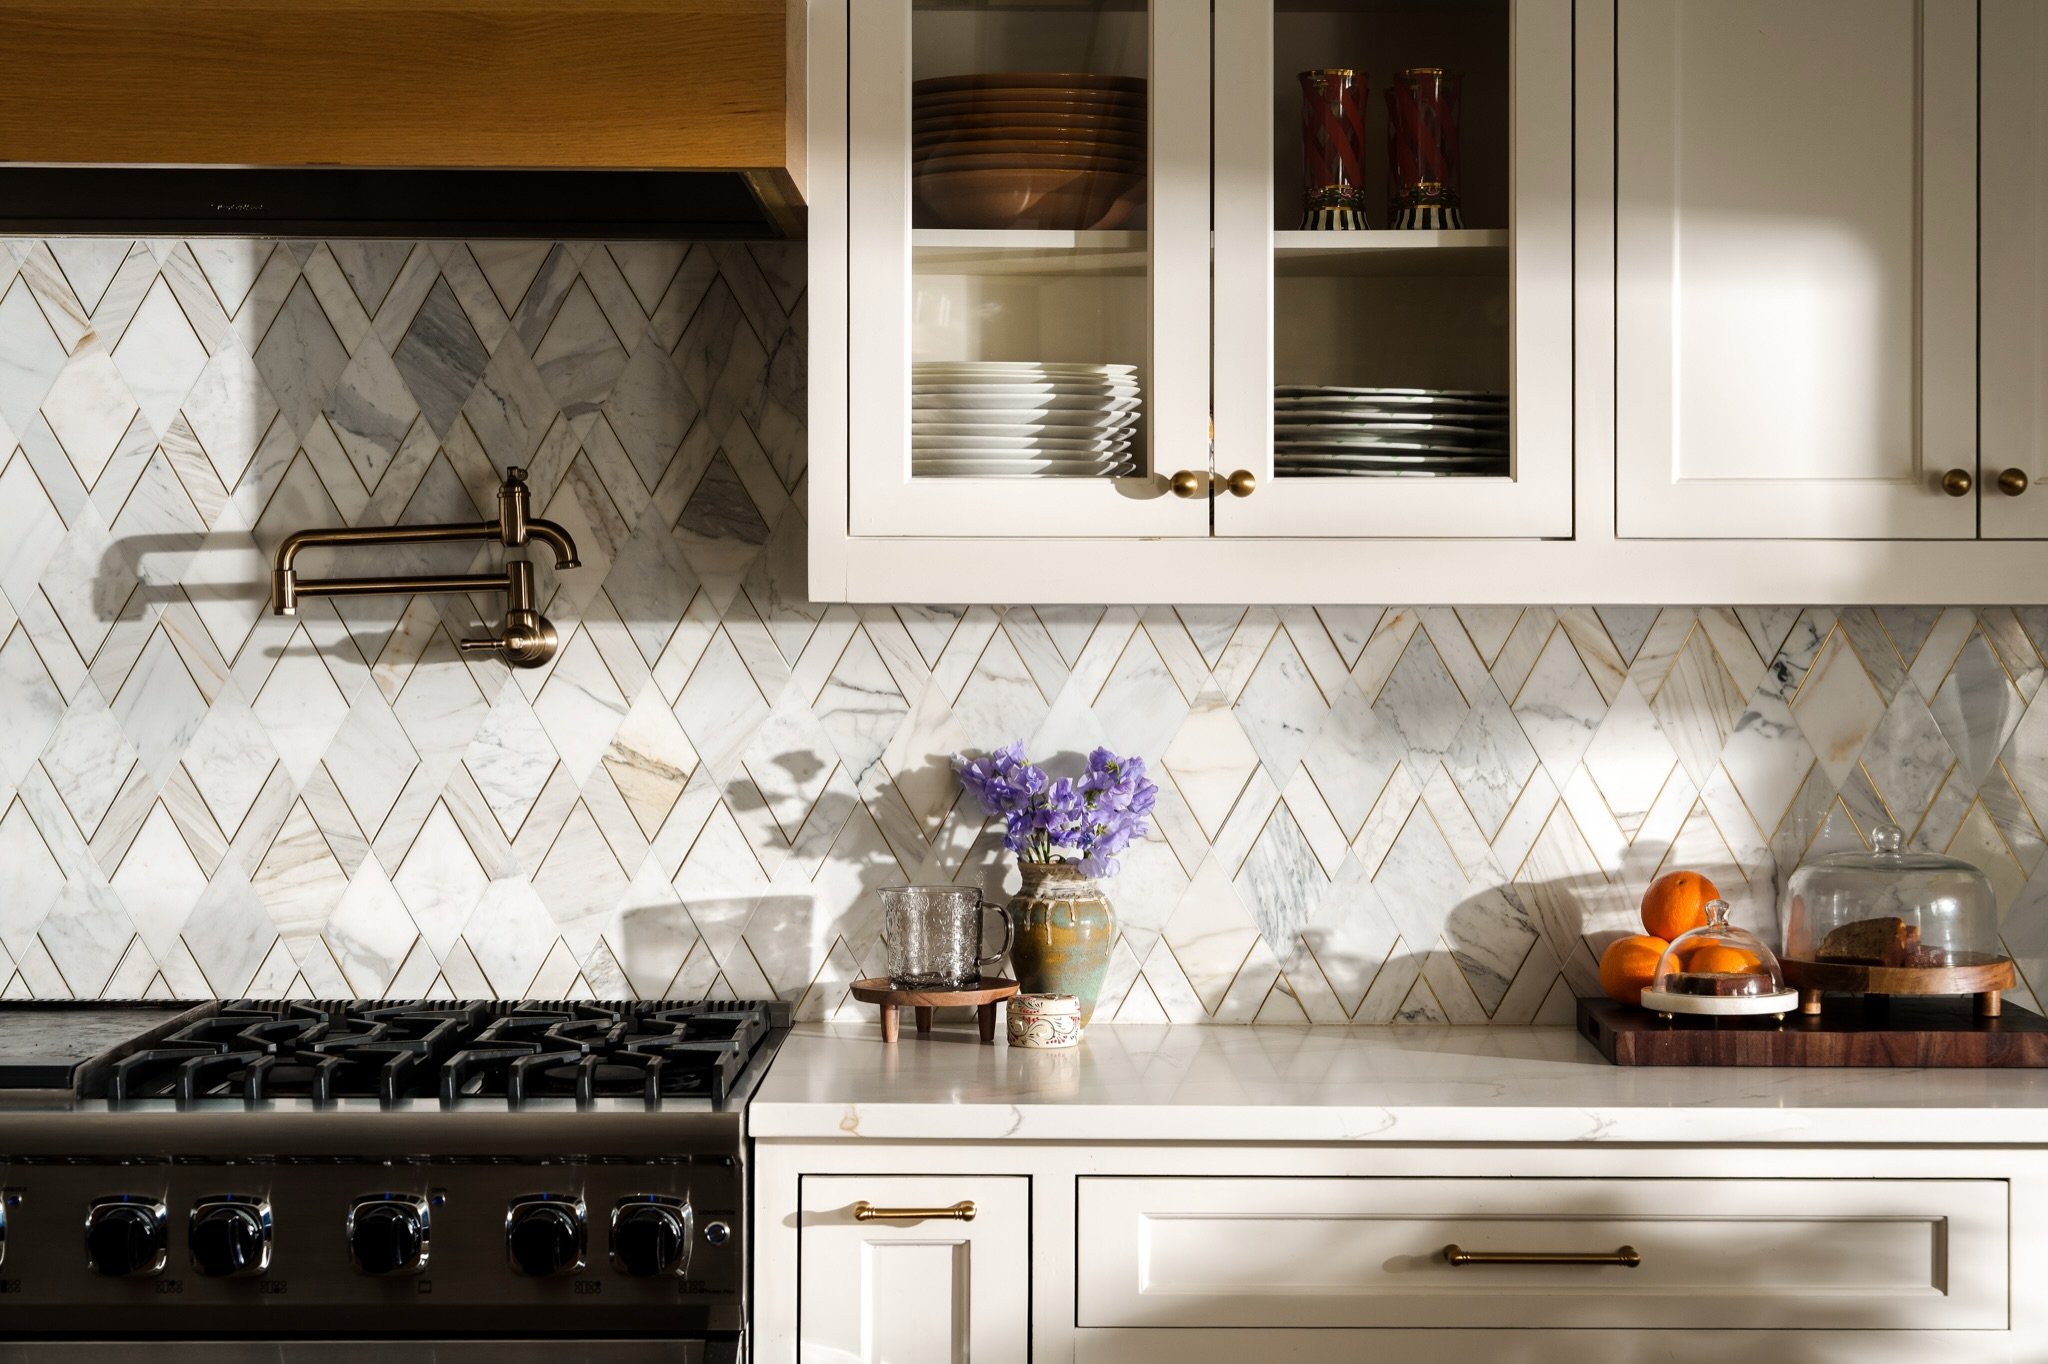
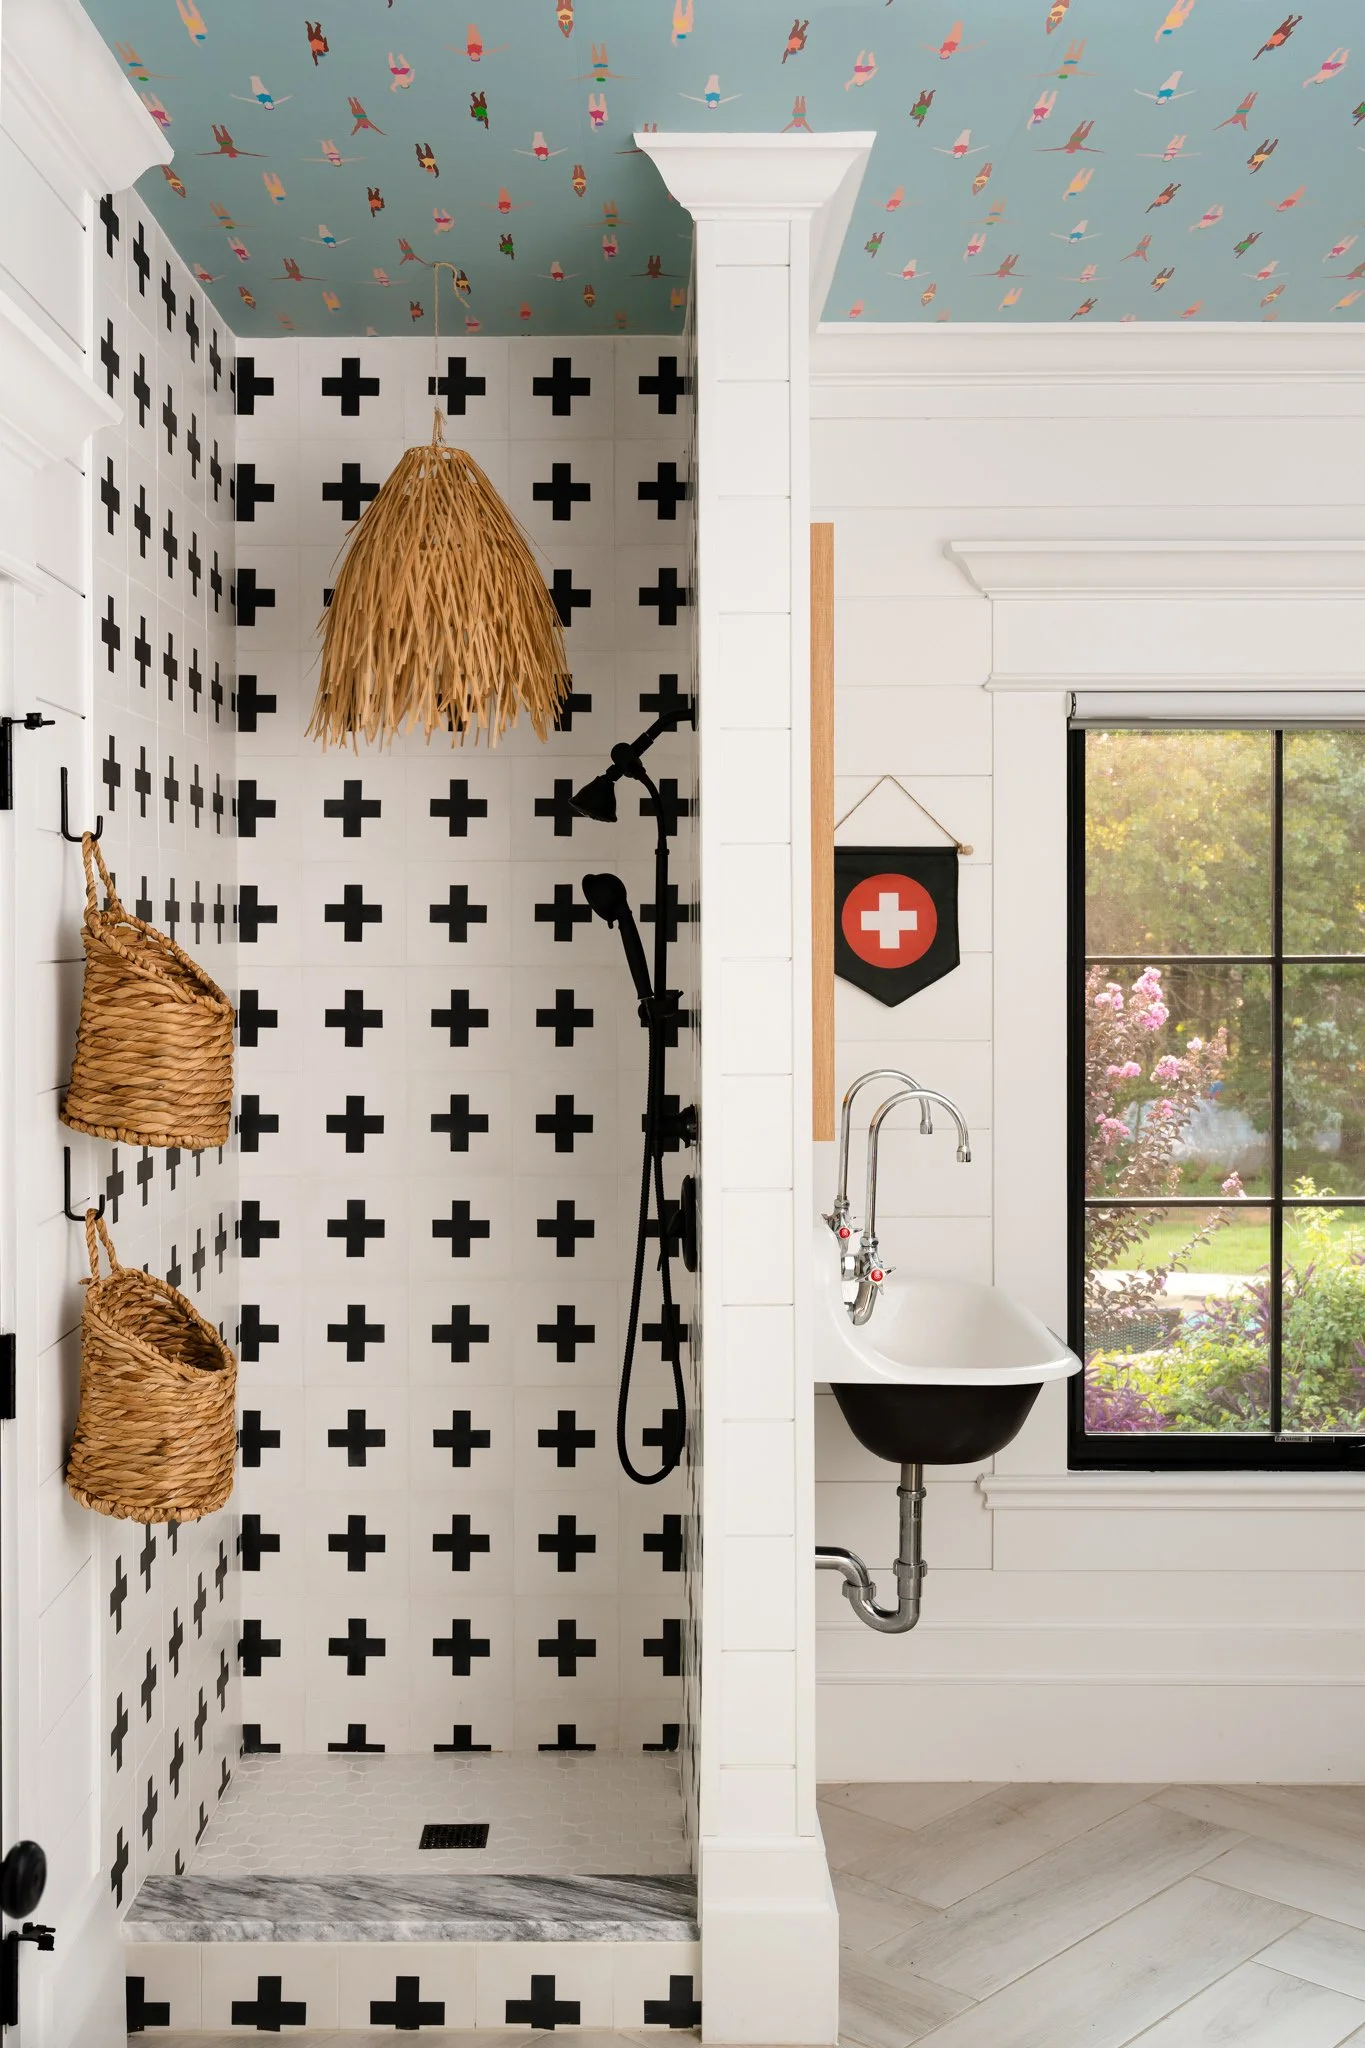
Maybe you completely reconfigured the kitchen to improve the way the family uses it. Perhaps the cabinetry was custom designed around an architectural constraint. Maybe you spent months finding exactly the right stone, commissioned a piece of artwork, designed a custom banquette, or restored an original architectural feature.
Tell me those things.
I don't just want to photograph a beautiful kitchen. I want to understand why this kitchen looks the way it does.
Those decisions help me identify the photographs that deserve to be part of the final collection: the wide image that explains the room, the composition that shows the relationship between two spaces, and the closer photographs that preserve the materials and details that make the project distinctly yours.
The goal is for your gallery to become a visual record of your design process, not simply a collection of pretty rooms.
Have Your Before Photos Available
If the project involved a renovation, bring your before photographs with you or make sure they're easily accessible on your phone.
Before-and-after imagery can be incredibly valuable for showing the extent of your work.
When there's a particular transformation you want to document, seeing the original photograph can also help us determine whether there's an opportunity to photograph the finished room from a similar perspective.
The final composition still needs to work as a photograph, but knowing which transformations matter most helps make sure we don't overlook an important part of the project's story.
Clear the Things We Don't Want to Photograph
Before the session, do a final walkthrough looking specifically for everyday objects that don't belong in the finished photographs.
Phone chargers, remote controls, tissue boxes, pet bowls, cleaning supplies, trash cans, toothbrushes, countertop appliances, paperwork, cords, children's items, and personal photographs can all quietly find their way into a room.
You don't necessarily need to strip every sign of life from the space. The question is whether an object contributes to the story of the design.
If it doesn't, it probably doesn't need to be in the photograph.
Don't Worry About Making Every Photographic Decision Yourself
You don't need to know exactly which angles we should photograph before I arrive.
That's my job.
Preparation is about making sure the project itself is ready and communicating what's important to you.
Once we're on site, I'll evaluate the light, architecture, furniture placement, sightlines, and relationships between spaces to determine how we can photograph the project most effectively.
We'll review compositions together as we work, make adjustments when necessary, and keep an eye on the priorities we established during planning.
A Little Preparation Gives Us More Time to Create
Interior photography is intentionally slow.
We may move furniture, refine styling, adjust lighting, review the composition, and make tiny changes before creating a single finished photograph.
That's part of the process.
When the project is cleaned, styled, and prepared before we begin, that time can be spent where it matters most: refining compositions, documenting your design decisions, and creating a gallery that gives you more ways to tell the story of your work.
You put an enormous amount of thought into designing the project.
The photography session is where we make sure those decisions are preserved.
Follow Along on Instagram
Recent projects, behind-the-scenes moments, and a closer look at the spaces, details, and designers I have the opportunity to photograph.