Great photography doesn't start when I arrive, it begins with the planning that happens before the session. Here's how to think through your long term goals, tell your project's story, and prepare the space so shoot day is spent creating, not scrambling.
By Stacy Markow
There's a substantial amount of planning, strategy, and communication that needs to happen before your photographer ever steps into the room.
You spent months, maybe years, making decisions about a space. Shoot day shouldn't start with, "whatever angle you think is best."
Planning an interior design photoshoot isn't about controlling every frame. It's about clearly communicating where you want to take your business, what marketing platforms you're using, what you want to be known for, and what you ultimately need the photographs to do.
Are these images filling a gap in your portfolio? Are you planning to submit the project for publication? Do you need vertical images for Pinterest? Are you trying to attract more kitchen renovations, hospitality projects, or full-home designs?
Having a clear idea of the photographs you need, and why you need them, can give you marketing material for months to come. The more thought and preparation you put into the photoshoot before I arrive, the more we can concentrate on actually creating photographs once I do.
1. Start With What You Need the Photographs to Do
Before making a shot list, ask yourself why you're photographing the project in the first place.
Your portfolio, website, social media, Pinterest, publication submissions, awards, and future marketing campaigns all have different photography needs. More importantly, think about the kind of work you want to attract next.
Photograph what you want to be hired to do again, not simply everything that happens to be in the house.
That said, I'm a firm advocate for having your projects professionally photographed, even when the finished home has become a shadow of its former design self.
Clients live in their homes. They bring in furniture. They move things around. They buy accessories you would never have chosen in a million years. That's okay.
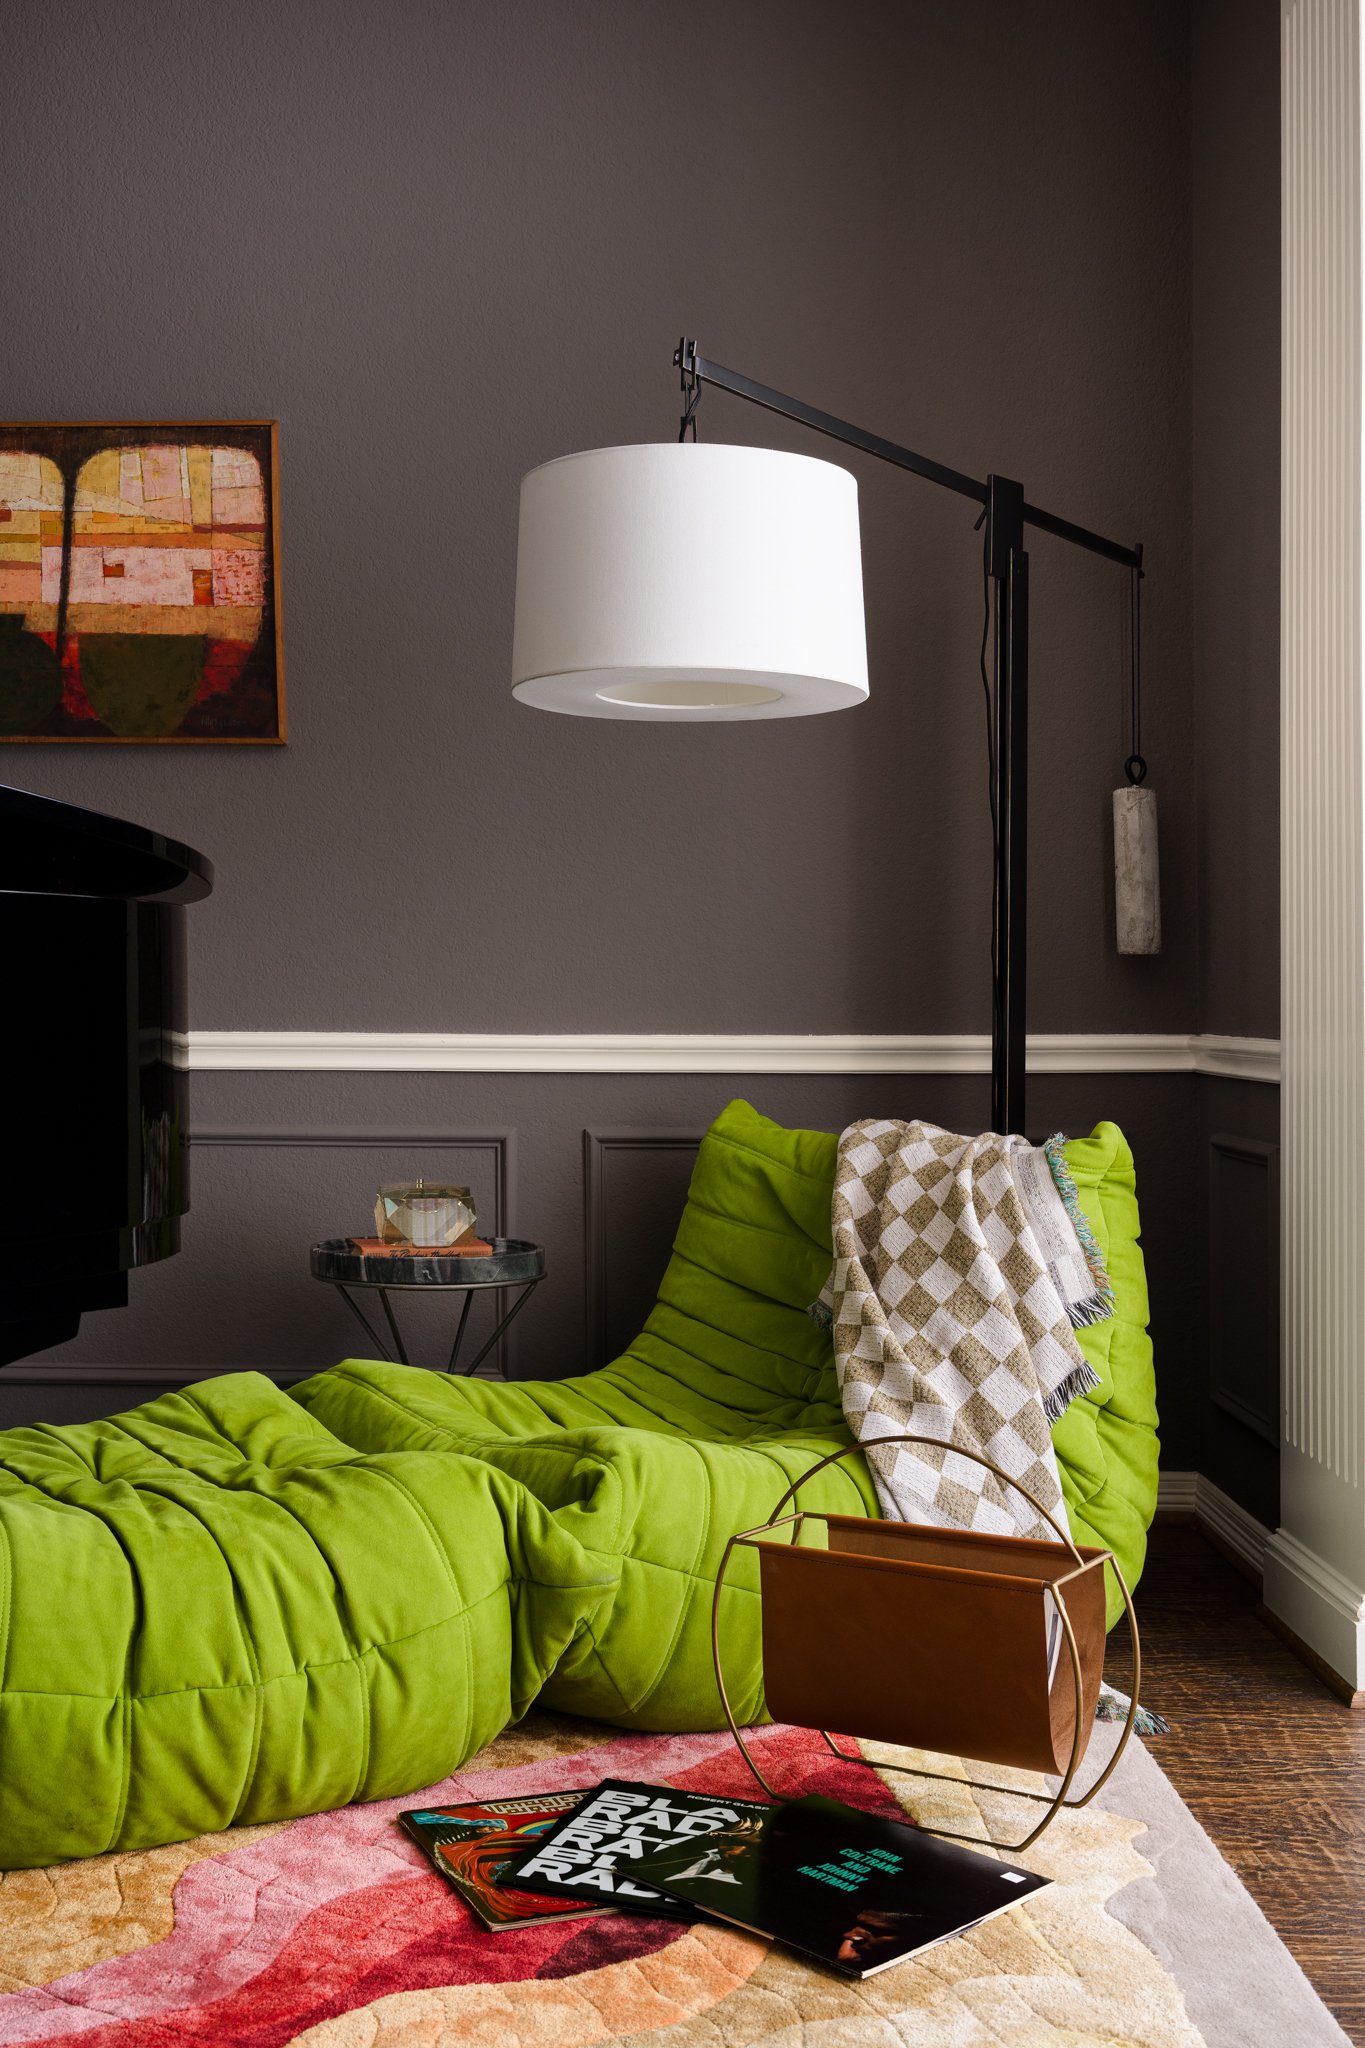
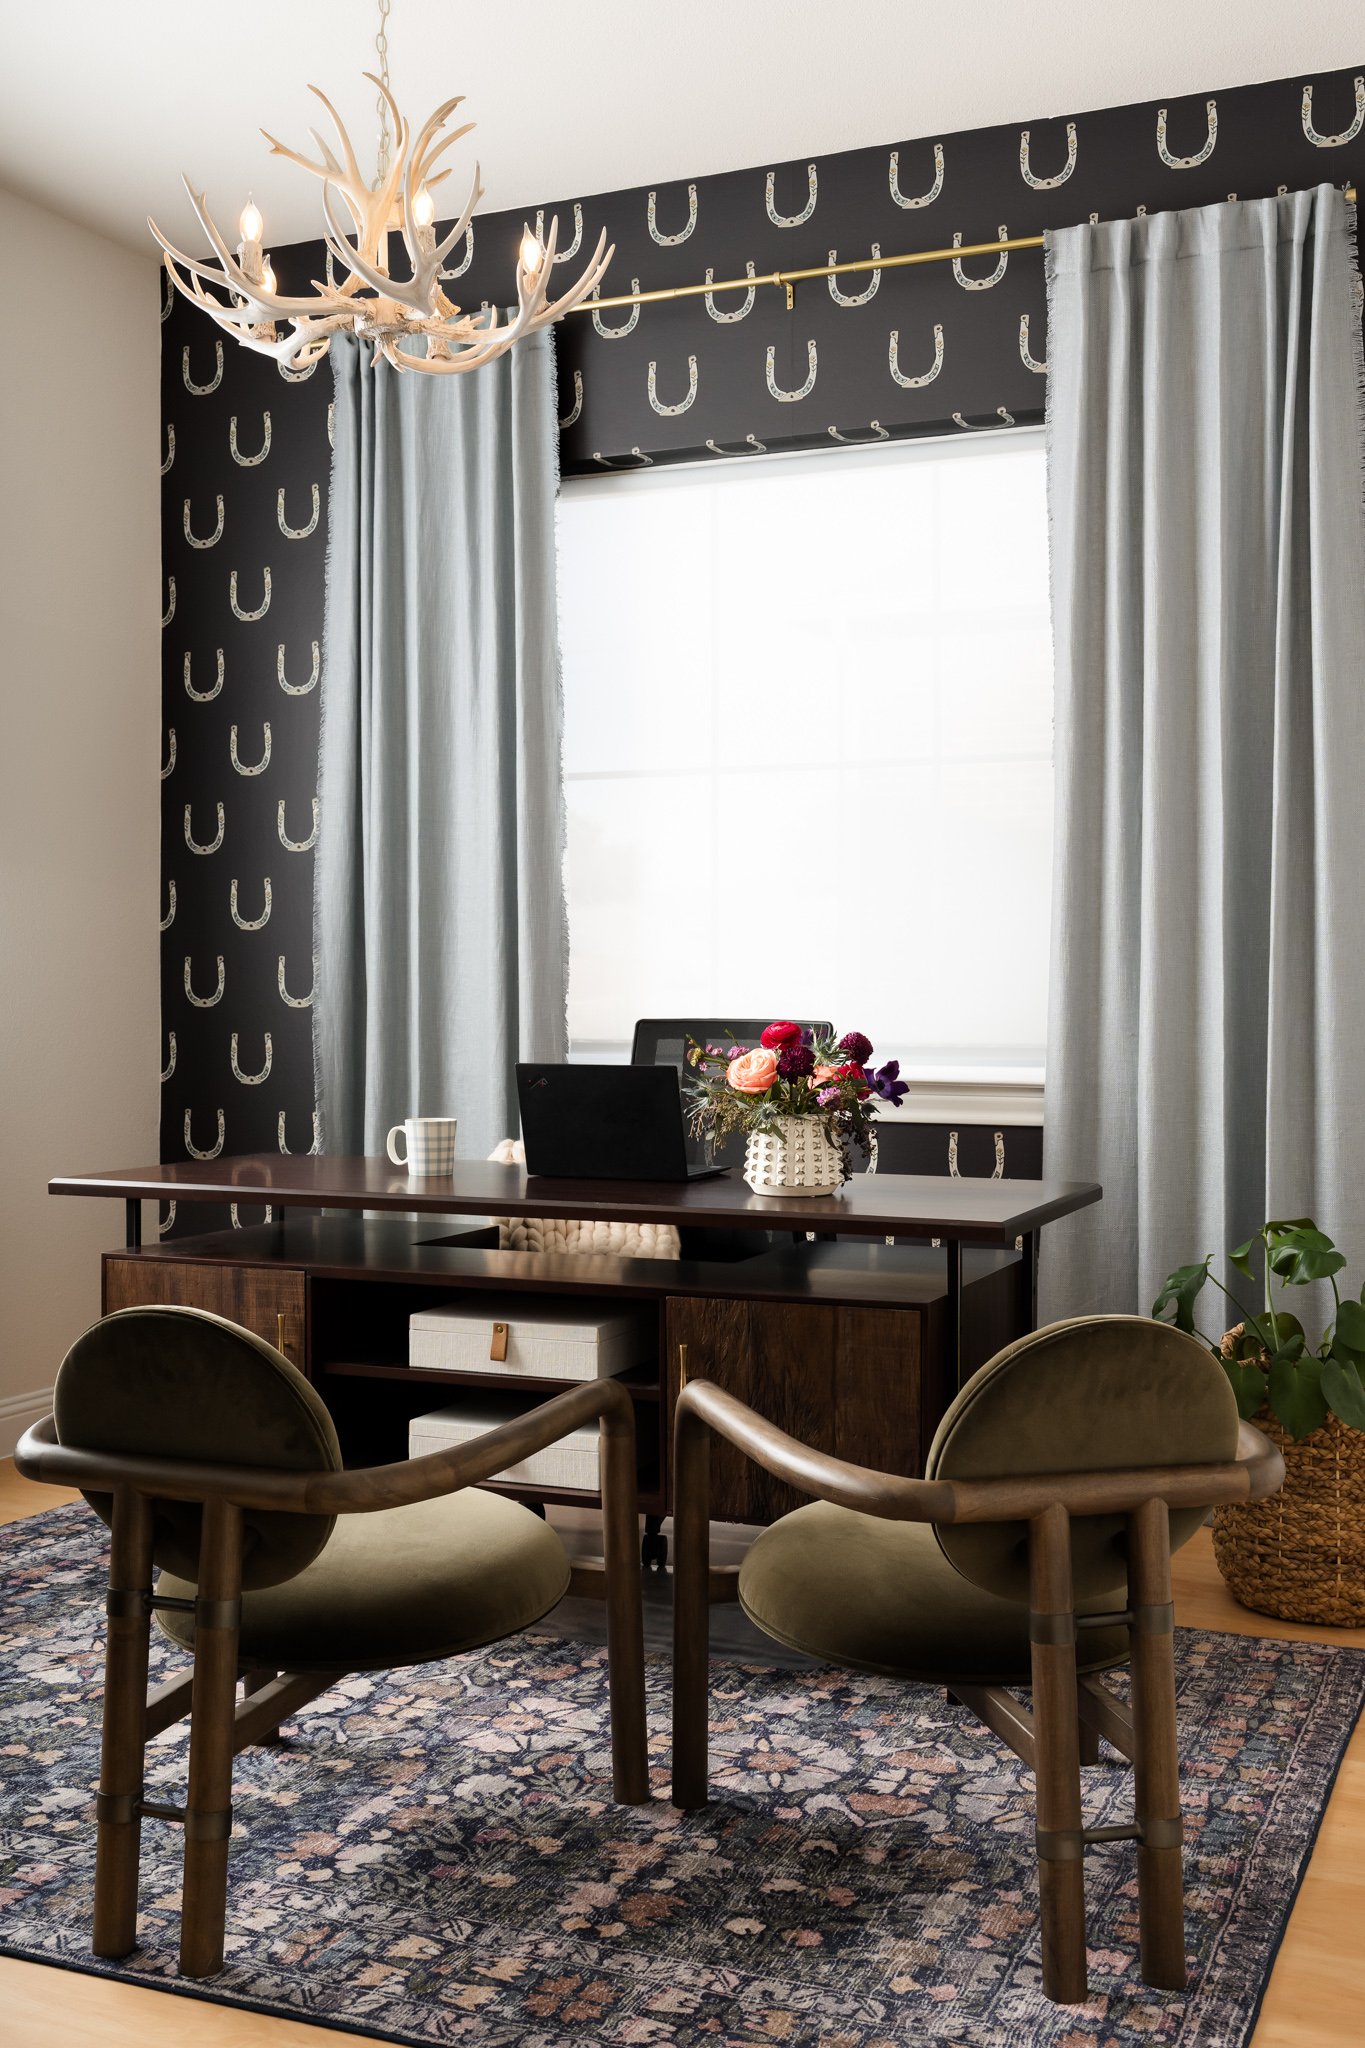
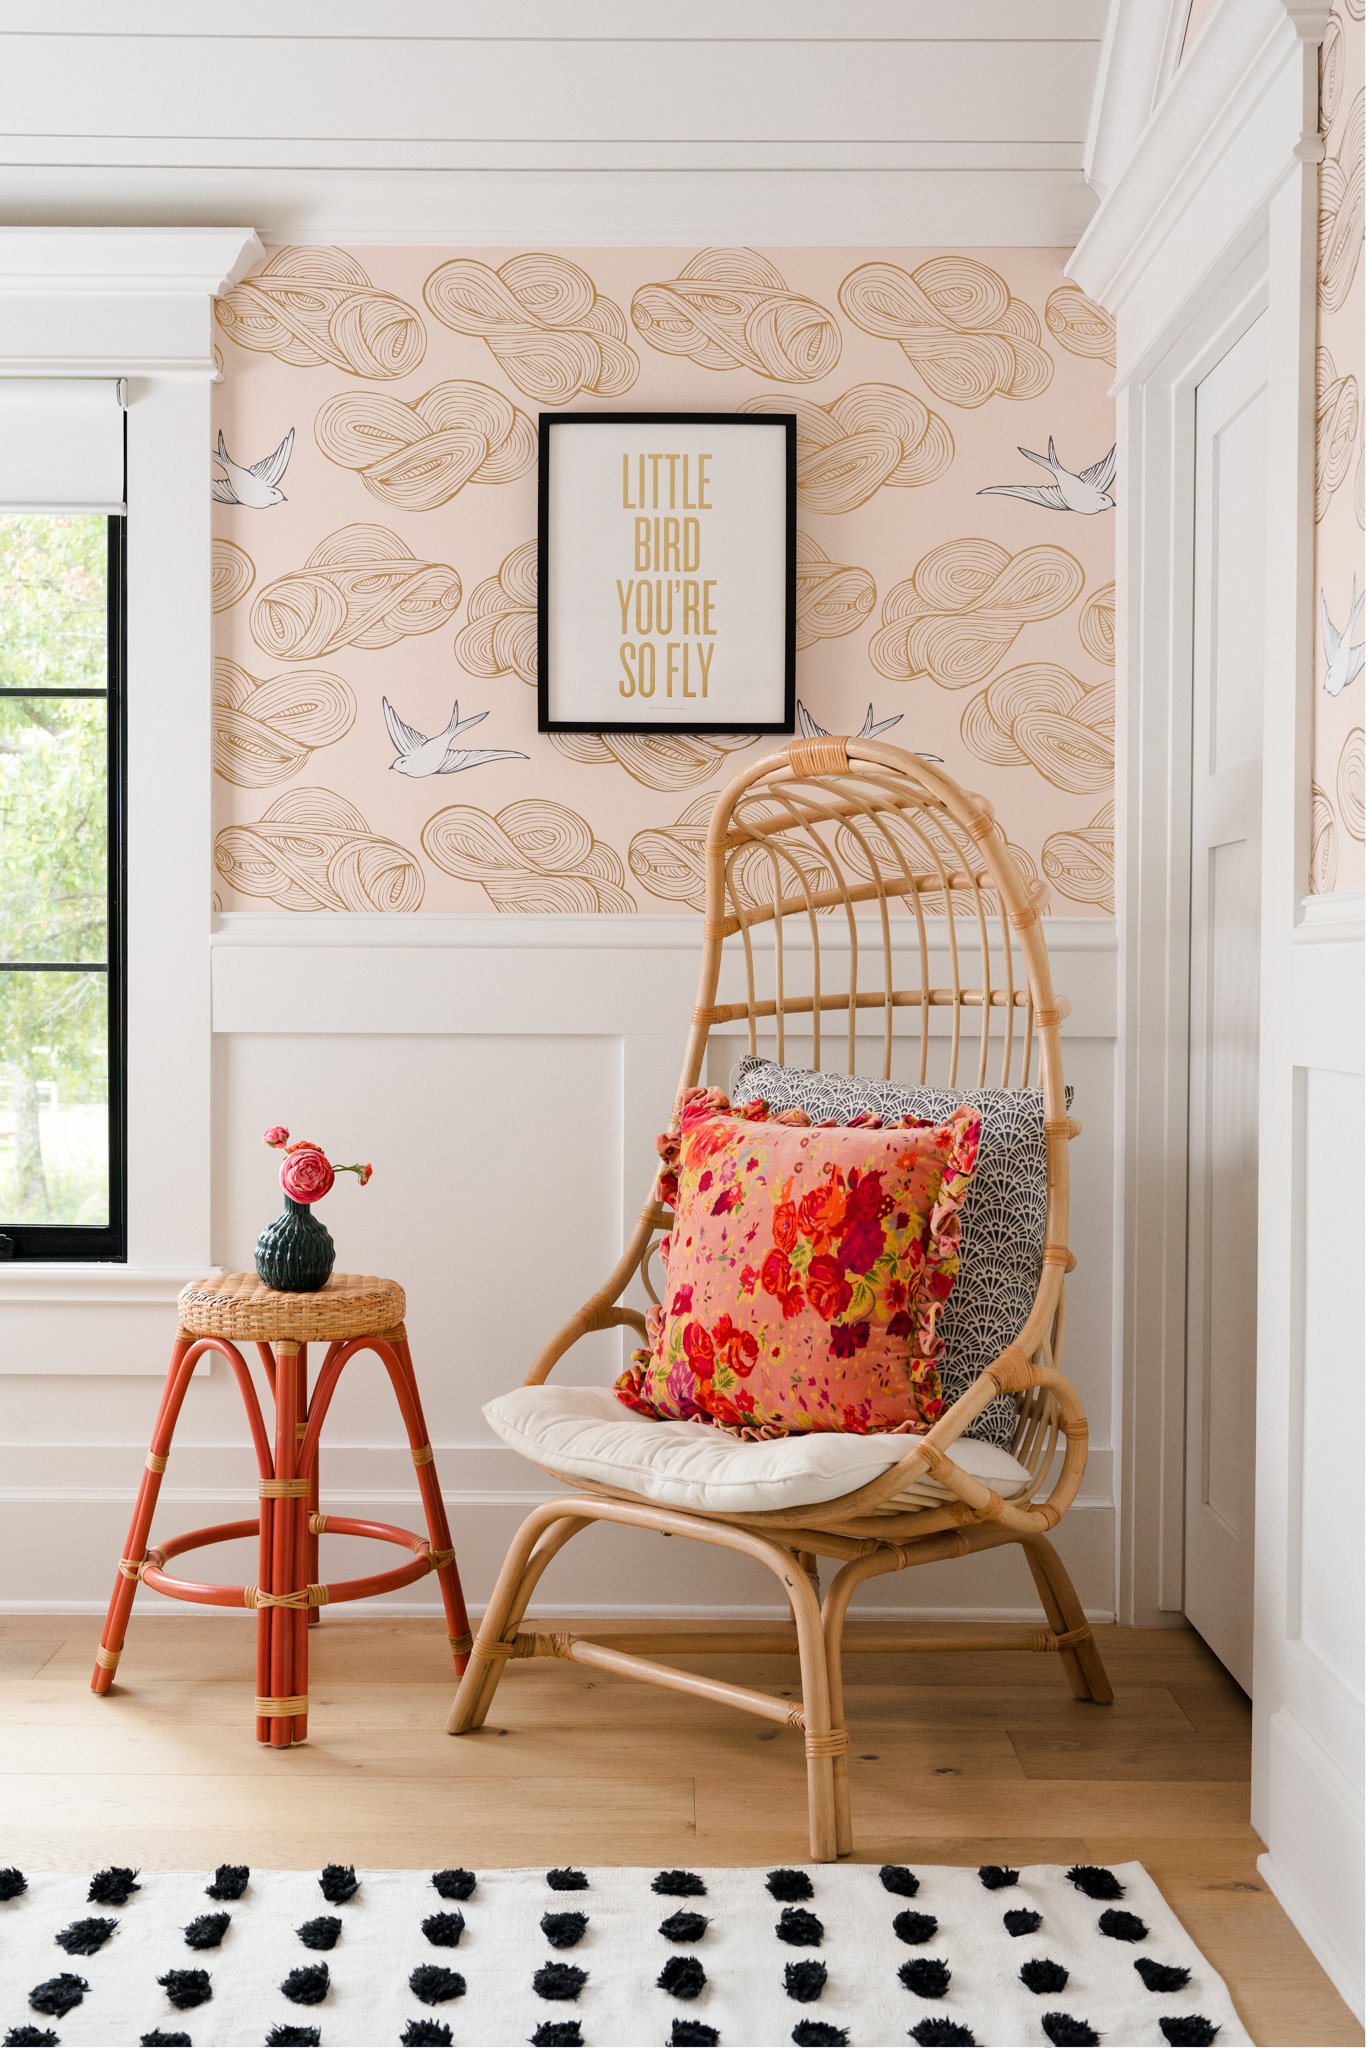
If the homeowner's current aesthetic doesn't represent your work, temporarily style the space back toward your original vision. Bring flowers, books, vases, rugs, dishes, pots and pans, glassware, barstools, chairs, artwork, and styling objects. Bring whatever helps the photographs represent the design you actually created.
Bring bedding. Seriously. Bedding might be one of the fastest ways to completely transform a bedroom for photographs.
And yes, sometimes that means buying things specifically for the photoshoot and returning them afterward. Stylists do it all the time. Take firm advantage of America's extremely generous return policies.
If you're in France, I'm sorry. I once accompanied a friend on a return while visiting her there and approximately six hours and 47 forms later, I learned never to take the American retail return policy for granted again. Never forget.
2. Identify What Makes the Project Worth Photographing
Every interior design project has a story, and the photographs are the workhouse that help tell it.
Maybe you solved a wonky floor plan that never quite worked. Maybe you completely changed the function and flow of a kitchen. Maybe a primary bathroom became a spa-like retreat that changed the way the homeowners use their space.
Start there.
Then identify which spaces are the strongest representations of your work, not necessarily the biggest spaces. What design decisions are you most proud of?
It could be something substantial, like adding architectural beams or completely reconfiguring a kitchen. Or it could be:
Custom cabinetry hardware you spent months sourcing
A bench you designed specifically for the end of a bed
An unusual stone combination
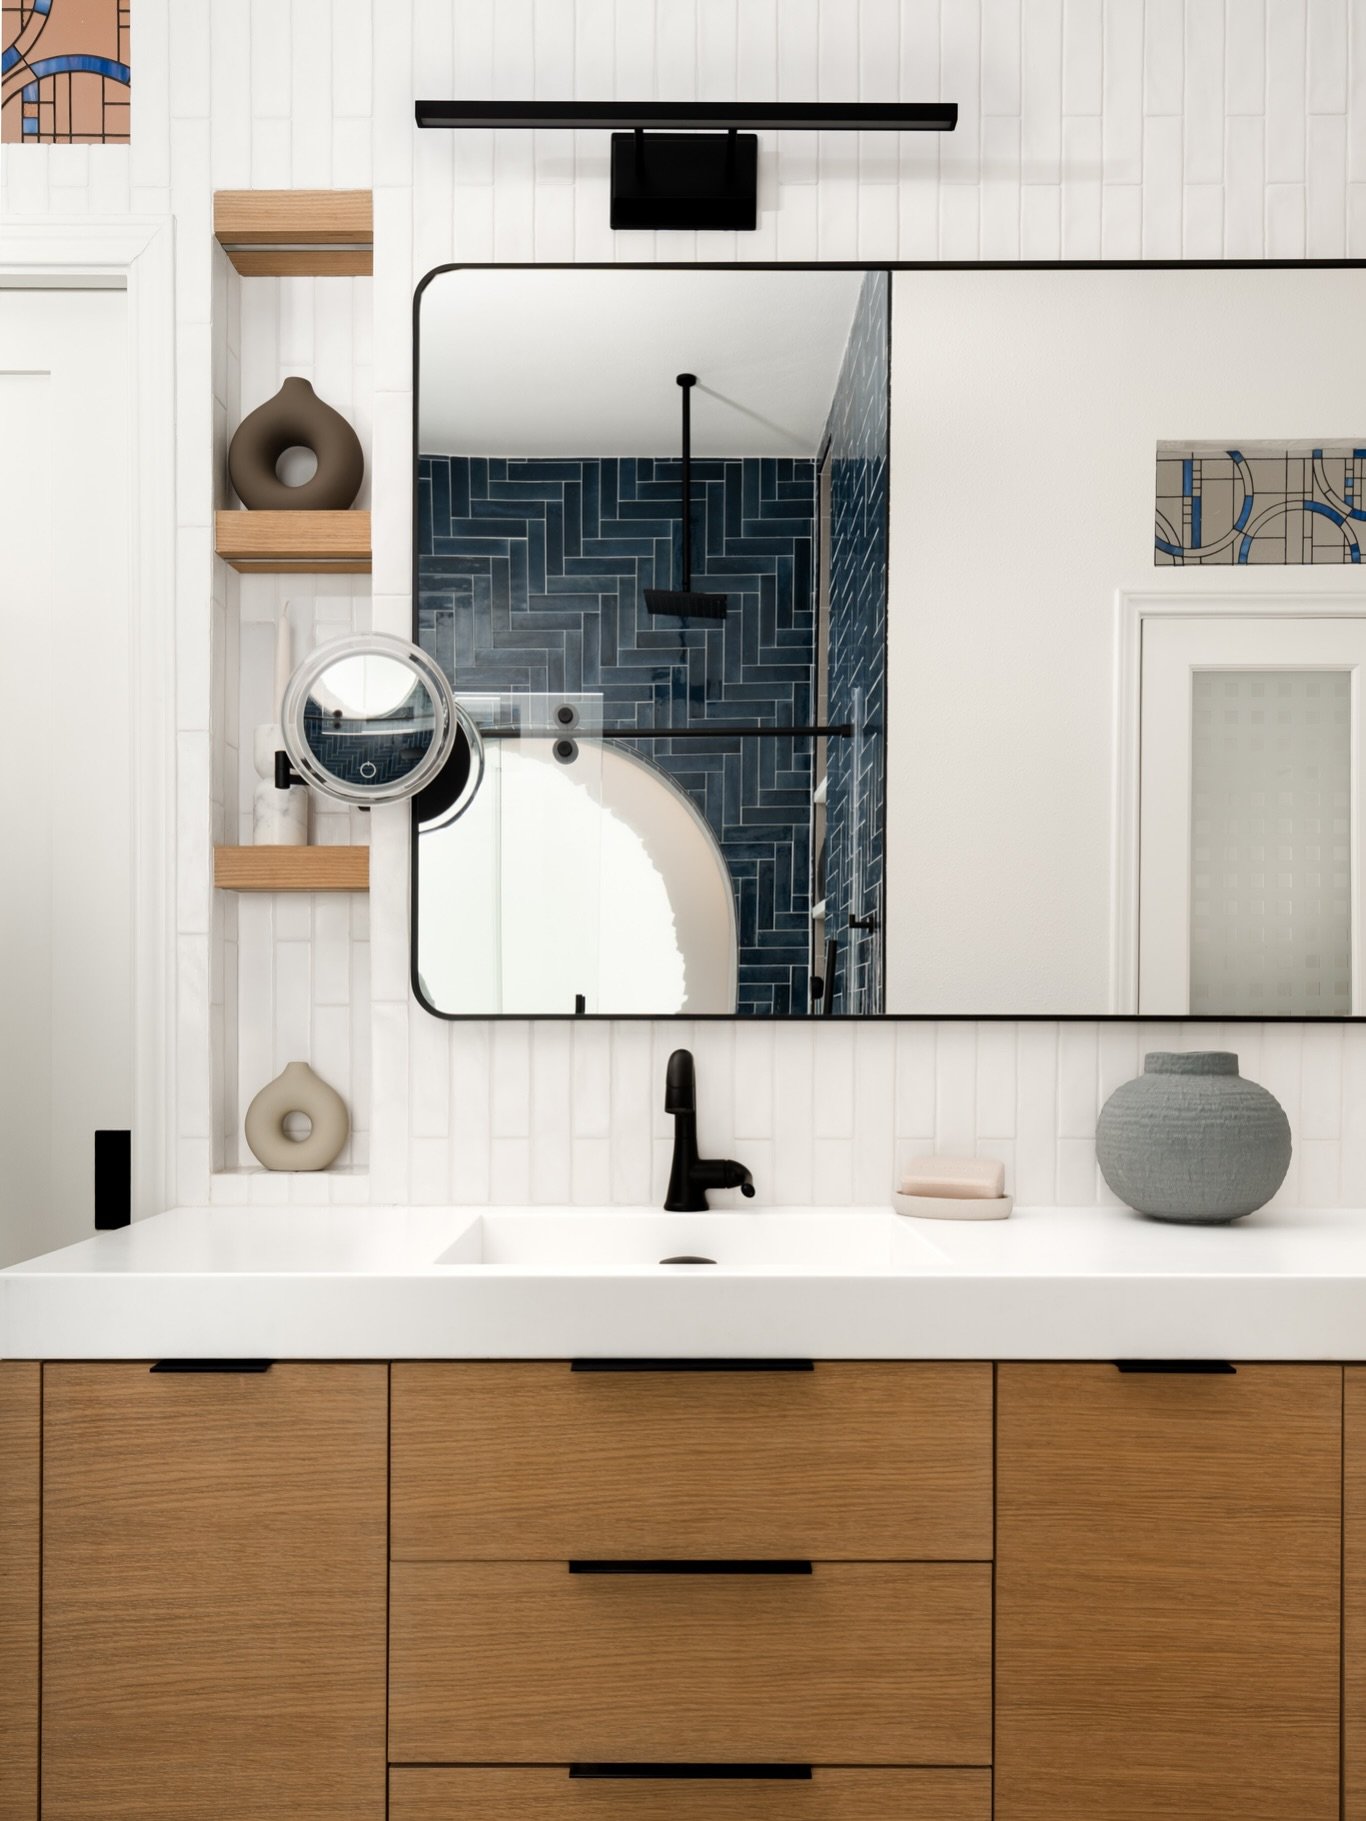
The way two materials meet in a transition most people would walk right past
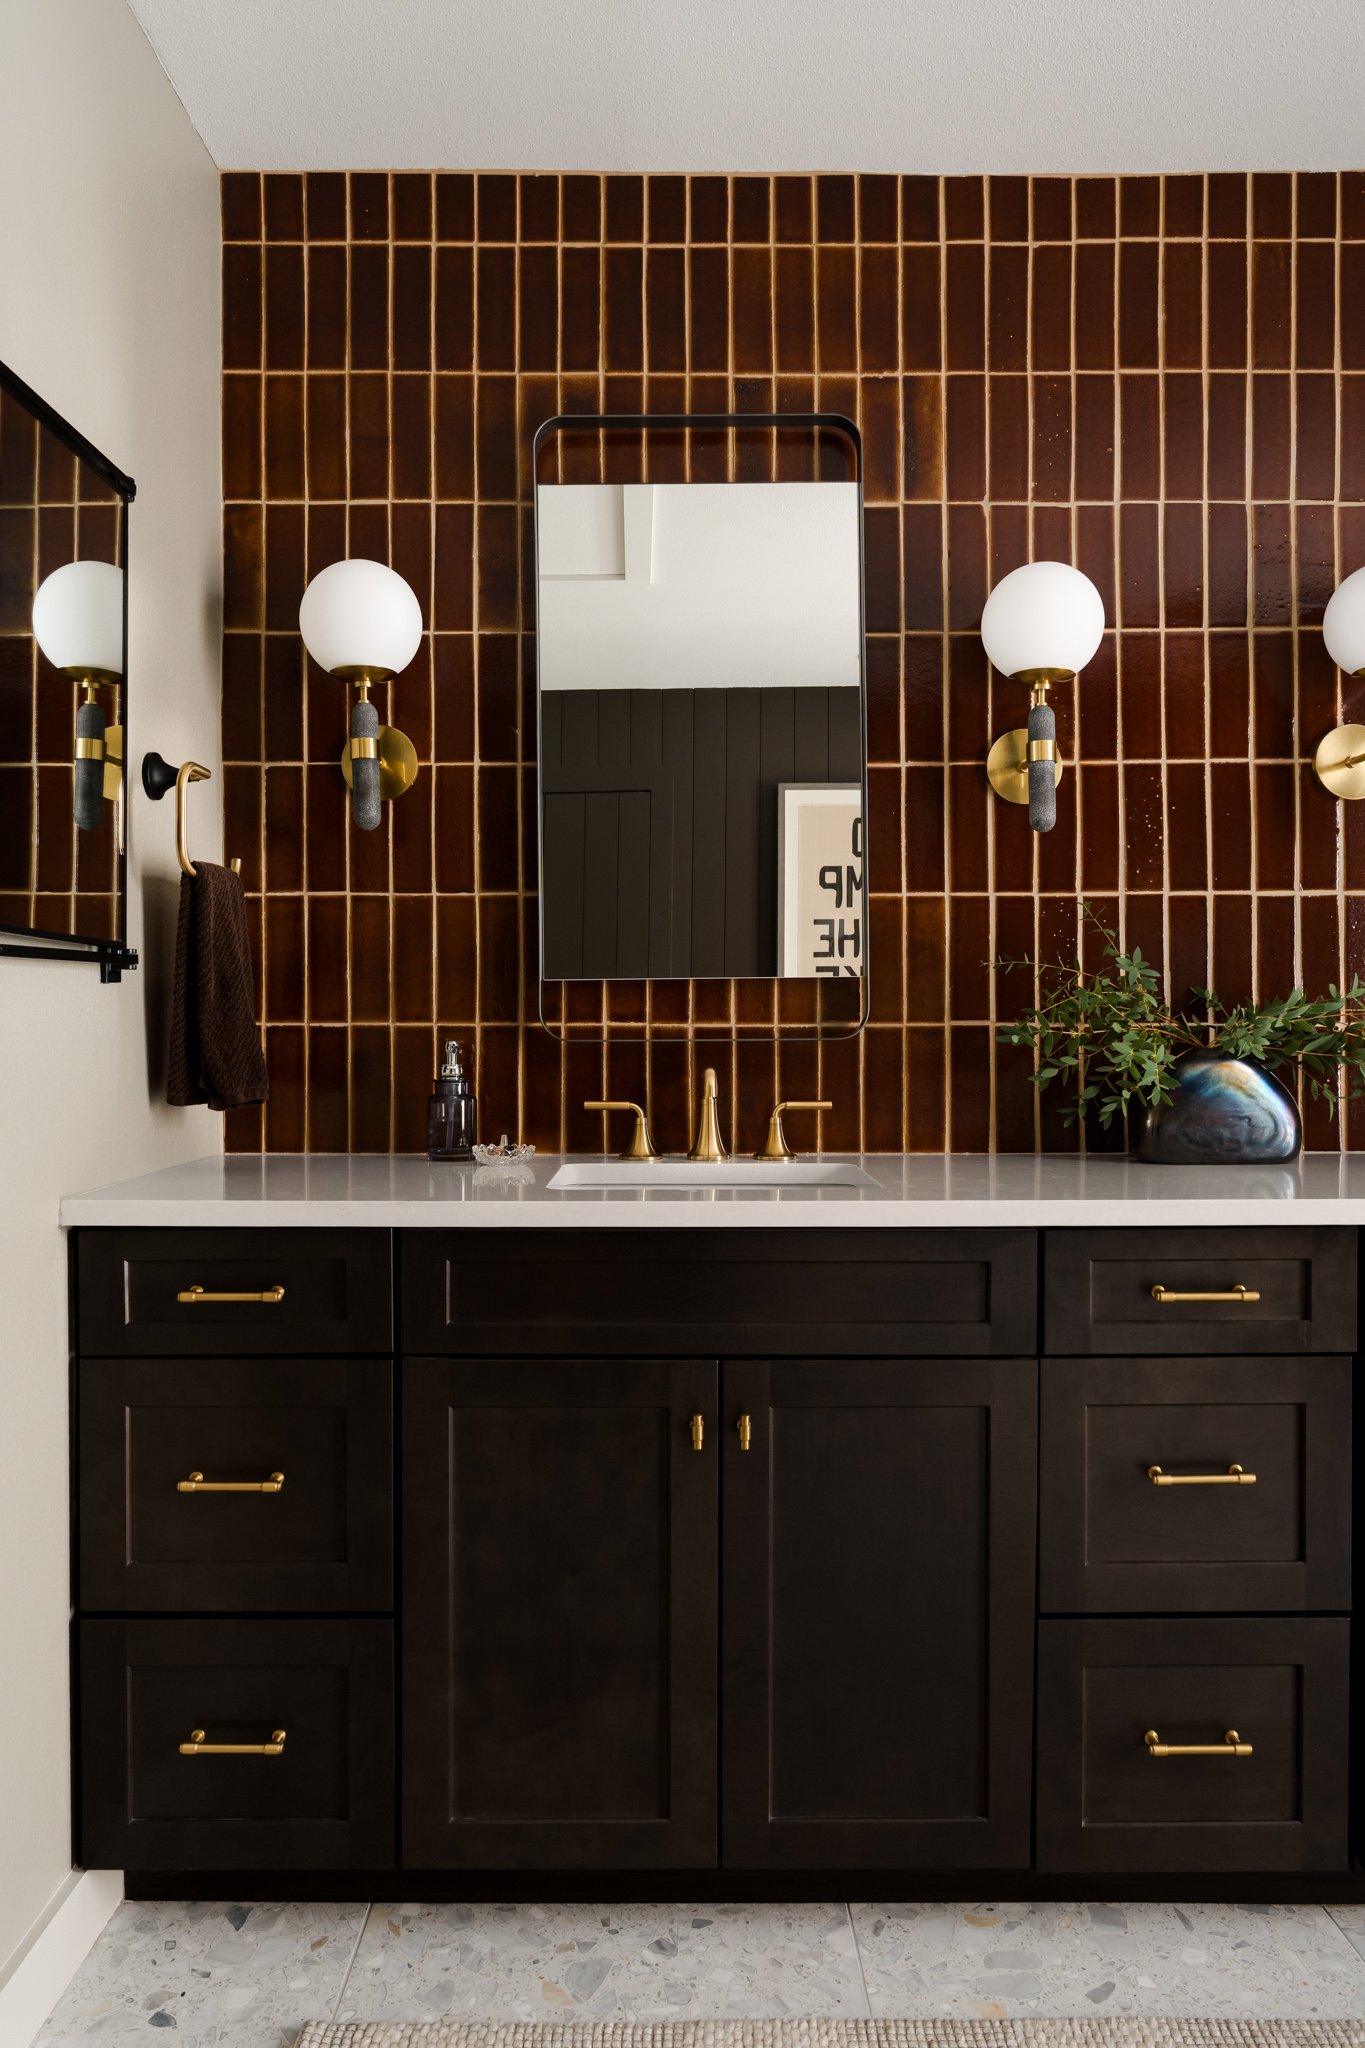
Those details matter. What materials, custom elements, color relationships, architectural details, and small decisions that define the project? What detail would you want another designer to notice? What would you tell someone about this project if you were standing in the room with them?
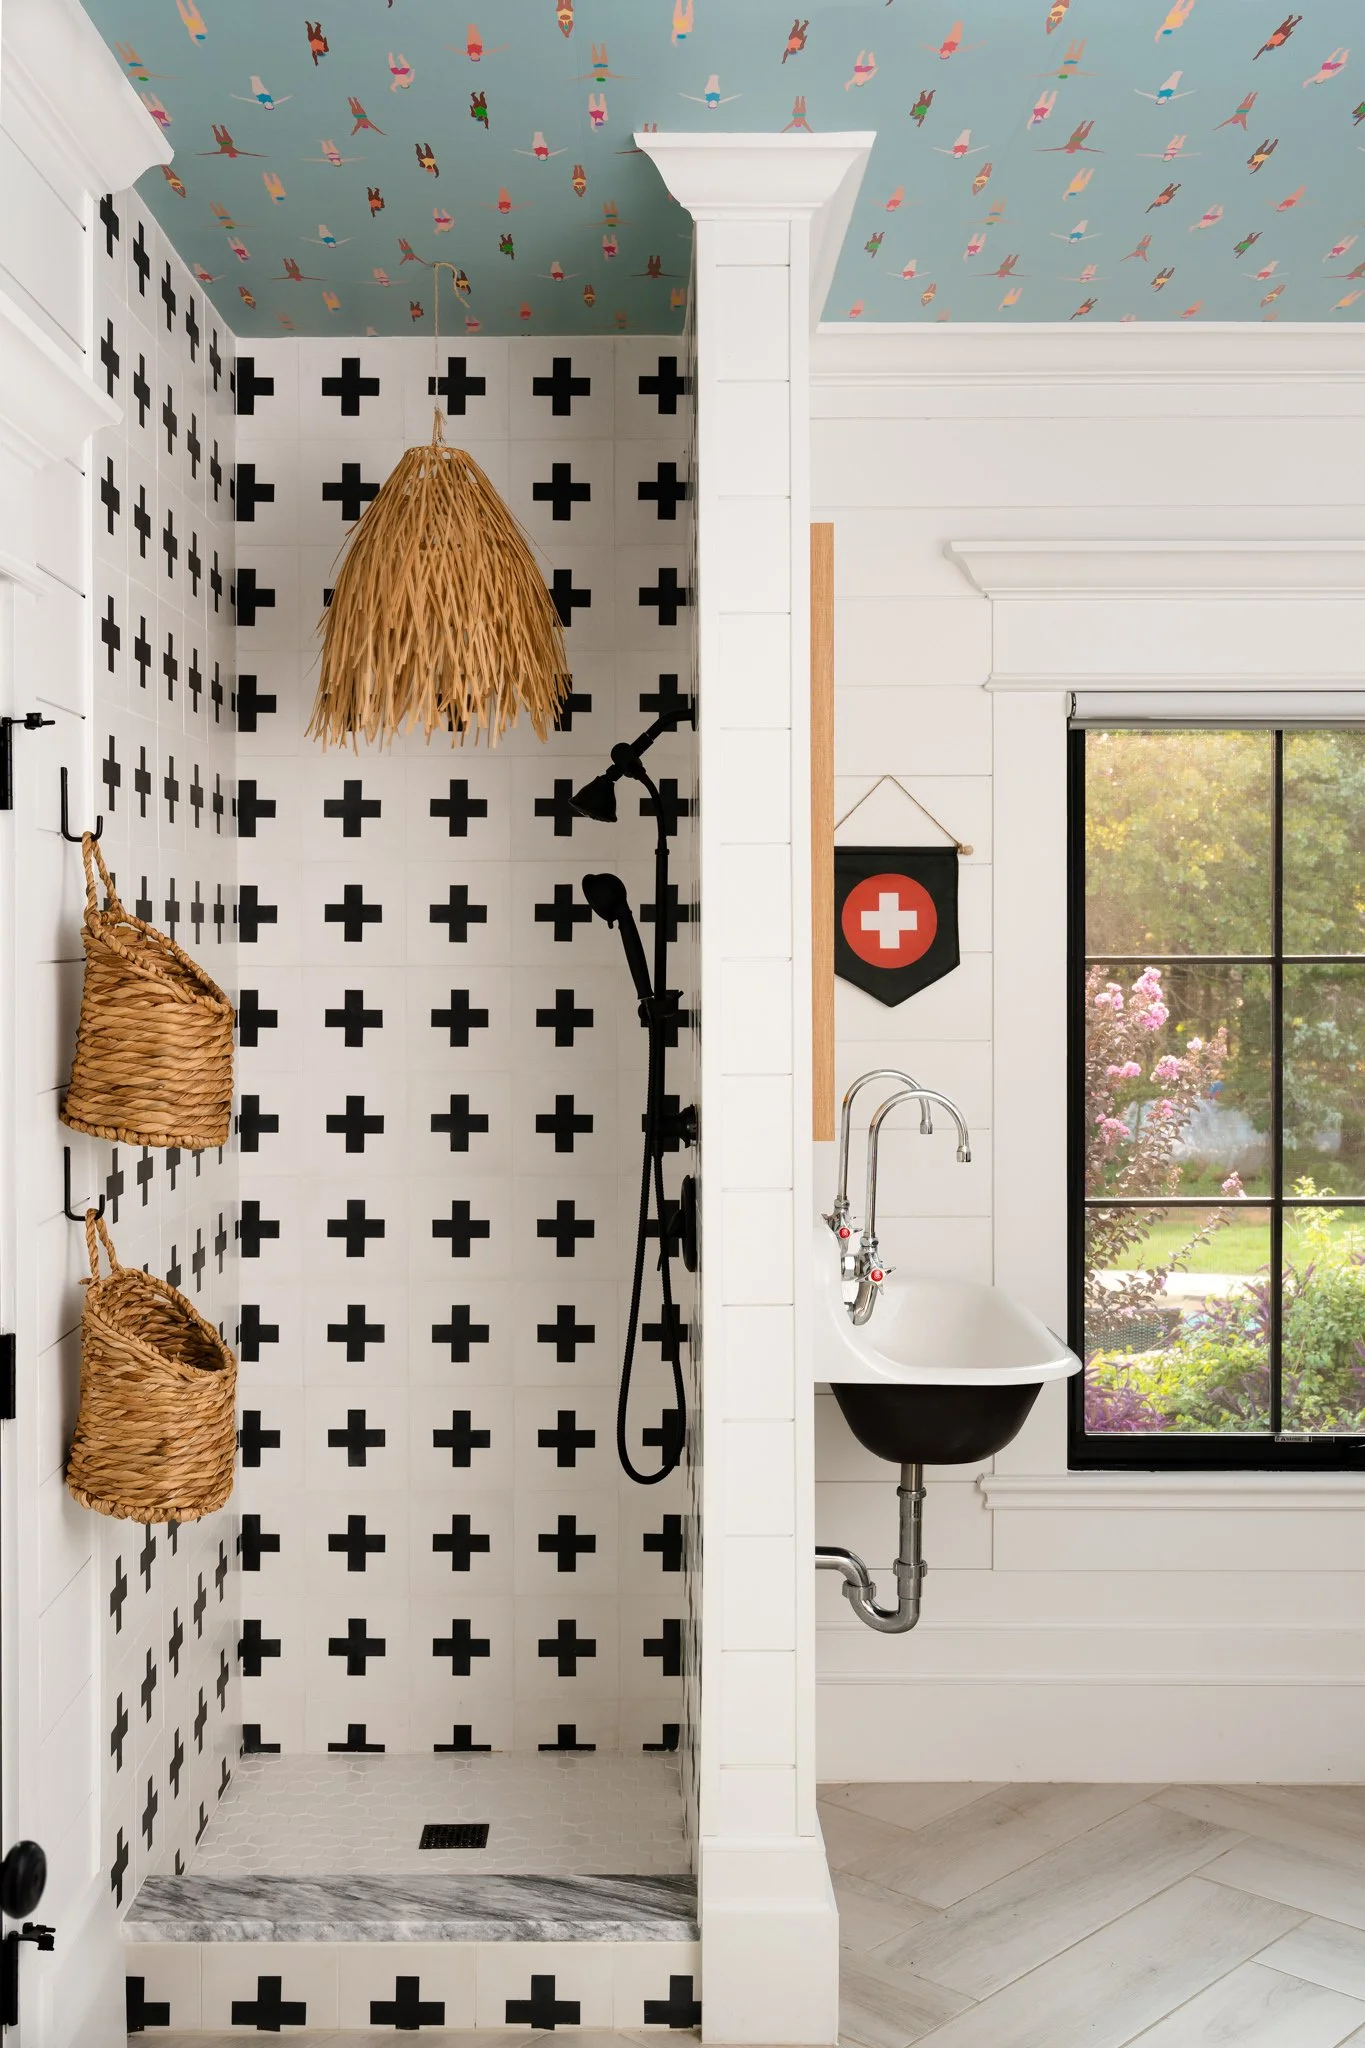
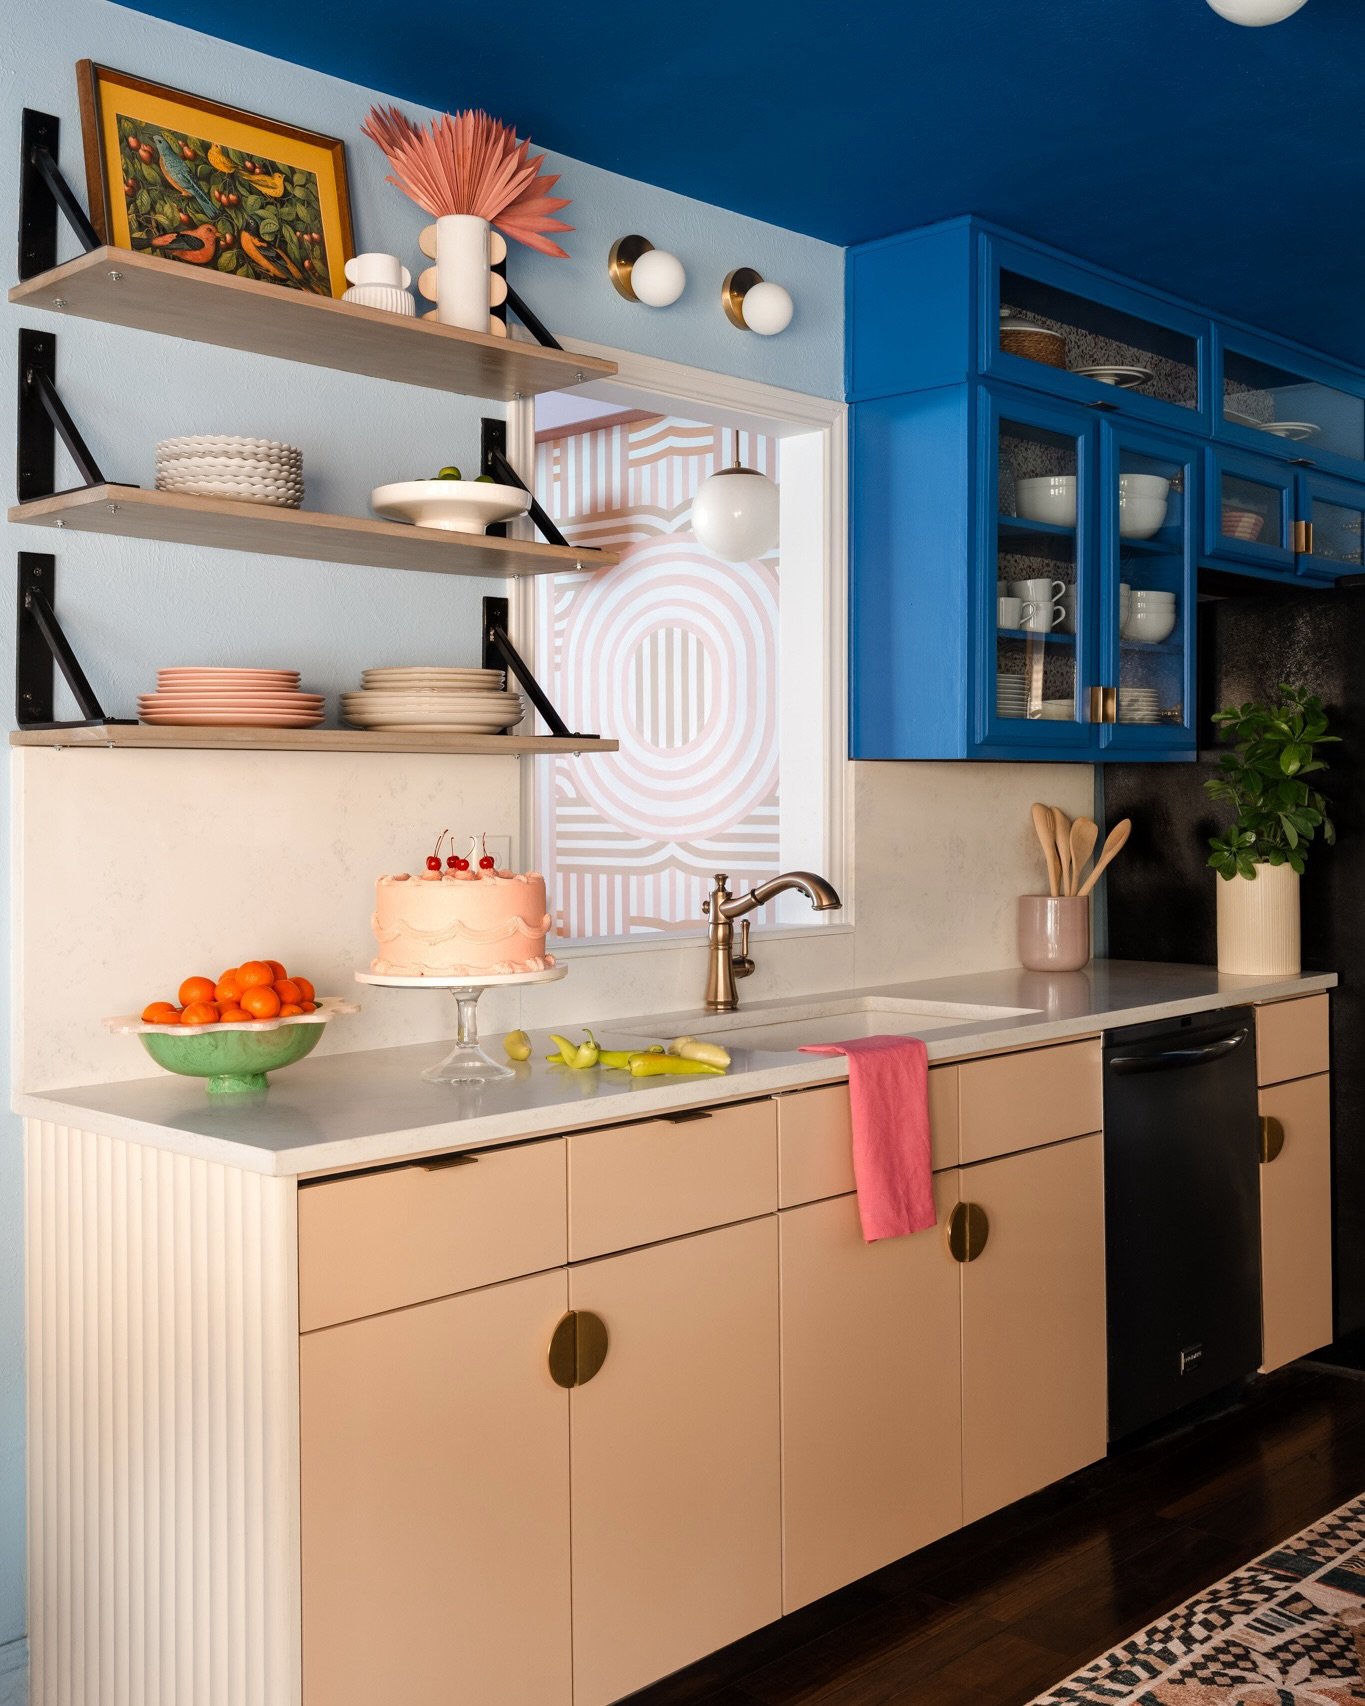
Sometimes the answer is the kitchen. Sometimes it's the tiny powder bathroom covered in insanely colorful wallpaper.
“Prioritize the photography of any space, regardless of size, that speaks most clearly to your design style and what you want to be known for. Then capture the supporting spaces needed to tell the rest of the story.”
3. Plan the Photography Coverage Before Shoot Day
Whenever time and logistics permit, I'm a big fan of seeing a project before I photograph it.
A pre-production walkthrough gives me an understanding of the architecture, scale, room relationships, natural light, and any technical challenges we may encounter:
Do I need larger lights or taller light stands?
Is there a wall of glass that will require additional lighting?
Are there mirrors everywhere?
Is one particular room going to require significantly more time than the others?
I would much rather solve those problems before shoot day than discover them while we're standing in the middle of the living room.
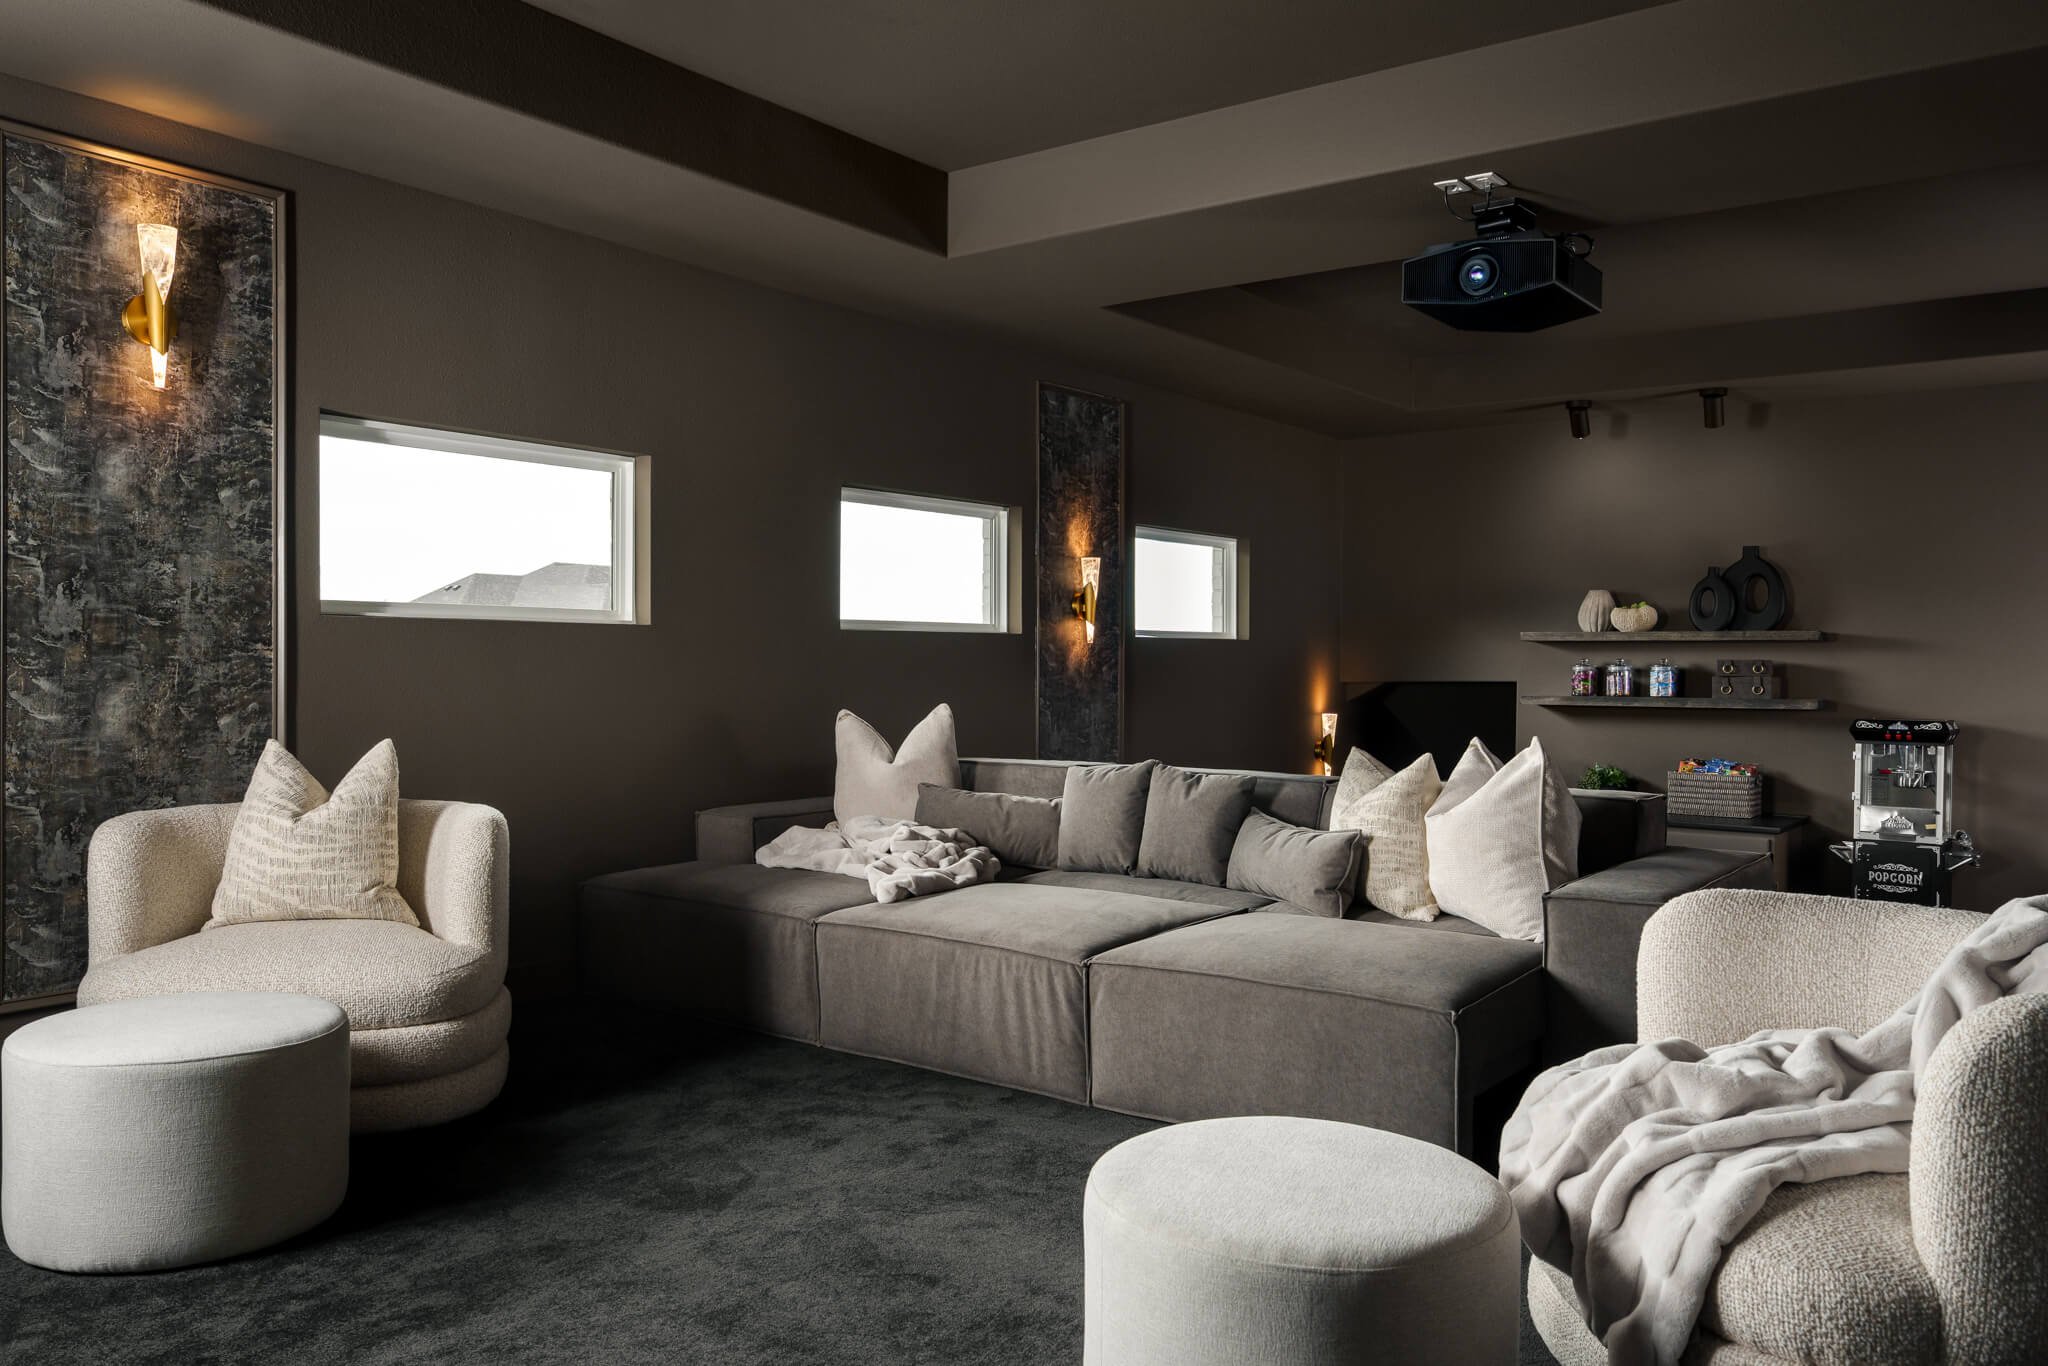
This is also when we establish priority spaces, must-have details, and the mix of wide, medium, and tighter compositions we need. If you need horizontal photographs for your website and vertical images for Pinterest or social media, tell me. If there is one particular view that absolutely needs to make it into the finished gallery, tell me that too.
Prepare the Home Before Shoot Day
Preparing the home for an interior design photoshoot is equally important. Ideally, the project should be styled, cleaned, installed, and ready to photograph the minute your photographer walks through the door.
Styling can consume an incredible amount of session time, and doing all of it on the fly makes shoot day infinitely more stressful. Whenever possible, style the rooms the day before. Then we can use our time together to make small adjustments that strengthen a composition, rather than trying to build the entire room while the clock is running.
And if the project simply isn't finished yet, wait.
I can remove a small crack or an imperfect baseboard finish in Photoshop. I cannot iron your curtains in Photoshop. I cannot install a missing major appliance in post-production.
If you're experiencing significant construction or installation delays, reschedule the photoshoot. The project will still be there next week.
A Shot List Is a Guideline, Not Gospel
It gives us an outline of what we need to capture and makes sure the important photographs aren't forgotten. But when I walk into a space with fresh eyes, there are inevitably compositions and details that speak to me as a creative person. I always want to leave enough time to follow those instincts.
4. Tell Your Photographer What Matters, Then Let Them See
You know the project better than anyone. Your interior photographer is seeing it from an entirely different perspective. That combination can be incredibly valuable if you communicate.
Tell me what you fought for. Tell me which material took six months to source. Tell me about the late nights when choosing the perfect white paint somehow became the most important decision in the universe.
Tell me why the appliance garage matters. Tell me why you changed that doorway. Tell me about the custom cabinet detail that took four revisions before someone finally built it correctly.
Trust me, you want those things photographed. They tell the story of the project, and often they're the things that make your work distinctly yours.
Then give me enough creative space to see something you may have stopped noticing.
When you've lived with a project for months or years, you inevitably stop seeing some of it. I'm walking through the door without that history. A sightline you barely notice anymore might immediately catch my attention. The way light falls across a material might create a photograph we never could have put on a shot list.
That's where collaboration becomes far more interesting than simply working through a checklist.
Plan Enough to Leave Room to Create
The goal of planning an interior design photoshoot isn't to determine every photograph before the camera comes out of the bag.
It's to arrive knowing what matters, what the photographs need to accomplish, which parts of the project tell the strongest story, and what absolutely needs to be captured.
“Prepare the space. Communicate the design story. Consider how the photographs will support your business long after shoot day is over.”
Then leave a little room for unexpected sunlight, a composition not originally thought of, and the unexpected photograph neither of us knew we needed.
Because the best interior design photoshoots are planned enough that, once we start photographing, we have room to create.
Related Articles
Interior Photography Guide
A deeper look at the entire photography process, from pre-production through final delivery and image use.
Your Brand Doesn’t Need to Look Like Everybody Else’s
How intentional photography can help communicate your design perspective, strengthen your brand, and attract more of the work you want.
Project Reveal: The Little Elm That Could by Sey Interiors
See how advance planning, styling, and a thoughtful mix of compositions come together in a finished project.
Follow Along on Instagram
Recent projects, behind-the-scenes moments, and a closer look at the spaces, details, and designers I have the opportunity to photograph.
Thoughtful Spaces Deserve Thoughtful Photography
Great photography begins long before the camera comes out. I work closely with interior designers, architects, and creative teams to understand what makes each project worth remembering, then create photographs that communicate the intention behind the design.
If you have a project worth documenting, I’d love to hear about it.