The Difference Between iPhone Interior Photography and Professional Interior Photography
As an interior designer, you’re probably well aware of how important it is to showcase your work in the best possible light. Whether you’re building your portfolio, marketing your services, or showing off a recent project to potential clients, high-quality imagery can make or break how your design is perceived. And while iPhone photos are super convenient, they simply don’t compare to professional interior photography when it comes to capturing the full depth and essence of your space.
I’m a Dallas Based Interior Design Photographer and I’ve spent years learning how to make interiors come to life through the lens. I’ve had the pleasure of working with incredibly talented designers, and recently, I had the opportunity to work with Britney Ratto, who wanted to capture some of her latest work for her portfolio. We did a side-by-side comparison of iPhone photos vs. professional shots to highlight why investing in a professional photographer makes all the difference for your brand.

iPhone Interior Photography vs. Professional Interior Photography: A Side-by-Side Comparison
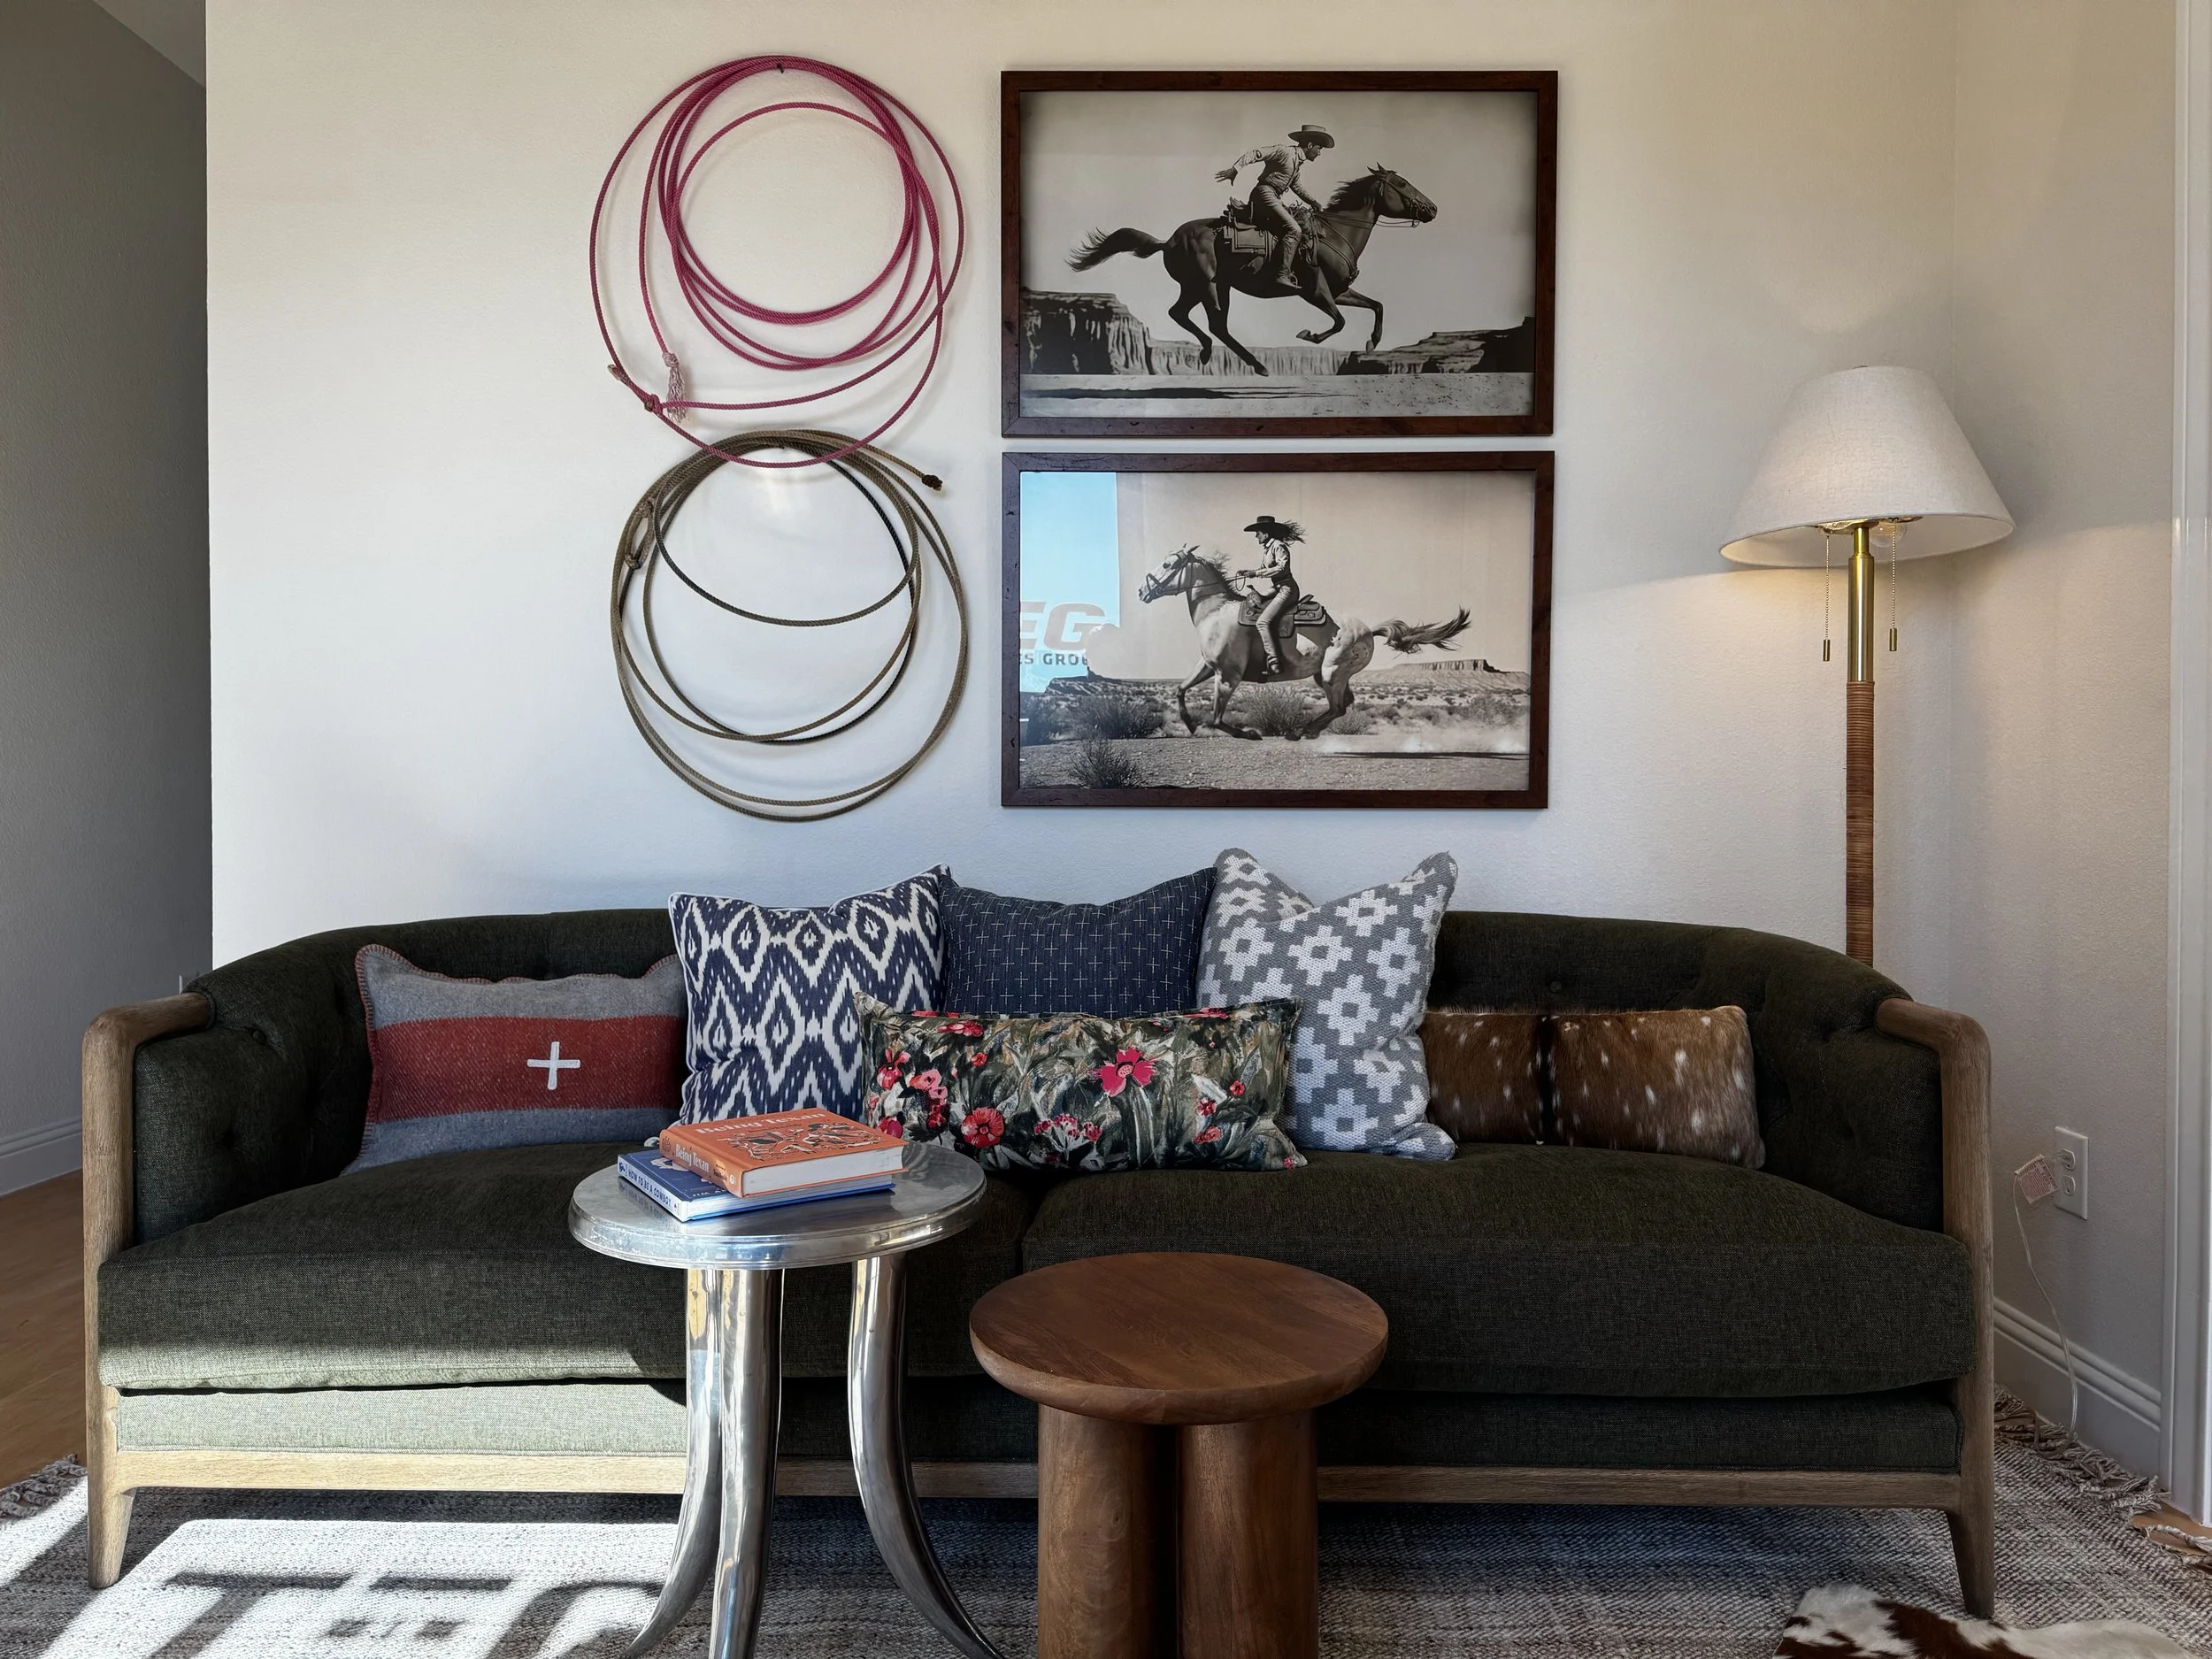
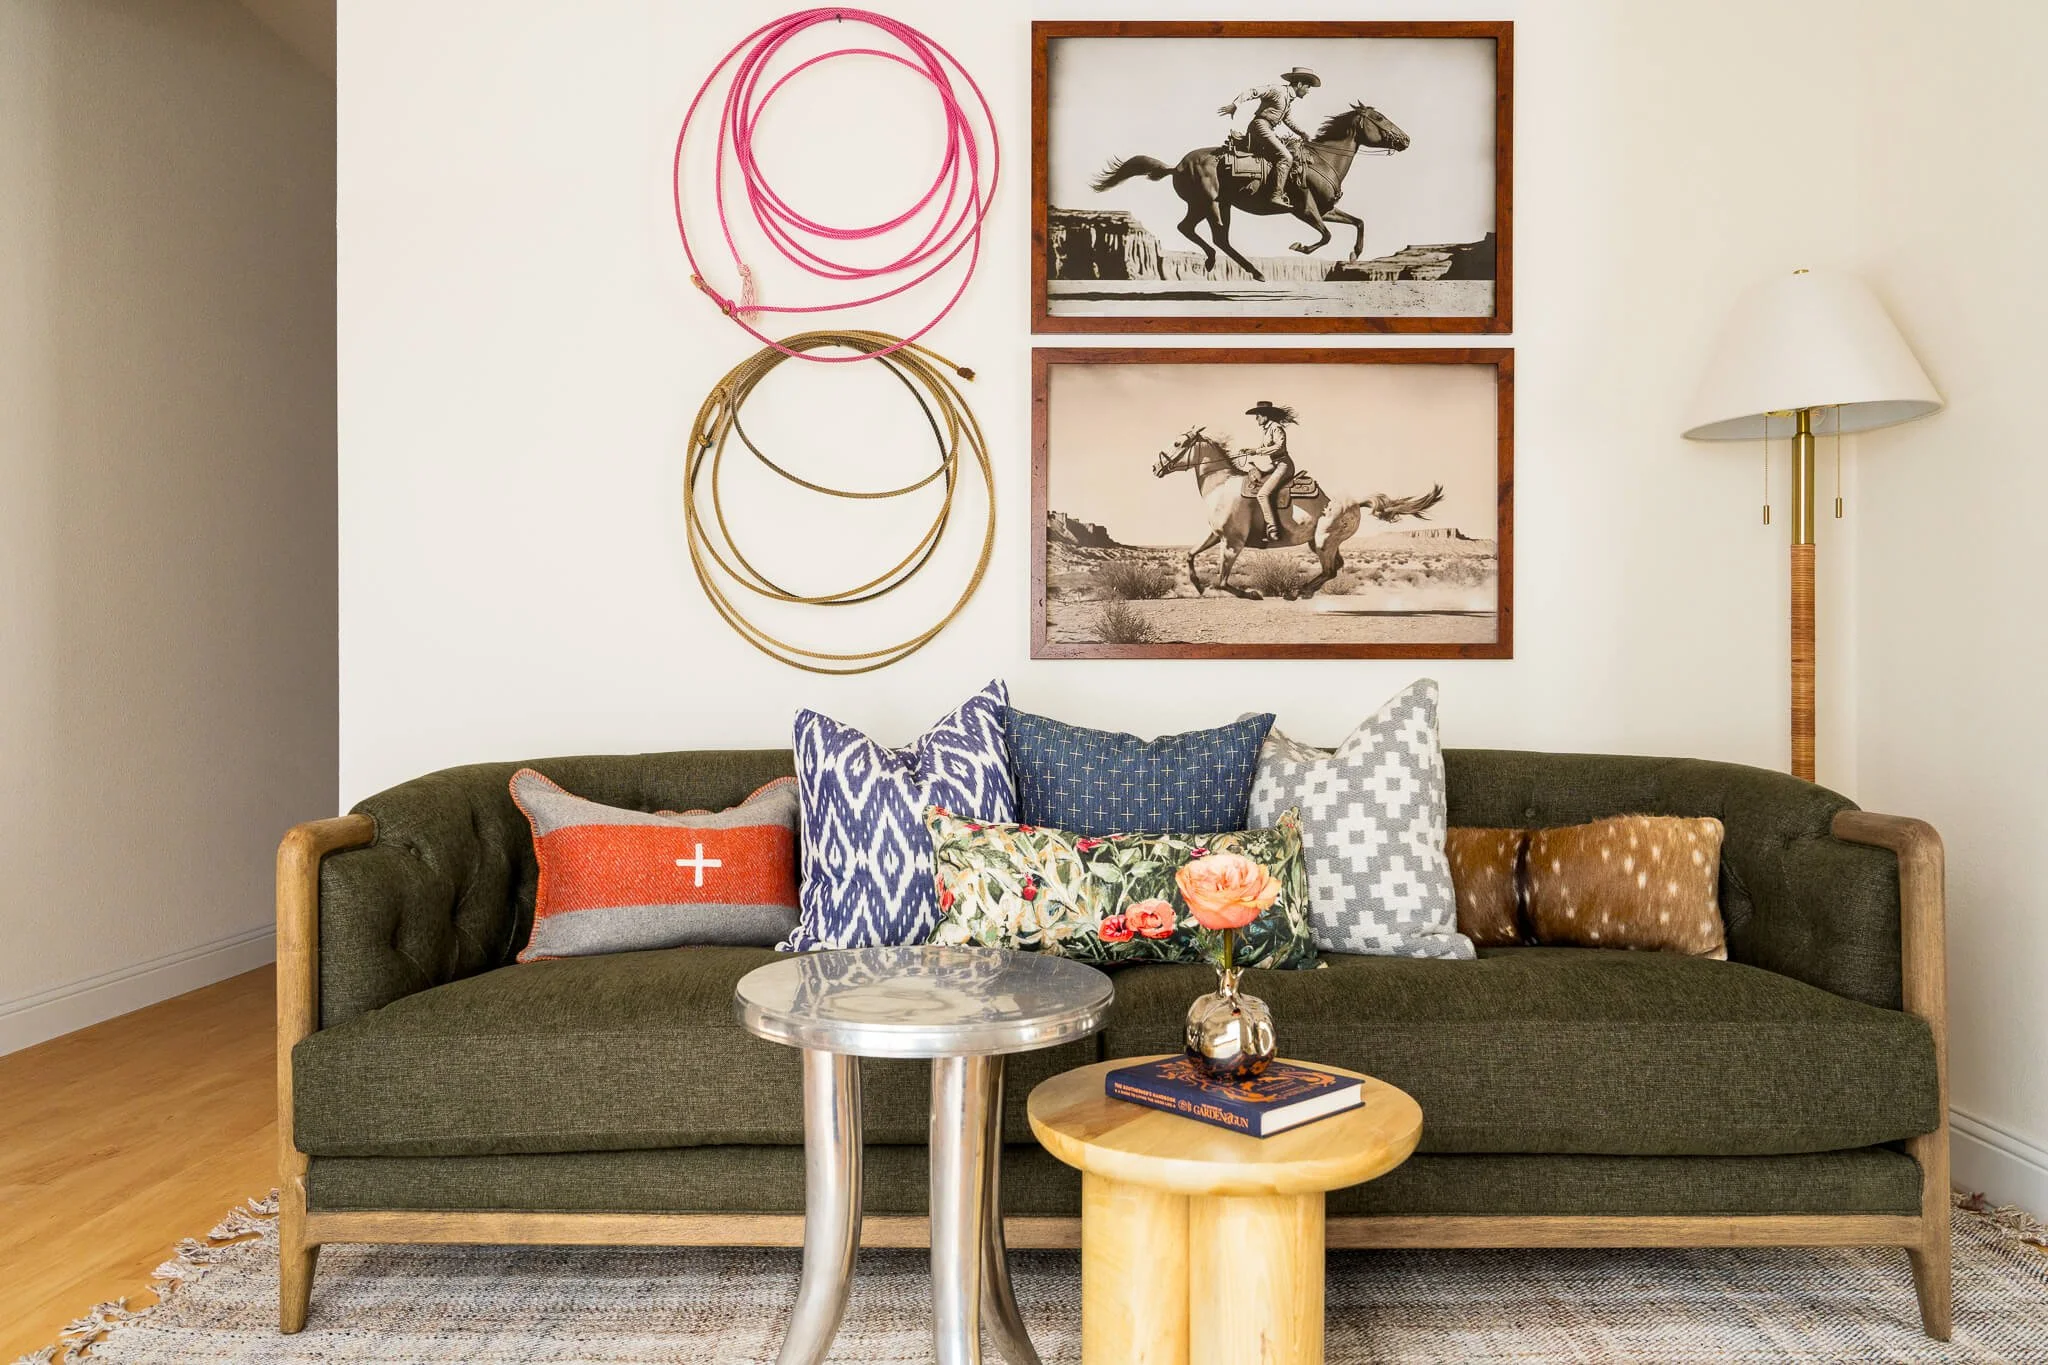
Let’s start by taking a look at how iPhone interior photography and professional interior photography compare to one another. To give you a true to form, side-by-side comparison, I took all of my iPhone shots when I walked through the project with Britney a few weeks before our scheduled photoshoot. I love site visits for a few reasons, one - I get to interact with the client and talk about styling, florals, rough draft a shot list face to face. The internet can be a wonderful place, but I find in person communication to be rewarding and enriching.
Now I’m not trying to Ansel Adams my way into being an iPhone photographer, this is a very snap quickly and walk while we talk shot. Can this photo be better with a decent amount of effort, yes. It simply doesn’t have nearly the same size sensor a camera has, it will rarely capture the textures, lighting illumination, or the overall design and vibe of the space. While the iPhone is fine, it’s not great, and great imagery is what you need to propel your career forward. It could never highlight all the thoughtful details and design elements the way professional interior photography could.
A simple snapshot with an iPhone is great for casual moments, but it lacks the depth and vibrancy that a professional image delivers.

iPhone

Camera

iPhone

Camera
Lighting: The Game Changer
I know it sounds cliche, but lighting is everything in photography. Everything. With iPhone interior photography, what you see is what you get. If the natural light is harsh, or if there’s not enough light coming in, that’s what you get in the photo. Professional interior photography, however, is all about shaping and creating the light you want to see in the space. Don’t get me wrong, natural light is always the goal, and when it’s good and in abundance I’ll lean hard into it at a session. With that said, I always modify my light sources. I am always diffusing light, shaping light, blocking light, adding supplemental lighting to create the look I want.
My focus on lighting helps to showcase your furniture choices, paint colors, and finishes in their most accurate form. You spent hours tracking down the perfect creamy dreamy not too cool not too warm white, I want that to show up as accurately as possible. (I often ask for paint colors so I can double check the final edits in post-production).

iPhone

Camera

iPhone

Camera
Angles and Composition: Bringing Your Vision to Life
Composition is one of the few ways I get to flex my creativity (another is lighting). With an iPhone, you have a lens, and it’s WIIIDDDDEEEEEE. Yes you can crop in, but good luck getting a tack sharp image holding it in your hand. I always recommend shooting a space from multiple angles, so you can really gain an understanding of the flow of a space, and see how the areas connect. I love the styled vignette shots and details the most, because they really showcase a lifestyle vibe that’s difficult to translate in a wide image. Focal points, before angles, and the shot list we create together before the session inform our composition strategy.
Professional photography is years and years of practice finding the right gear, learning lighting, learning lighting again, finding the ideal tripod heights, angles, and post production techniques to make your work look as good as it possibly can. This creates imagery that is engaging, scroll stopping, and visually appealing to potential clients. It’s about creating balance and visual interest.

iPhone

Camera
Styling: Like Lighting, is Also Everything
Once the composition is agreed upon, and my team gets the lighting right, then we move to styling. I tether to a larger screen that allows me to zoom in close, check focus, and then shift items so it feels balanced and intentional. We spend the majority of the time styling. We move furniture, pillows, art, and tweak accessories until we’re happy. Then I gather the frames I need for post-production.
Professional interior photography allows me to capture those details in a way that elevates your design. Styling is not just about making things look pretty, it’s about telling a story. Every object in the frame, from the cushions on the sofa to the artwork on the wall, adds to the mood and narrative of the space. In fact, styling is probably the most time-consuming part of the shoot. But once we get it just right, that’s when the magic happens.


Post-Production: Bringing the Image to Life
After the shoot comes post-production. iPhone interior photography might be fine for social media or quick snapshots, but they don’t offer the flexibility of professional photos when it comes to editing. In post-production, I exposure blend, fine tune colors, remove distractions and reflections, clean up dust, remove scratches, and double check colors to make sure the image truly reflects the finishes you picked out and displayed at your design presentation. The goal is to make imagery that is “your design, but better”. Authentic to the original space and choices, just dialed up to 11.
For Britney’s project, I made sure to enhance the color palette and lighting to match the vibe she envisioned. Post-production isn’t just about making the photos pretty—it’s about making them visual representations of your brand so clients can find you and hire you.
iPhone
Camera
Why Professional Photography is Paramount for Your Brand
When you’re just starting out as an interior designer, it’s tempting to use your iPhone to document your work because it’s fast, easy, and free. But when you’re ready to truly showcase your talent and build your brand, professional photography is essential. It’s more than just pretty pictures; it’s about telling a story, showcasing the finer details, and presenting your design vision in the best possible light.
With iPhone interior photography, you can capture a snapshot, but professional photography creates a high quality visual narrative that elevates the perception of your brand and skyrockets your growth.
Tips for Preparing for a Professional Photoshoot
Plan the Space: Clean and style your space the day before the shoot. If you can see the dust with your eyes the camera will definitely see it. Make sure everything is in its place.
Communication is Key: Let me know if you have specific shots in mind, and feel free to speak up during the shoot if something doesn’t feel right. This is your work we are recording. You gotta love what we capture together.
Trust the Process: Professional photography is truly a collaborative effort. I’ll guide you every step of the way.
Book Your Dallas Interior Photographer!
If you’re ready to elevate your design work with professional photography, I’m here to help! Whether you’re showcasing your first project or adding to your portfolio, I’d love to help you capture your designs in a way that will wow your clients and bring your vision to life. Fill out my contact form for us to work together! Looking forward to hearing from you!
Check out more of my blogs below to help you with your next shoot and my Pinterest to see more of my work!
Marketing Your Interior Design Business: How to Use Photography to Elevate Your Brand
Photoshoot Preparation for Interior Designers: How to Use Photography to Showcase Your Brand

Hi! I’m Stacy—a Dallas Fort Worth based Commercial Photographer specializing in interior design, architecture, product, and food photography.
When I’m not creating imagery for clients, you can find me planning my next vacation, spending time outside pruning my backyard prairie garden, or spending time with my family.
Are you a business looking for bright and colorful imagery for your marketing needs? Let’s chat.