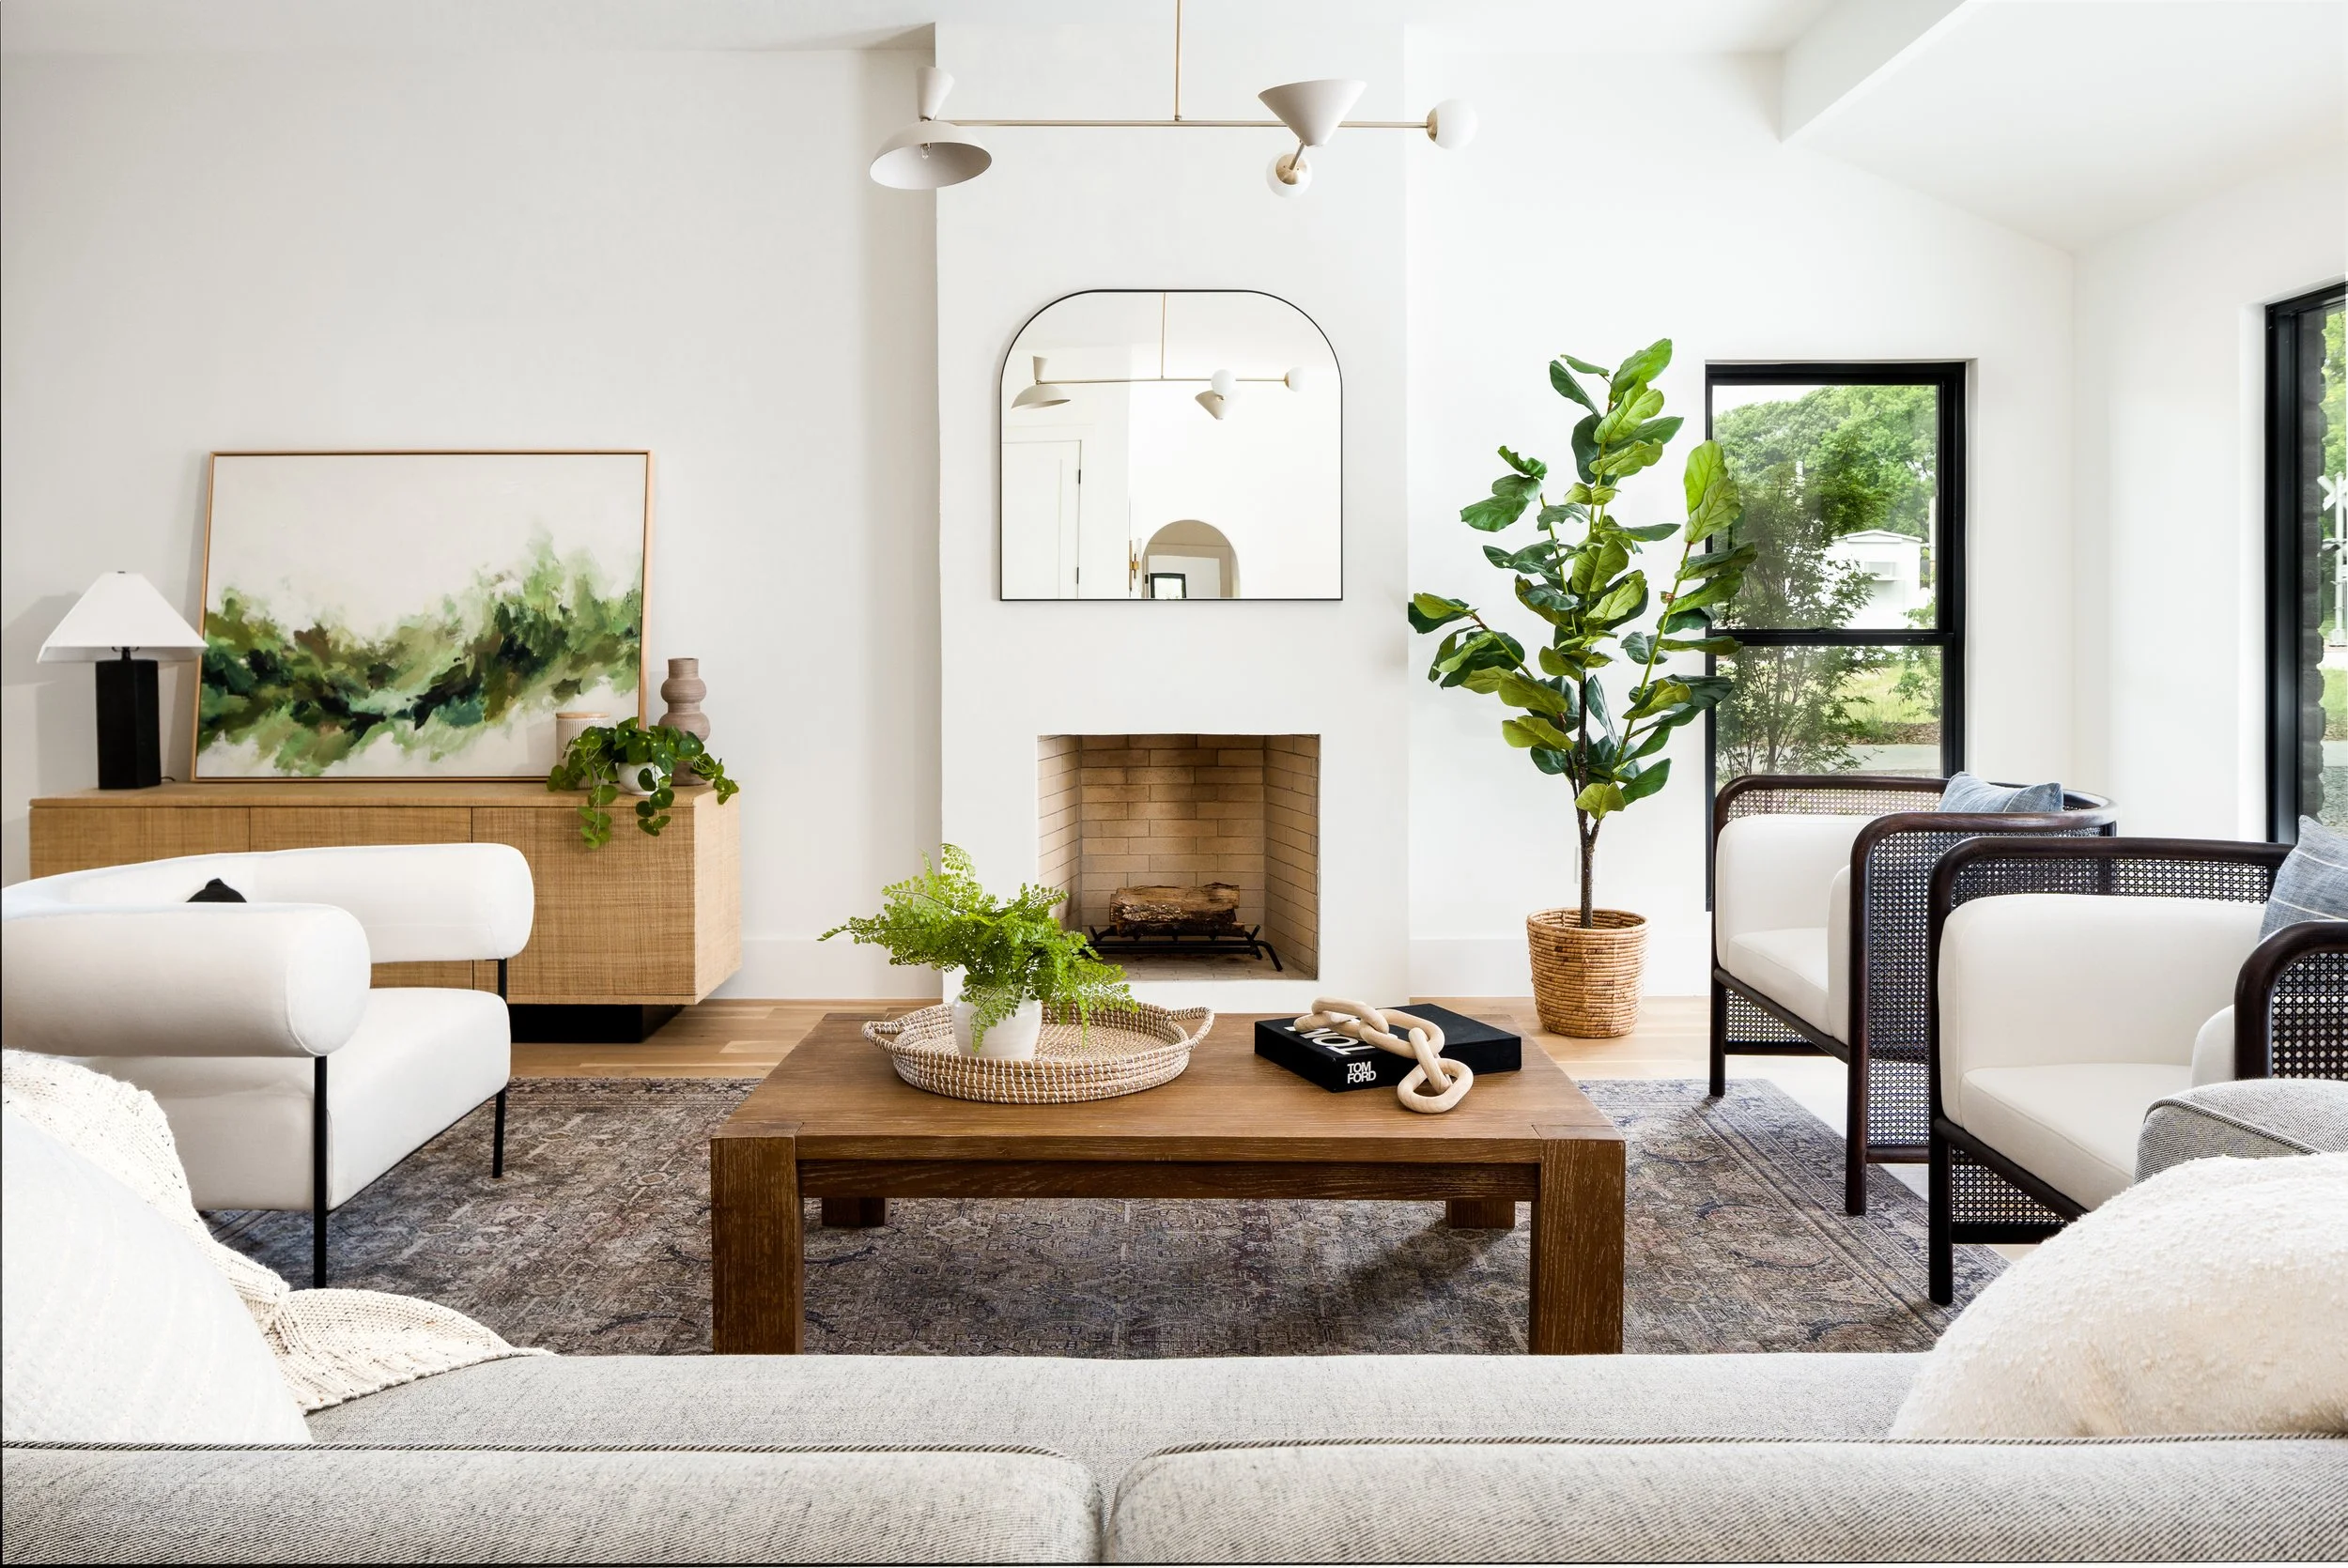
Photoshoot Preparation for Interior Designers: How to Use Photography to Showcase Your Brand
Preparing for a photoshoot can feel a little overwhelming, especially if you’re working with a professional photographer for the first time. But don’t stress! A little upfront planning can go a long way in ensuring that everything goes smoothly—and that your designs look absolutely stunning. In this blog, we’re breaking down everything you need to know about photoshoot preparation for interior designers. From creative direction to post-production, we’ll cover the steps that will make your session a success and leave you with photos that truly showcase your work.
The Importance of Photoshoot Preparation
I know, photography for interior design can seem like an extra task on an already packed schedule, but trust me, putting in the prep work will make all the difference! The more you prepare, the smoother the shoot will go, and the better the final photos will be. Here’s why photoshoot preparation is crucial:
Time: We’re looking at about 1 room per hour. It sounds like a lot, but once you factor in styling, adjusting lighting, and testing compositions, it’s actually a pretty accurate estimate. We want to take our time to get each shot just right. No rush—just good, thoughtful work.
Lighting: Good lighting can make or break a photo. Some spaces are naturally well-lit, and others… not so much. That’s where we get creative. We’ll set up lights and adjust them to make sure every corner of the room shines.
Styling: This is the most time-intensive part of the shoot. Styling isn’t just about putting things in place—it’s about creating an atmosphere. Pillows, vases, throws—everything needs to be positioned perfectly to tell the story of your design.
Pre-Shoot Preparation: Creative Direction, Styling, and Timing
Getting your space ready starts with creative direction! What’s the vibe you’re going for? Do you want a bright, airy, minimalist feel or a cozy, moody vibe? Setting a clear direction will guide everything that happens on the shoot day.
Creative Direction: Before the shoot, we’ll chat about the feel you want to achieve. Maybe it’s a high-energy vibe with pops of color, or maybe you want something more relaxed and neutral. Either way, we’ll figure out the lighting, props, and staging to match your vision.
Styling: Styling your space is a labor of love. Think of it as creating the perfect stage for your design. We’ll arrange pillows, adjust furniture, and add styling items that really bring the design to life. The goal is to make everything look effortless, but it takes time to get it just right.
Timing: As much as I love moving fast, interior photography is a slow and steady game. We take about 1 room per hour to make sure every detail is captured. Don’t worry, though, it’s all part of the process!
What to Expect During the Interior Photoshoot: Collaboration and the Magic Behind the Lens
Once the prep work is done, we’re ready for the shoot itself! This is where we turn your vision into reality.
Creative Collaboration: Before we start shooting, we’ll review the creative direction board and shot list to make sure we’re aligned on your vision. If you’ve got a specific shot in mind, make sure to speak up and let me know! I’m here to make sure we get everything you need!
Setting Up Equipment: I’ll get my gear set up—lights, cameras, reflectors—and then it’s time to start exploring the space. It’s not just about pointing and shooting. We’ll try different angles, focus on specific details, and make sure the lighting hits just right.
Styling: Styling doesn’t stop once we begin shooting. We’ll continue adjusting things as we go—pushing pillows, shifting furniture, and making sure everything is in place to look perfect in the shot.
Post-Production: Editing, Retouching, and Turnaround Time
After the shoot, the real magic happens in post-production. I’ll work my editing magic to enhance the images, adjust lighting, and make sure every detail of your design stands out. This is where the photos come to life.
Turnaround Time: It usually takes about 3 weeks to complete the editing and retouching. If you need it sooner, I offer expedited editing for an additional fee.
Editing Process: I’ll fine-tune every image to bring out the best in your design. That means adjusting colors, fixing lighting issues, and making sure your space looks as inviting as it did in person.
Tips to Prepare for the Interior Design Photoshoot
Here are some helpful tips to make sure you’re totally ready for your photoshoot:
Clean and Style the Space: Clean everything and start styling your space the day before. You’ll feel so much more relaxed knowing everything is ready to go.
Communicate Expectations: If you have specific shots you want, let me know! I want to make sure we get everything you need. If you don’t like something, tell me, and we’ll move on. It’s all about getting the best results for you.
Have Fun!: At the end of the day, this process should feel fun! If something doesn’t go perfectly, don’t stress. We’ll fix it. You’re the designer, and I’m here to help tell your design story in the best way possible.
Book Your Dallas Interior Photographer!
Whether you’re a seasoned designer or just starting out, photoshoot preparation is key to creating stunning photos that elevate your brand and attract the clients you want. And when you’re ready to get those images, I’m here to help you every step of the way! Fill out my contact form for us to work together! Looking forward to hearing from you!
Check out more of my blogs below to help you with your next shoot and my Pinterest to see more of my work!
Why You Should Hire a Photographer Who Specializes in Interior Design Photography
Marketing Your Interior Design Business: How to Use Photography to Elevate Your Brand
How to Guide: Preparing for your Interior Design Photography Session


