The Interior Photography Guide: From Planning the Photoshoot to Using the Final Images
A complete guide to planning, photographing, and using interior photography to build a stronger portfolio, support your marketing, and create lasting value from every finished project.
By Stacy Markow
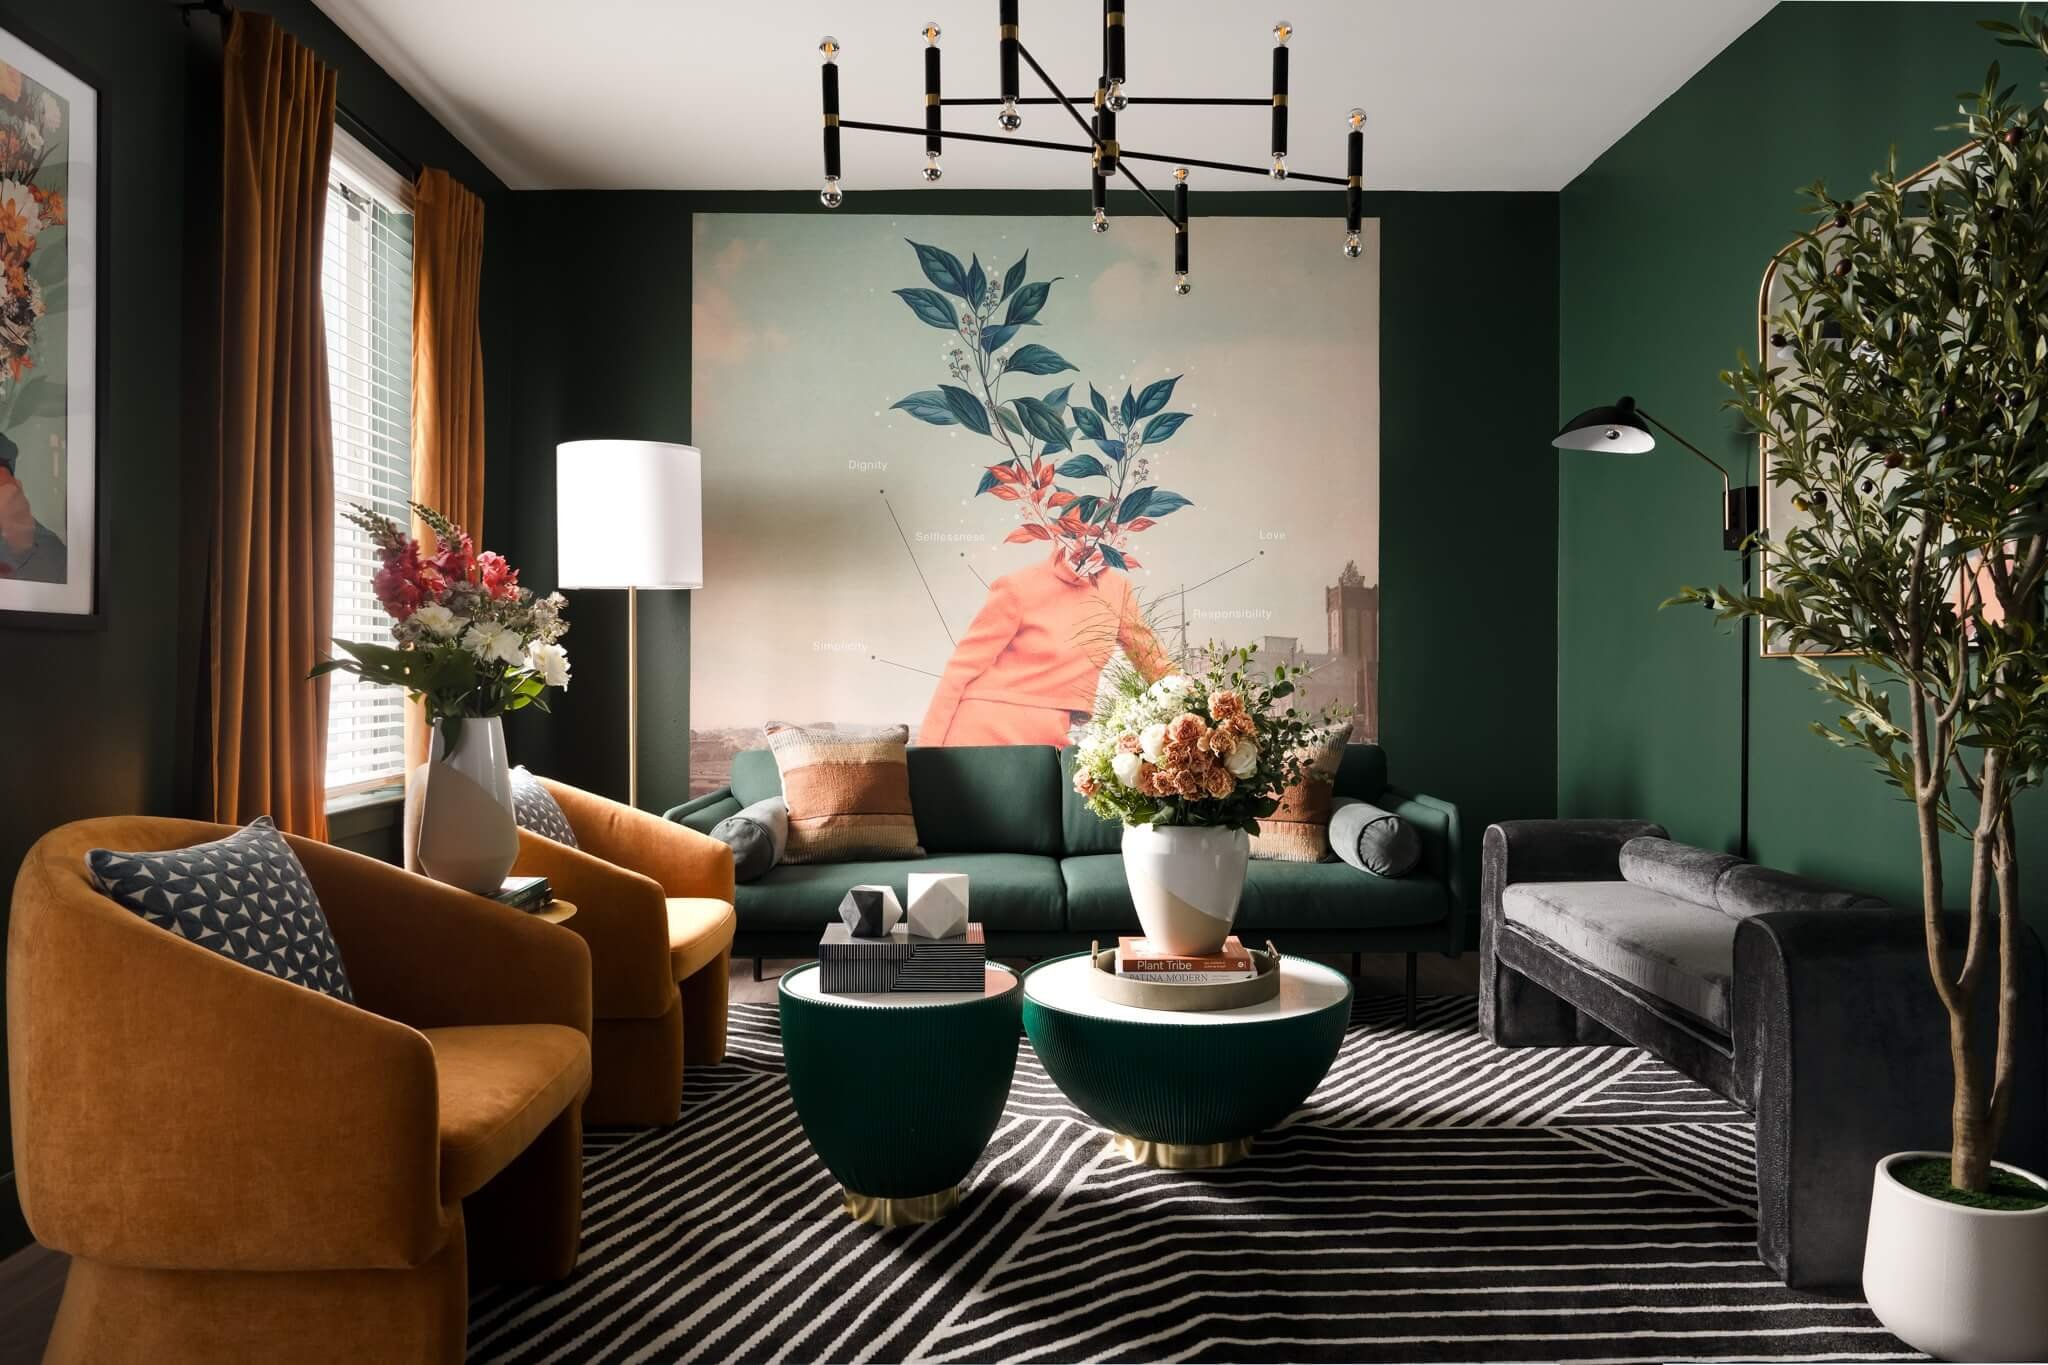
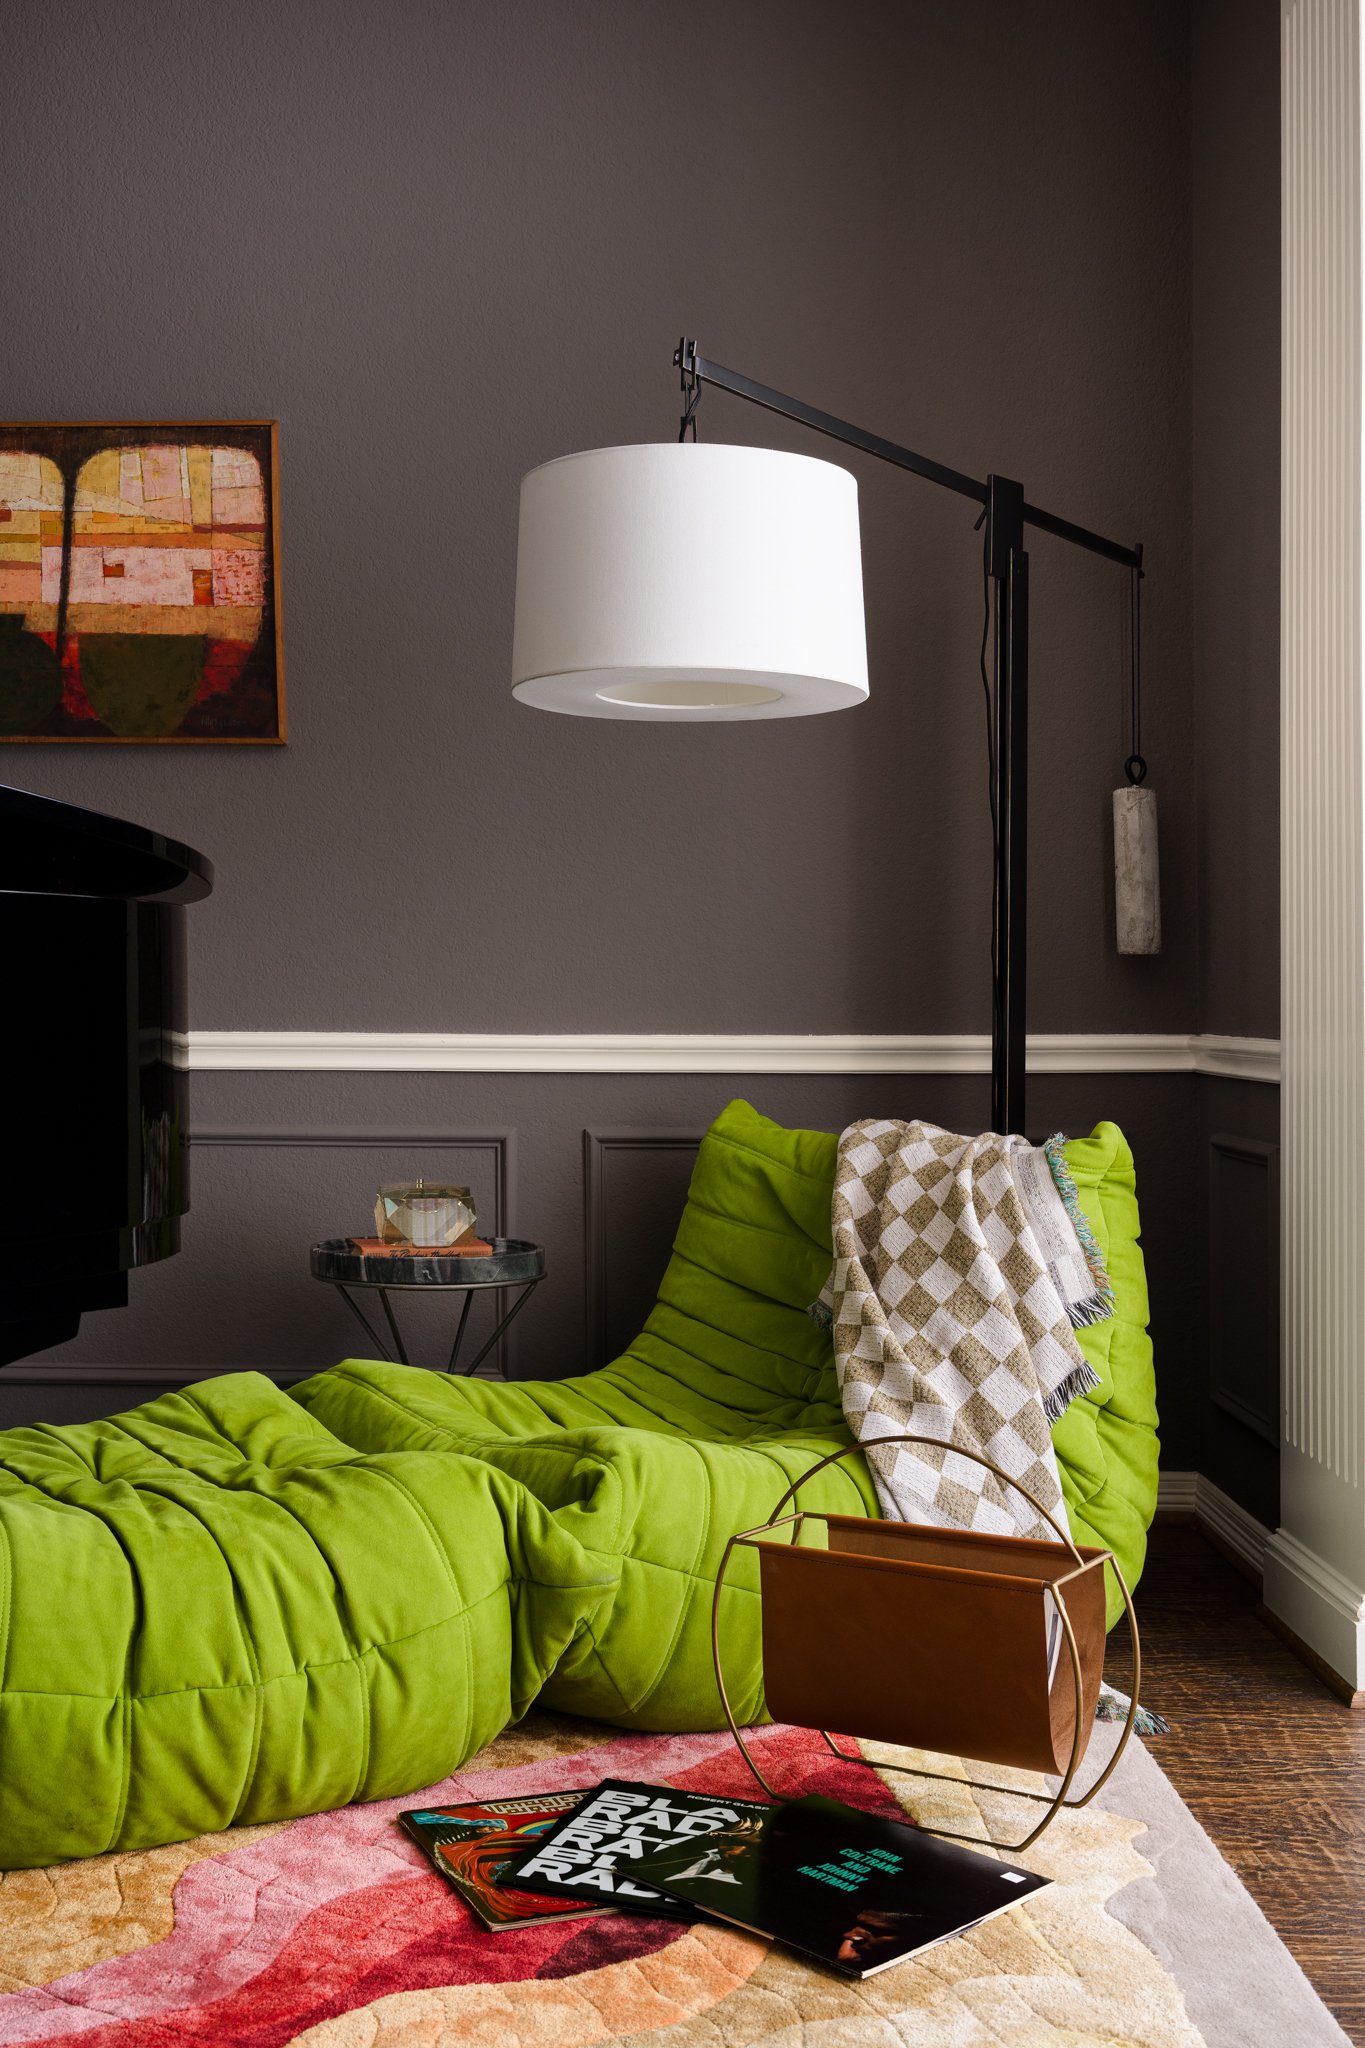
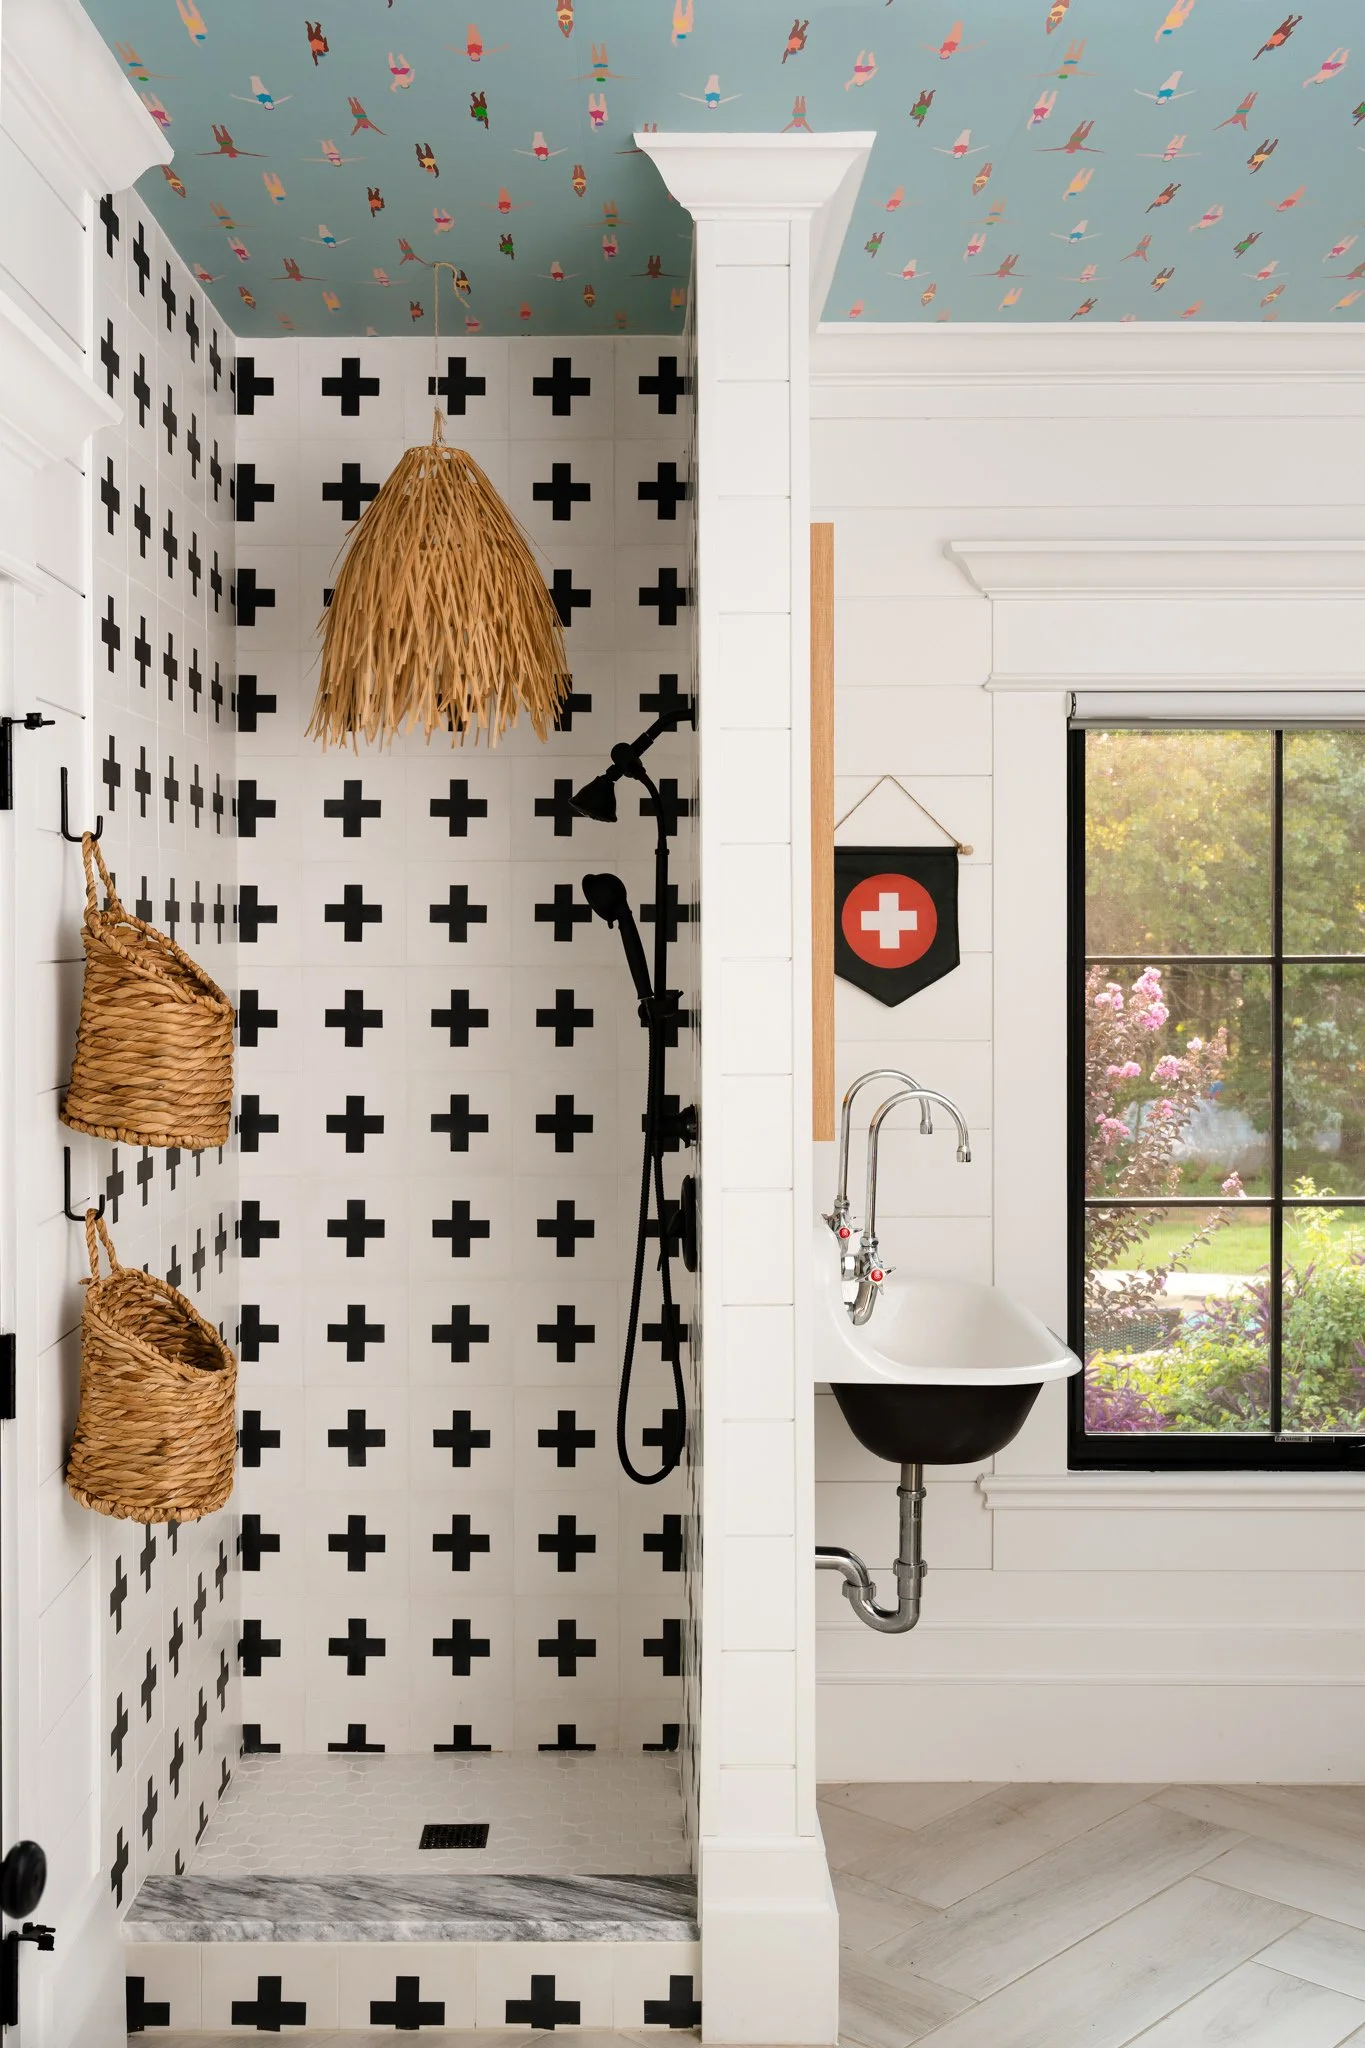
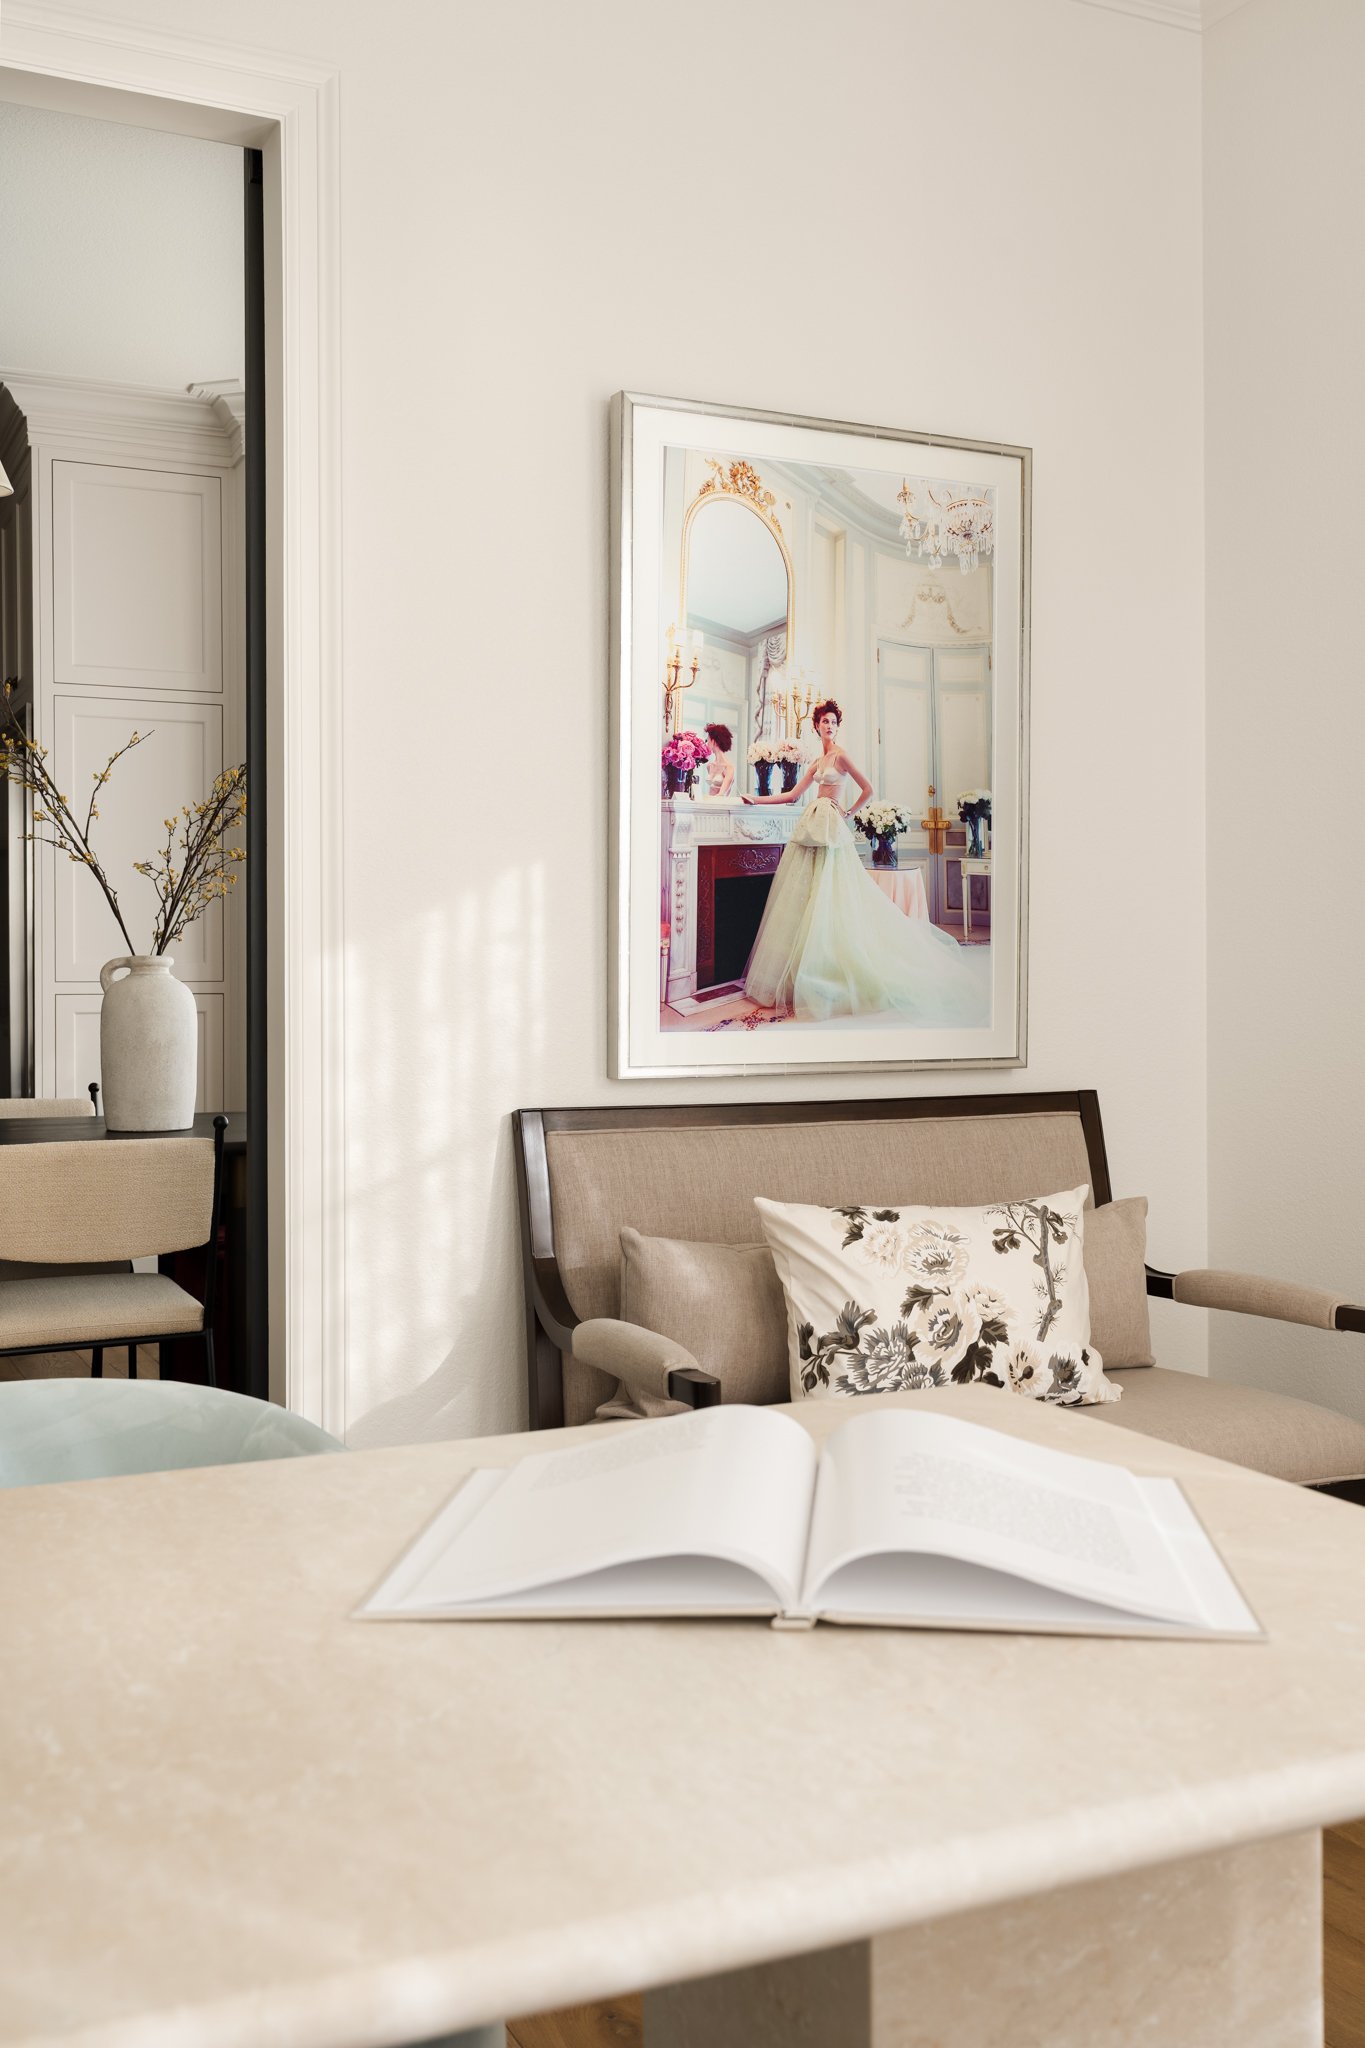
A thoughtful interior photography project begins long before the session day and continues long after the final images are delivered. Here’s how the process works, from planning the photographs to creating a collection designed to support your portfolio, marketing, and future opportunities.
Professional interior photography is often thought of as the final step of a design project: the installation is complete, the accessories are styled, and the photographer arrives to document the finished rooms.
In reality, the photoshoot strategy begins much earlier.
Decisions made before the session influence which spaces are photographed, how much time is devoted to each room, what needs to be styled or prepared, and ultimately how useful the finished collection will be.
I want the photographs to do more than document the finished room. I want them to preserve the thinking behind it: why you chose a waterfall edge, the relationship between the cabinetry and stone, the finish you repeated throughout the home, the artwork that inspired the palette, or the small detail that quietly ties everything together.
The goal is for the final gallery to become a visual storyline of the project, one that gives you the imagery to talk about not only what you designed, but why you designed it that way. When those photographs become part of your website, social media, editorial submissions, and marketing, they help communicate something much more valuable than a beautiful finished space. They reveal the creative point of view behind it and what makes your work distinctly yours.
This guide walks through that entire process.
1. Start With How the Photographs Will Be Used
Before building a shot list, I like to start with a different question:
What do these photographs need to do for you?
A designer building a portfolio may need something different from an established firm preparing a project for publication. An architect may prioritize spatial relationships and architectural details, while a builder may want to document craftsmanship and construction details. A project with several collaborators may also require a different licensing strategy than one being photographed exclusively for a single firm.
Understanding those goals changes how the session is planned.
If publication is important, we may need a particularly complete visual story with a mixture of wide compositions and supporting details. If a website update is the priority, orientation and image variety become especially important. If the photographs will support ongoing social media and marketing, we need enough visual range to prevent the collection from feeling repetitive.
Photography becomes much more useful when those decisions are made strategically rather than after the gallery has already been delivered.
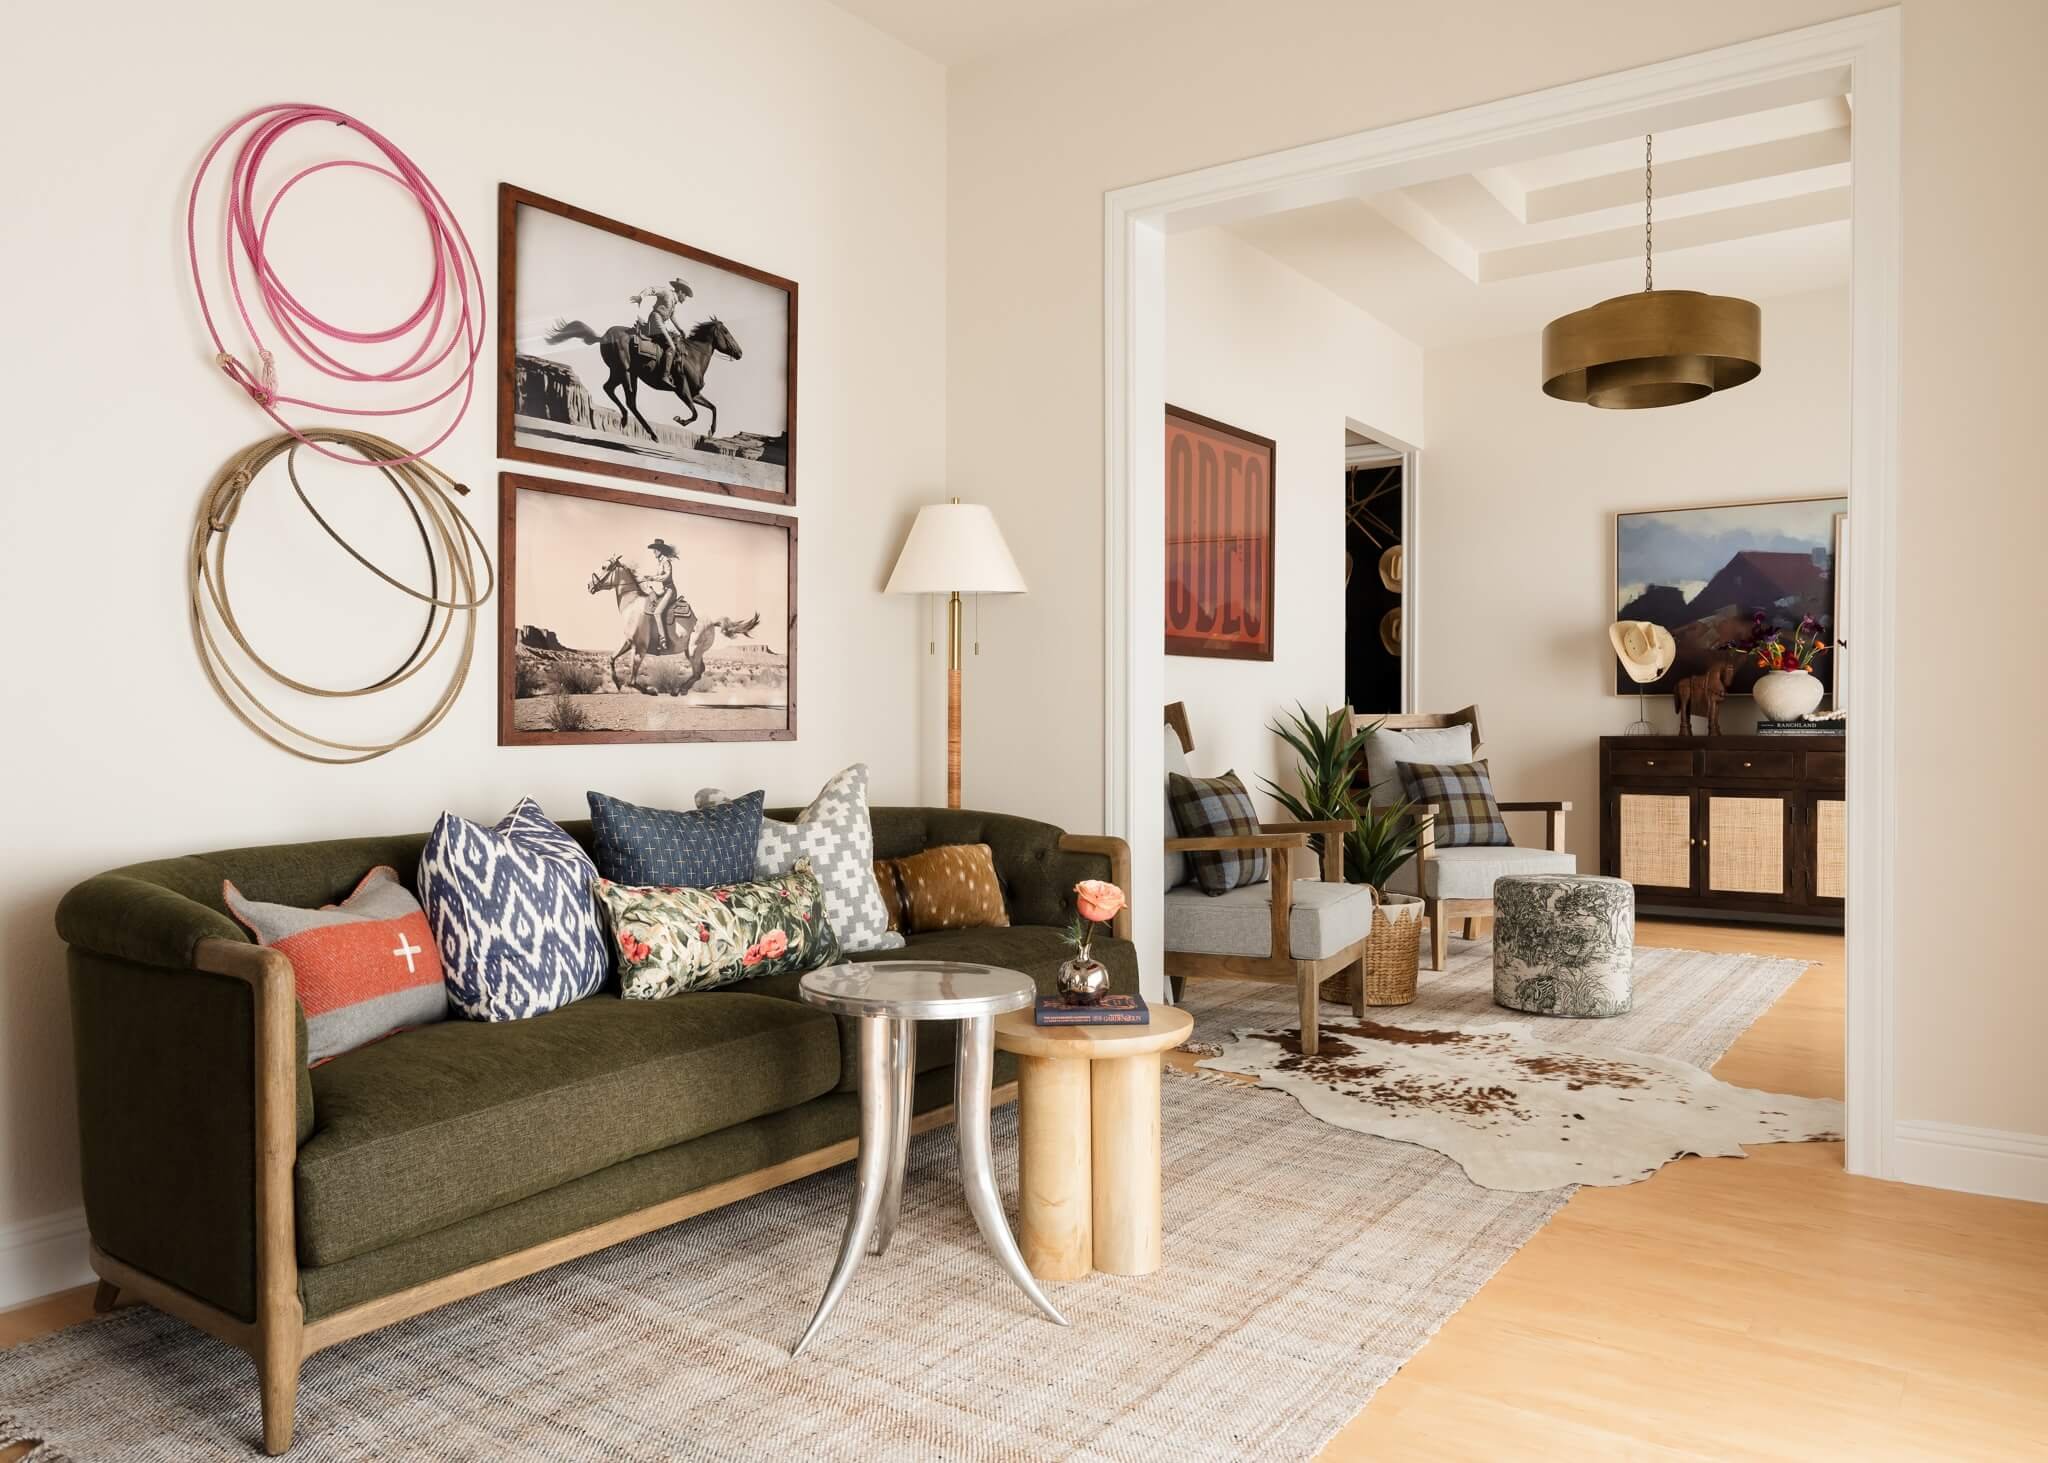
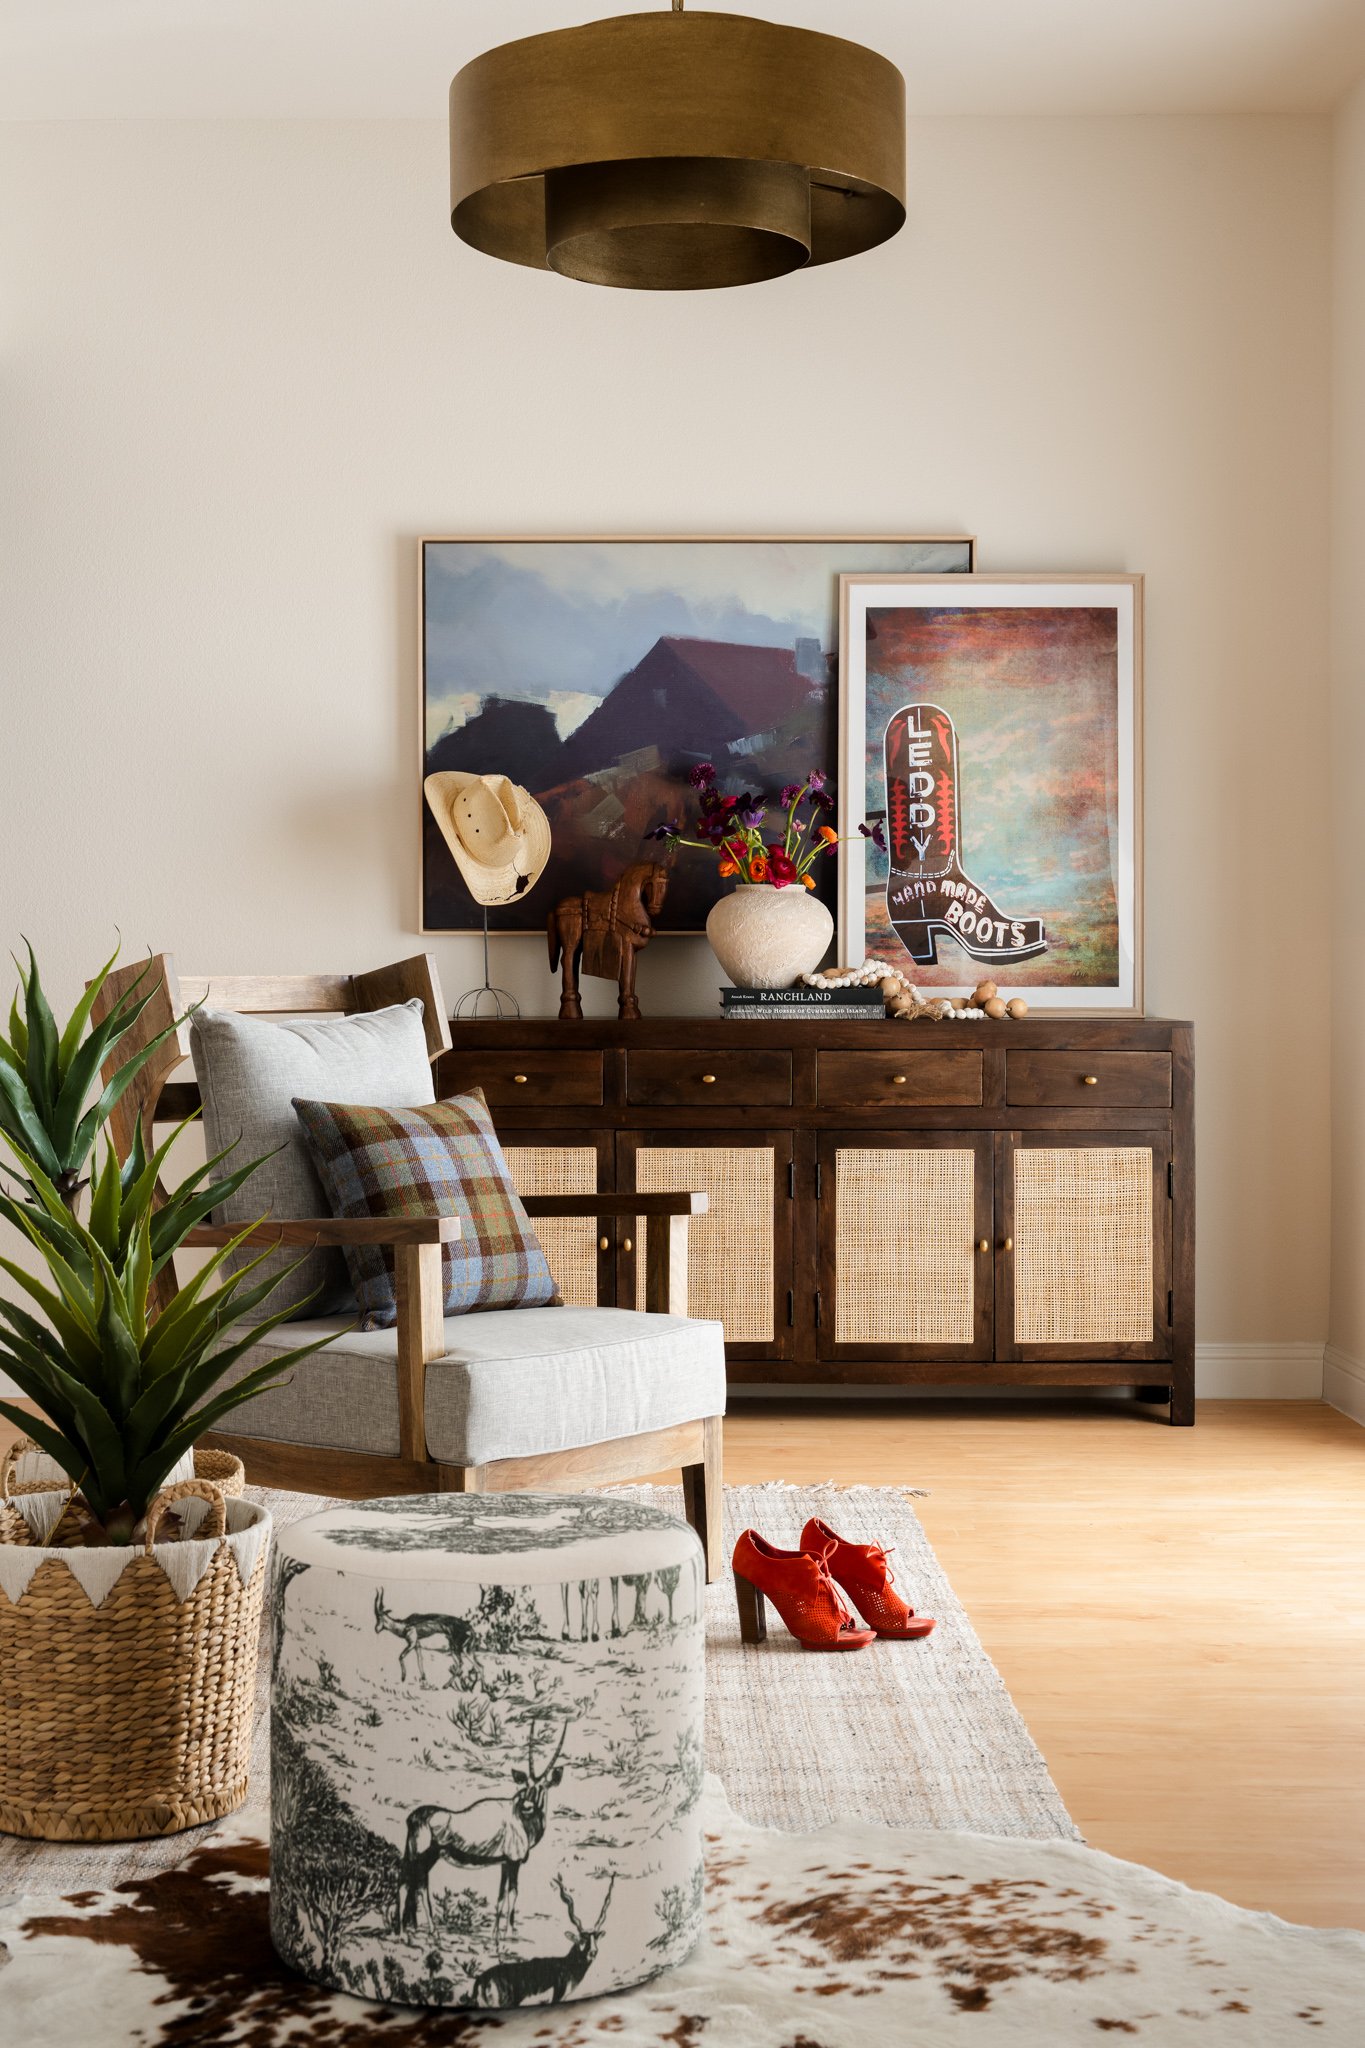
2. Plan the Photography Before Session Day
For larger interior and architectural projects, I use Creative Production Planning to establish the visual priorities before photography begins.
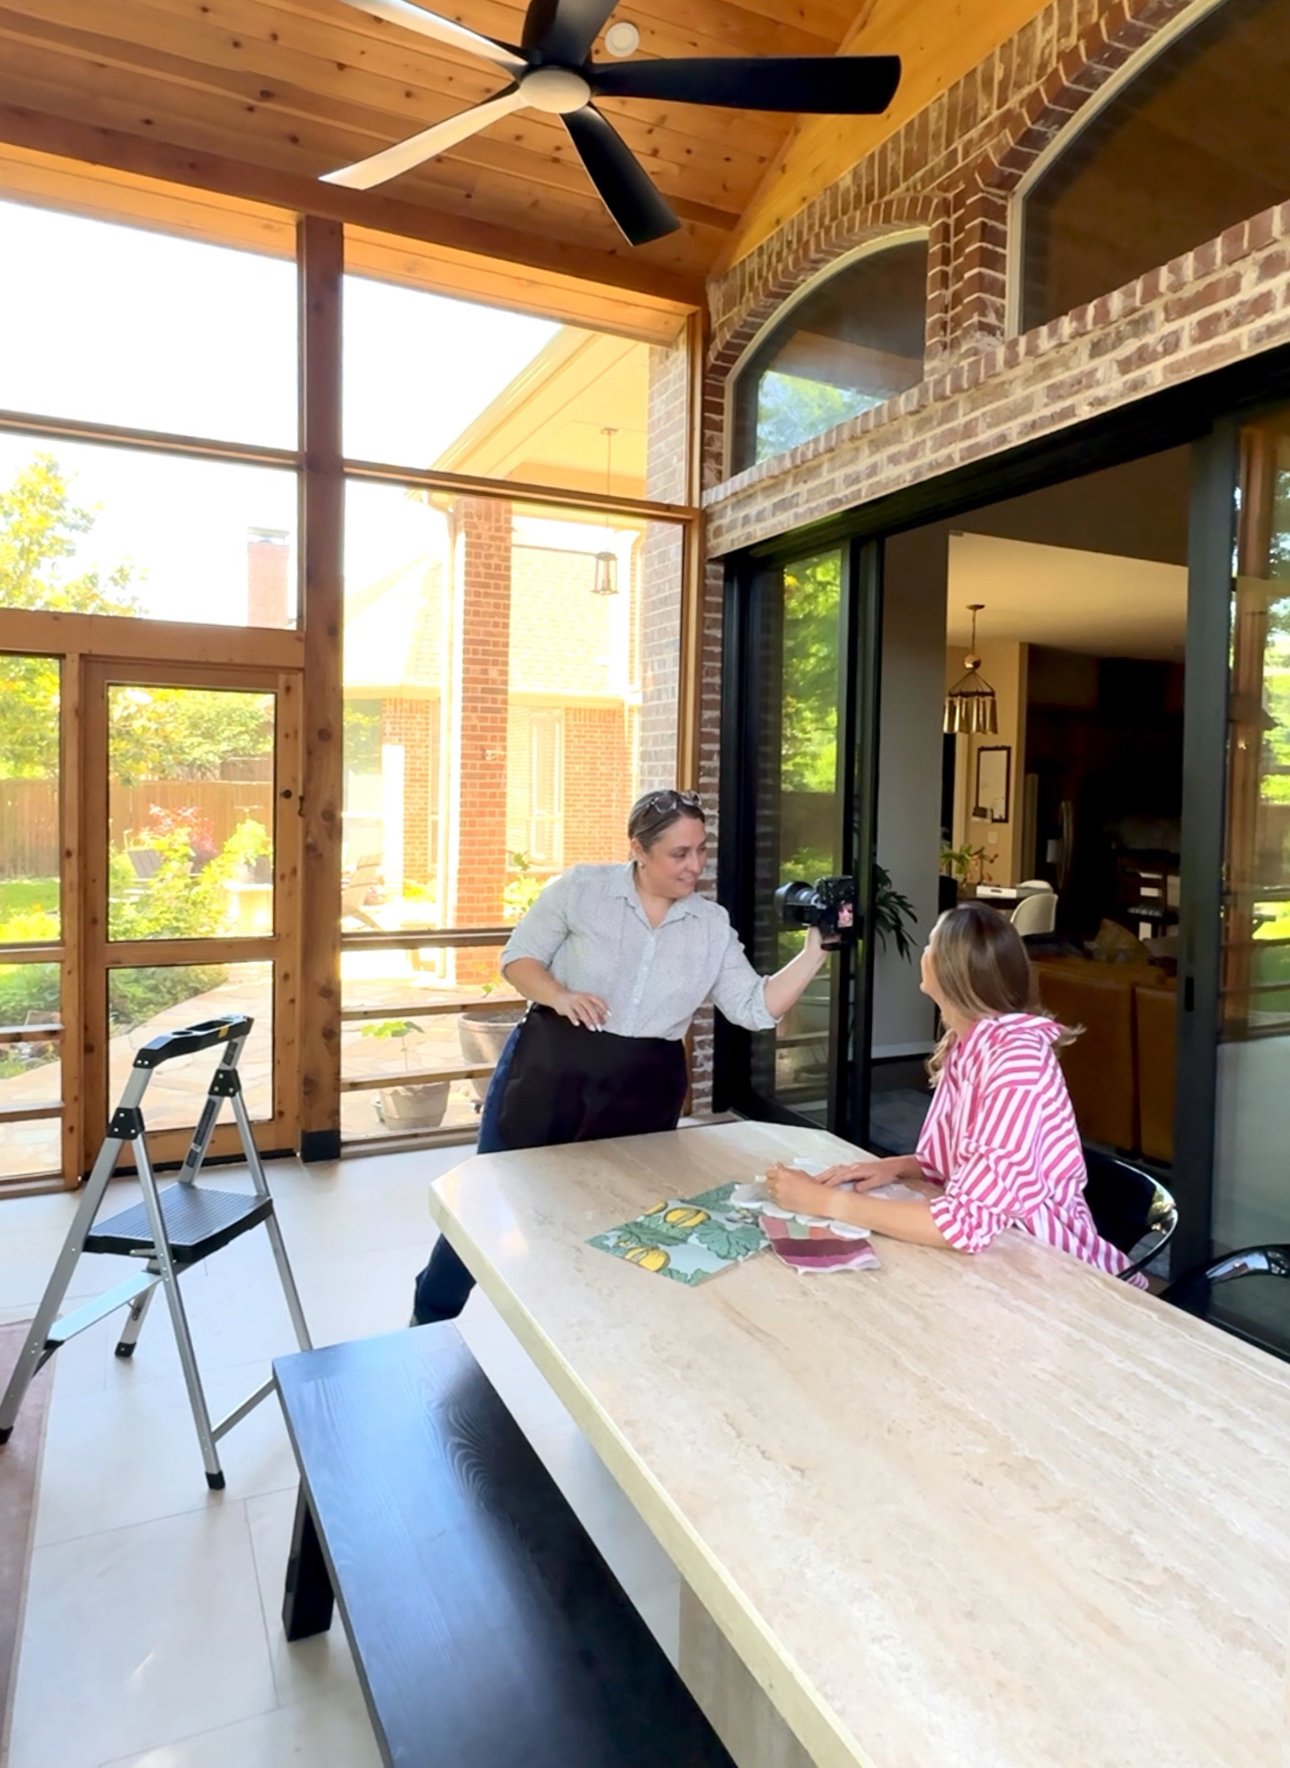
Depending on the project, this may include an in-person or virtual walkthrough, reviewing reference photographs or videos, discussing the design story, identifying priority spaces, and building a collaborative shot list.
This is also when we can identify practical considerations.
Which rooms need additional styling? Is artwork still being installed? Are florals needed? Is there a television or reflective surface that requires special attention? Are there spaces that photograph best at a particular time of day? Does furniture need to be adjusted before we begin?
Resolving those questions ahead of time allows the actual photography session to remain focused on making photographs rather than making logistical decisions.
3. Build a Shot List Around the Story of the Project
A good shot list isn't simply a list of rooms.
It establishes what is most important about the project and determines which photographs are necessary to communicate it.
I generally think about the collection in two broad categories: hero images and supporting images.
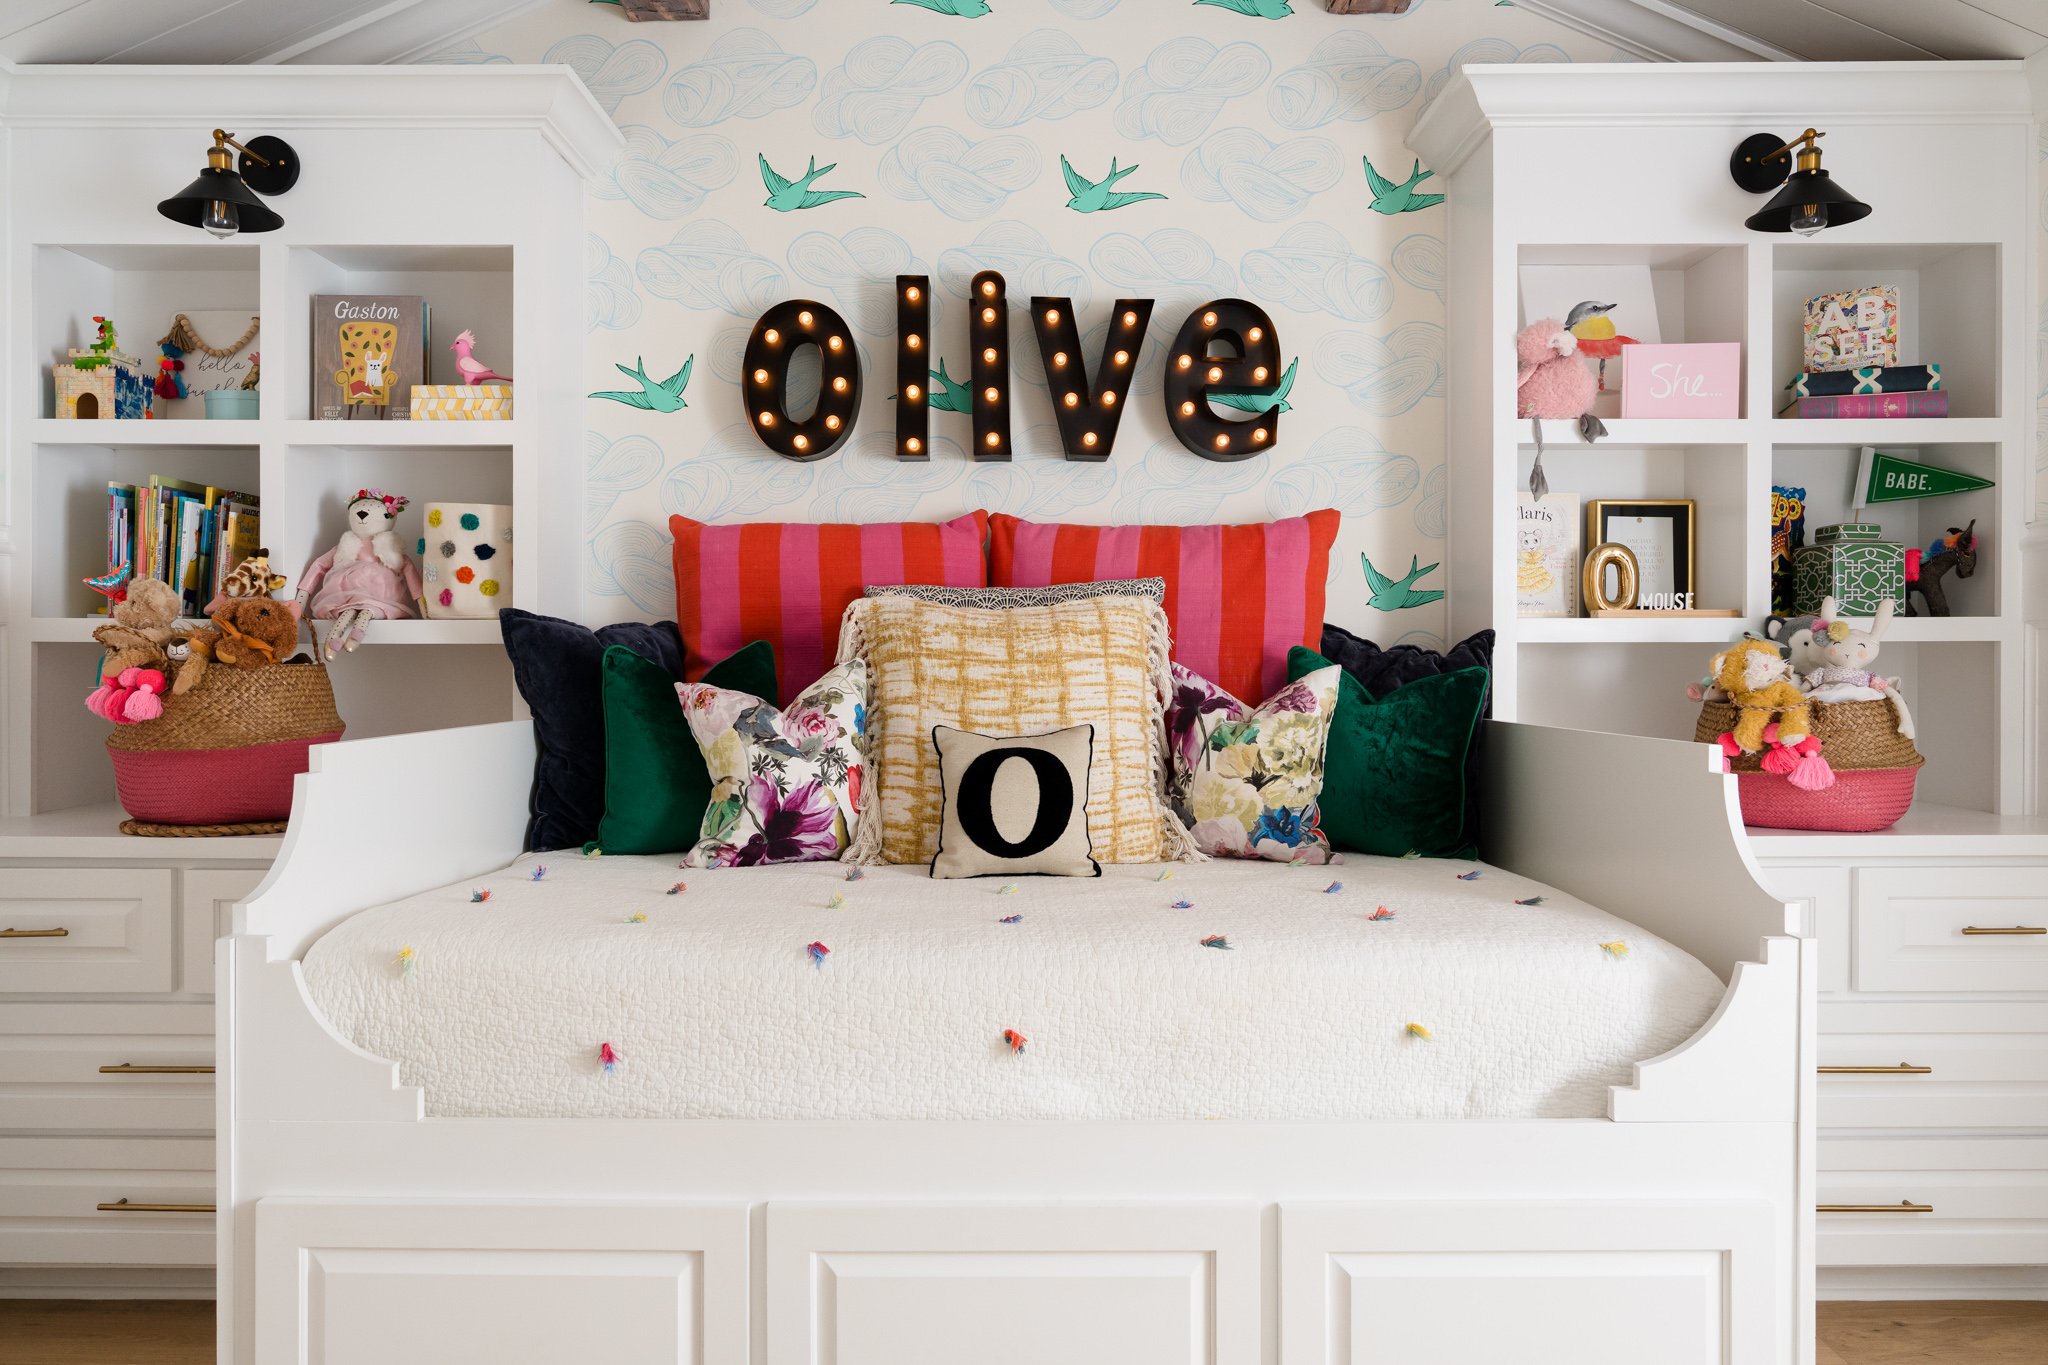
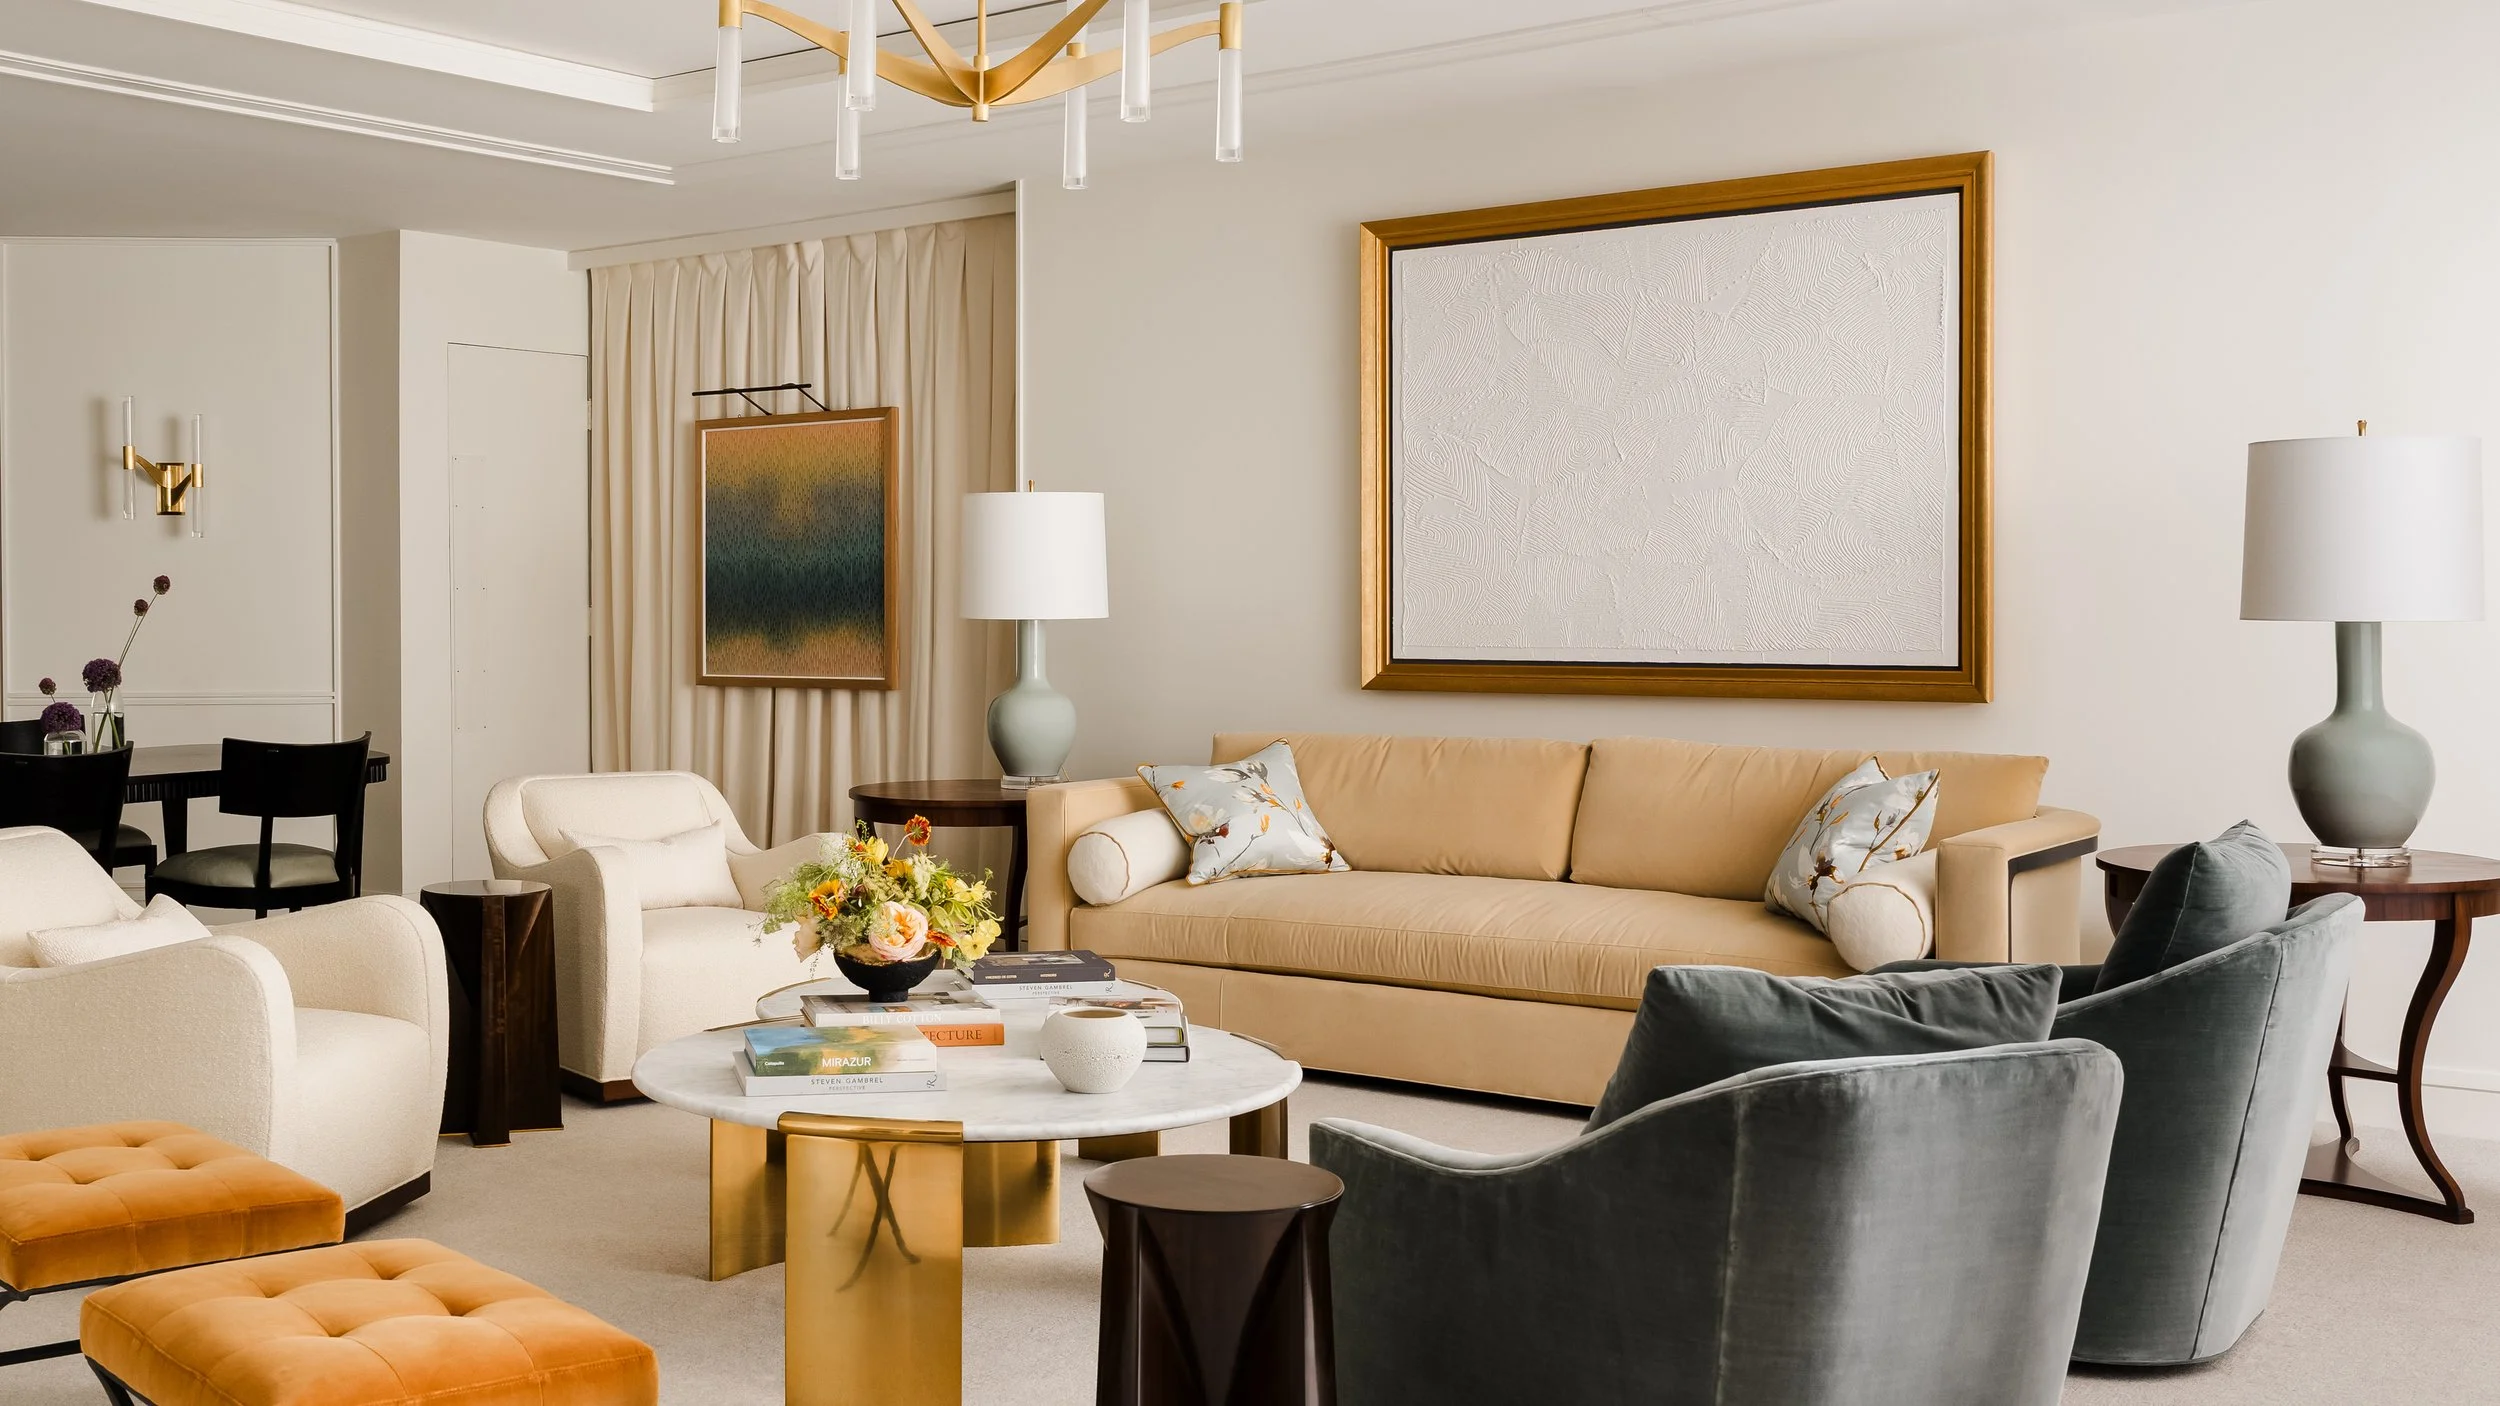
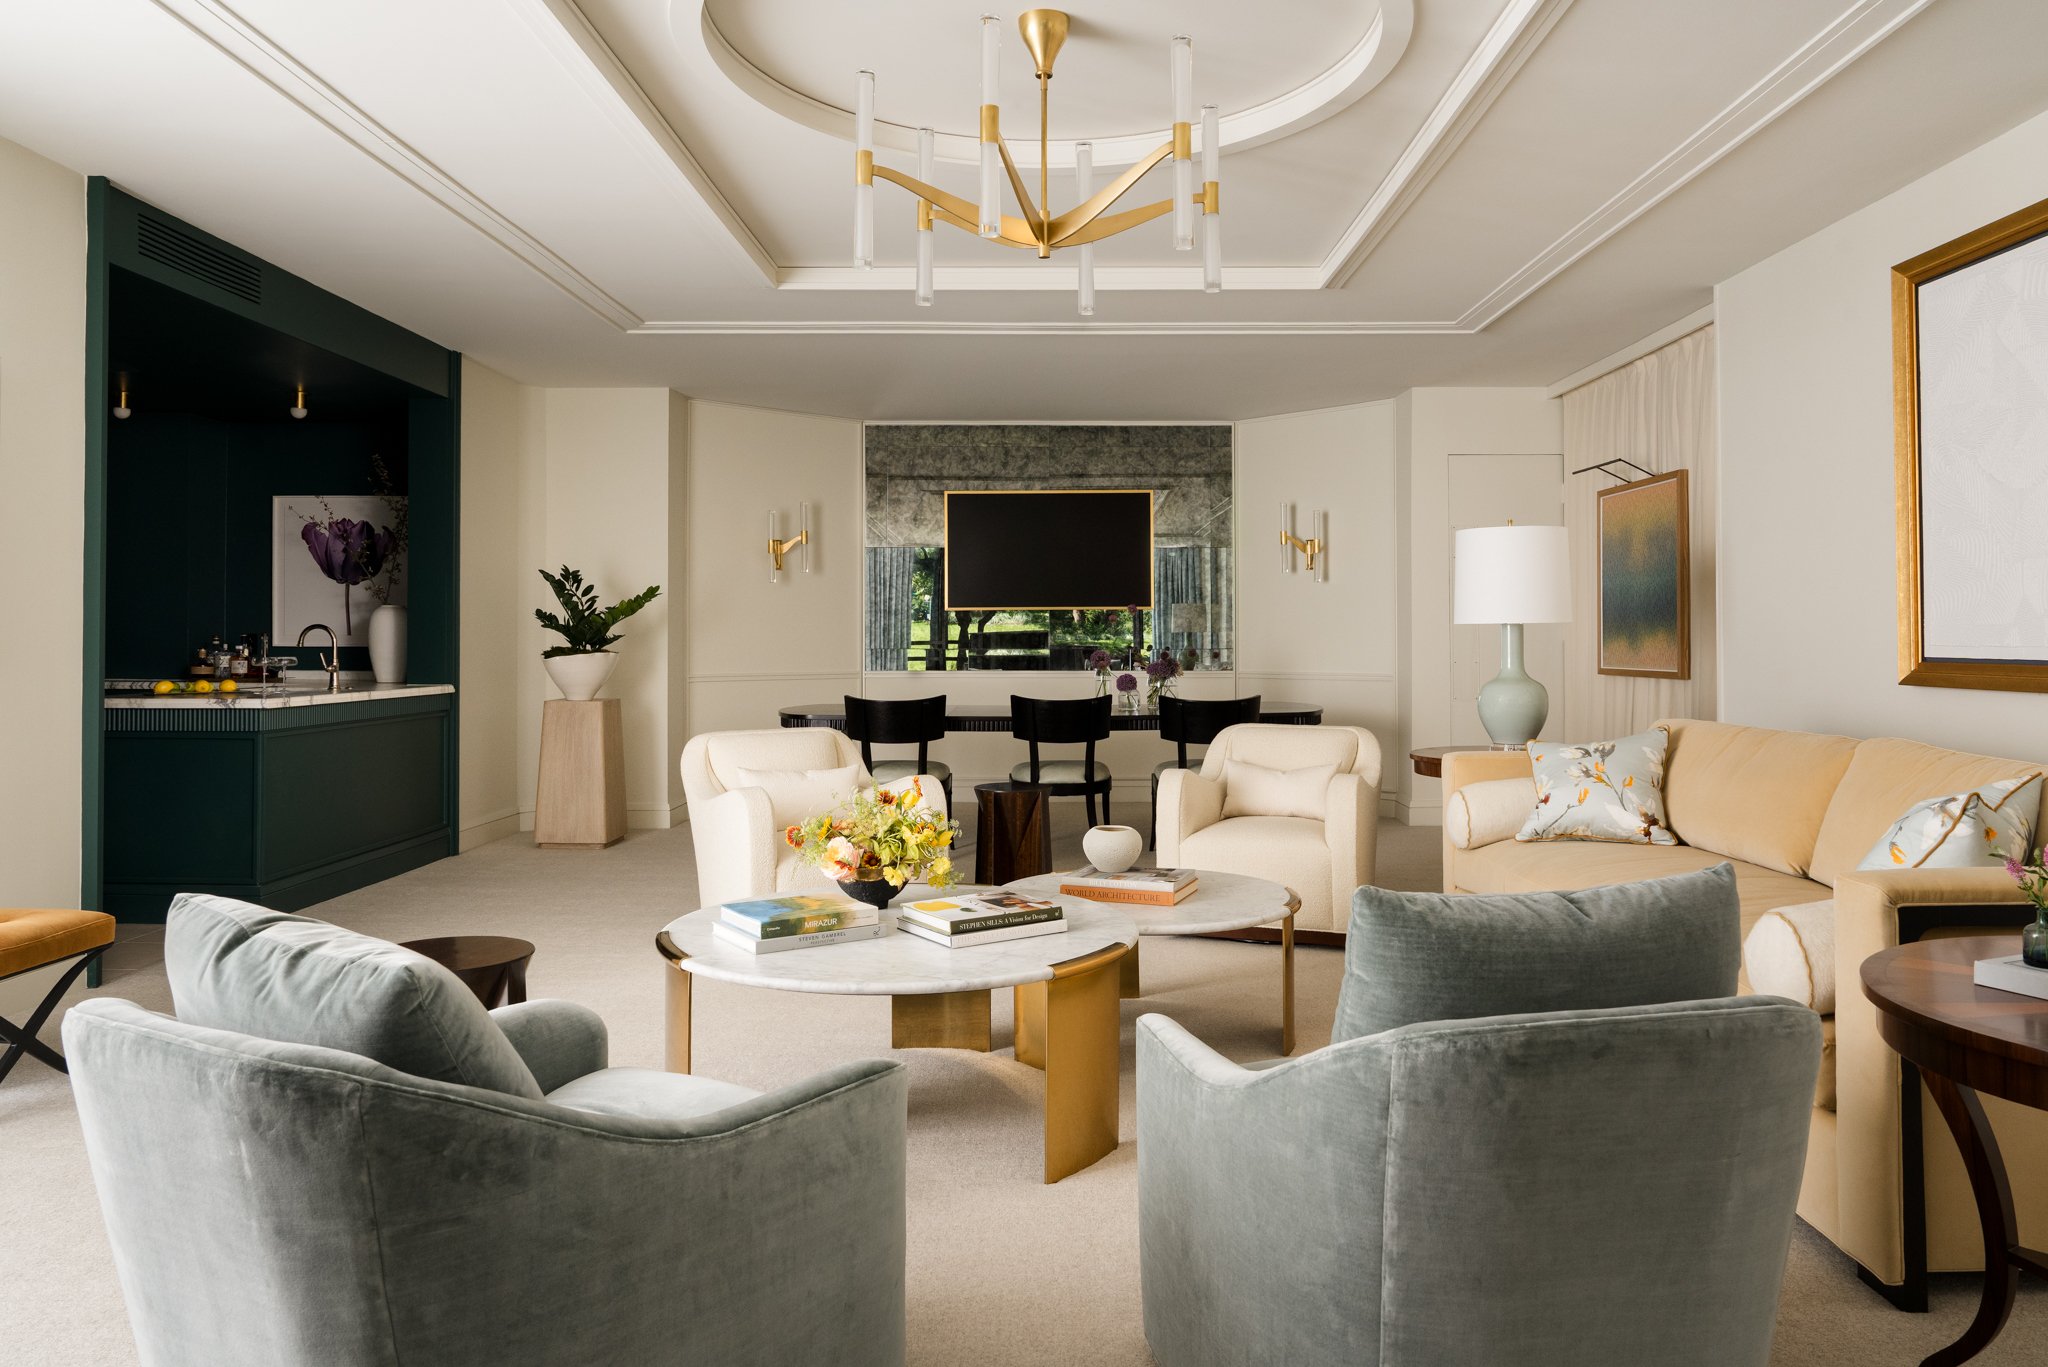
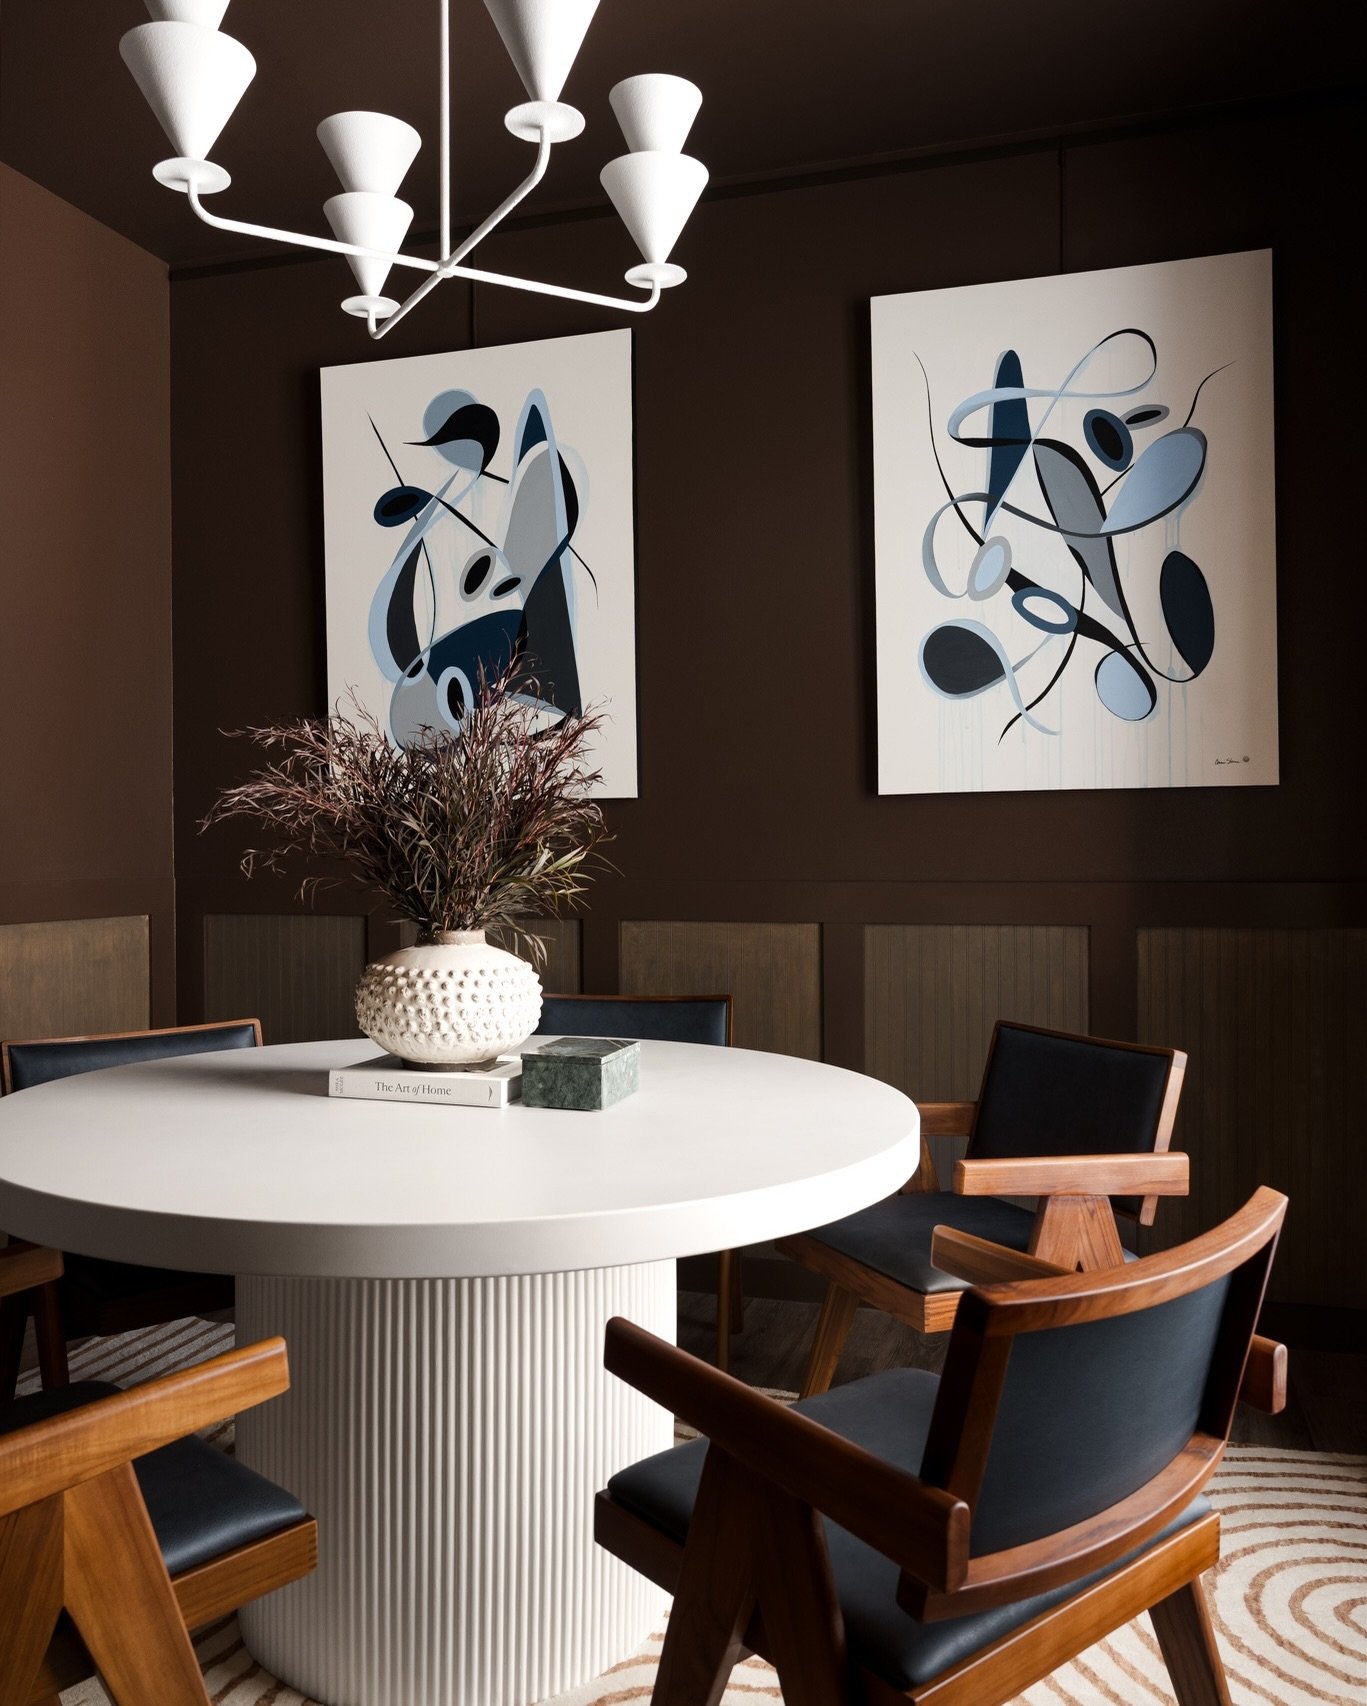
Hero images establish the project. These are often full-room or architectural compositions with enough visual information to communicate the space immediately. They tend to become portfolio images, website banners, publication openers, and the photographs most frequently associated with the project.
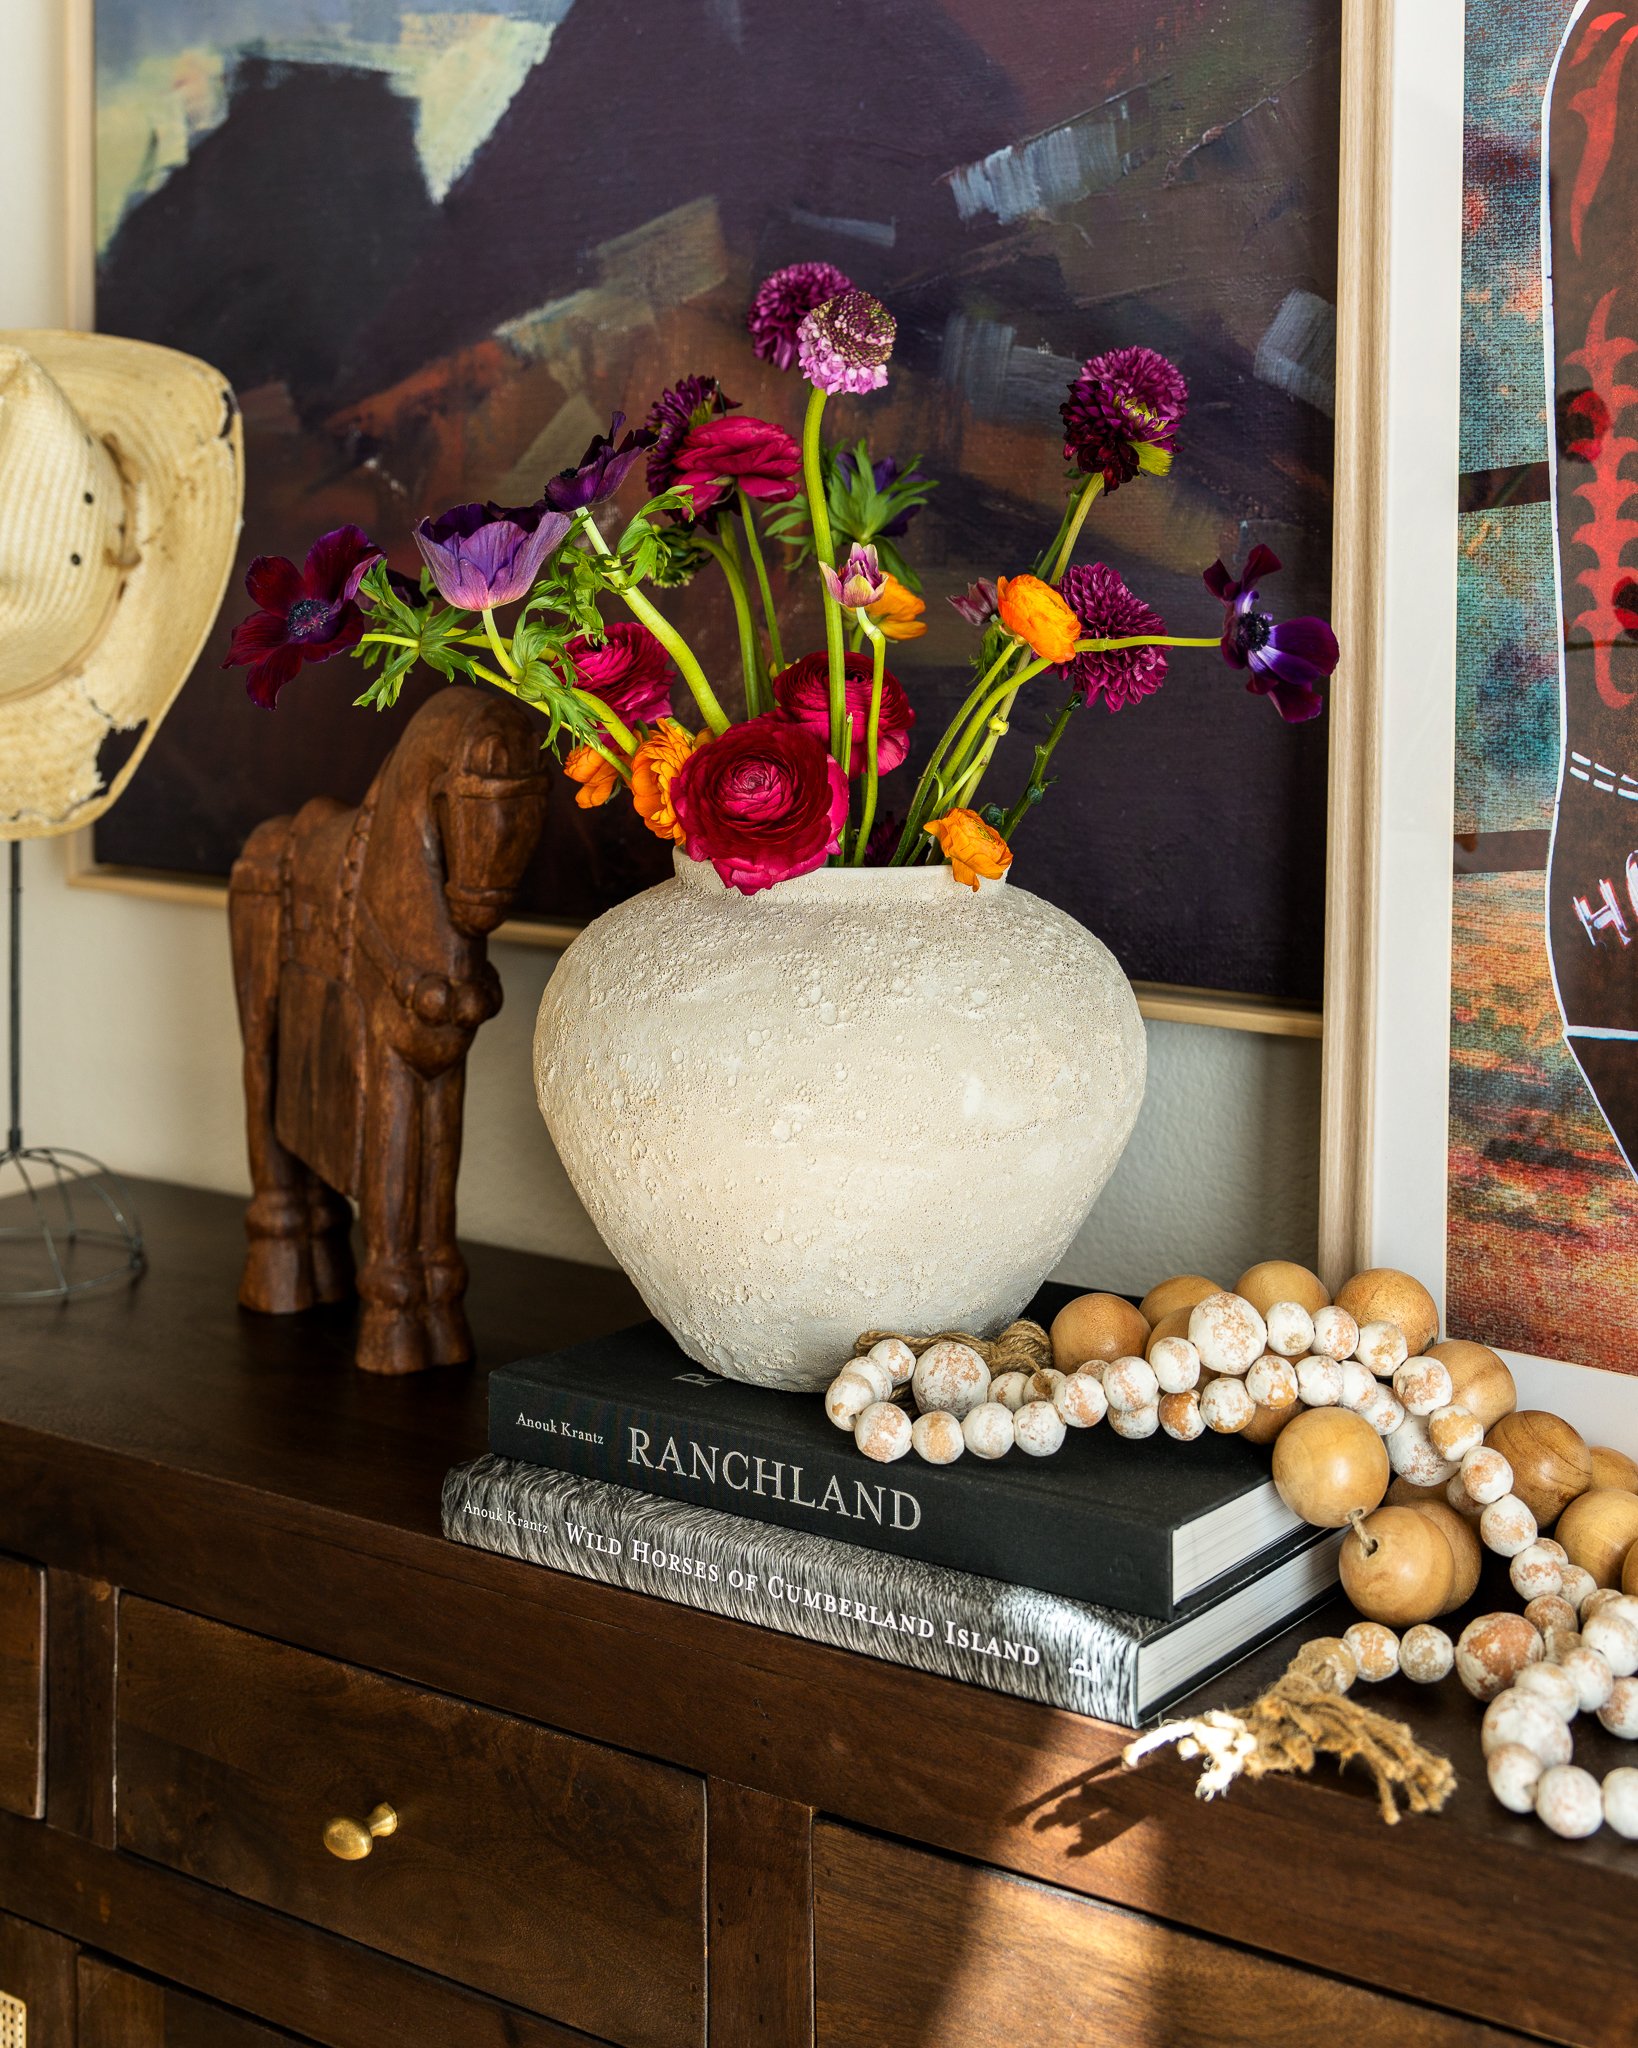
Supporting images move closer.
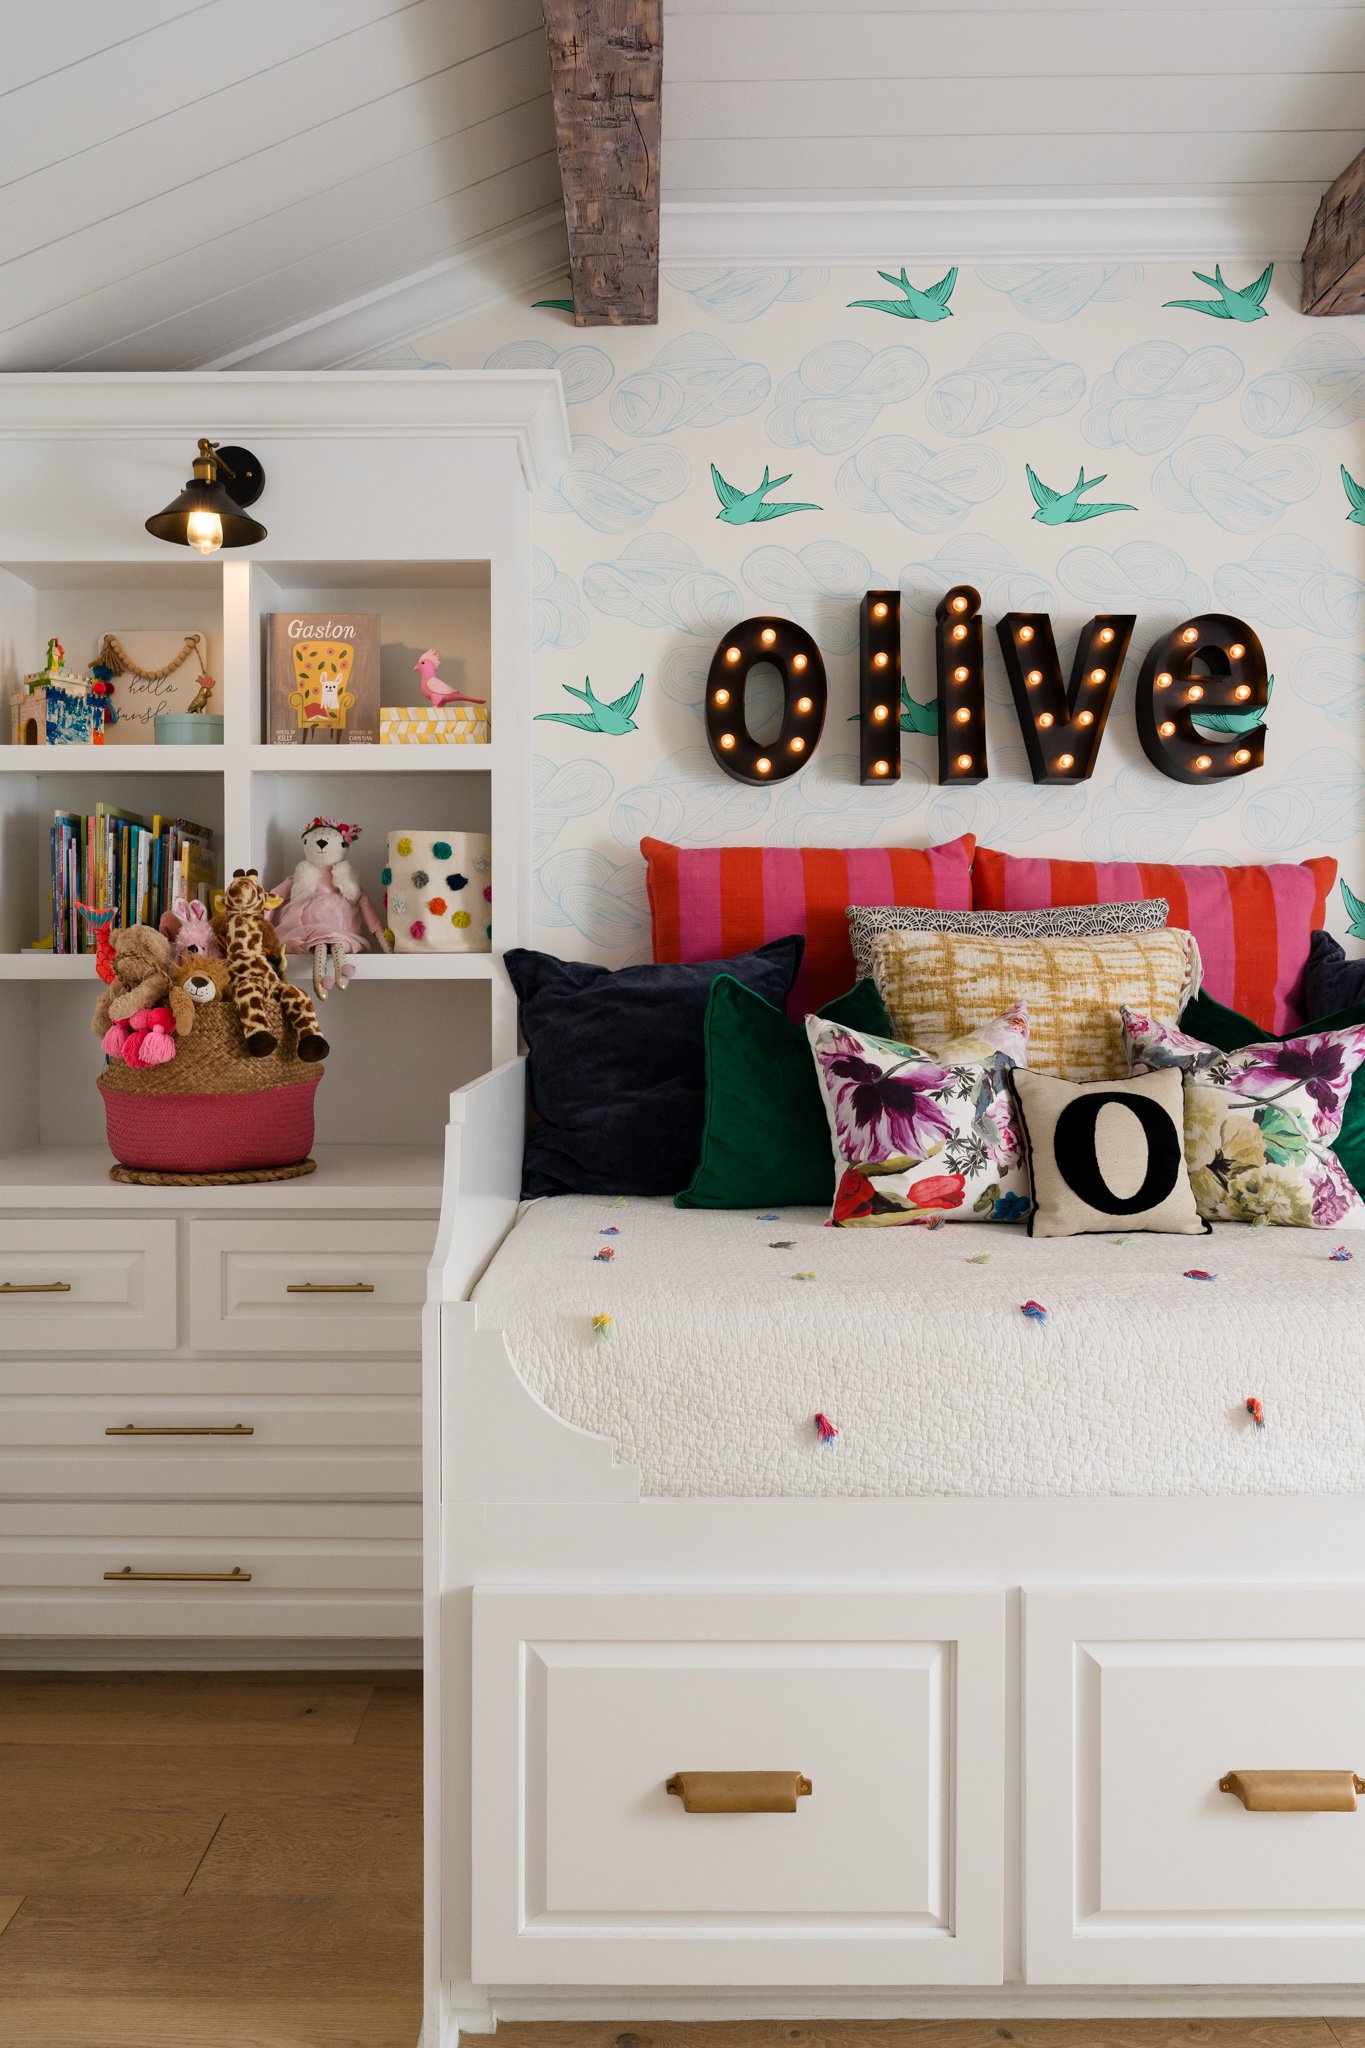
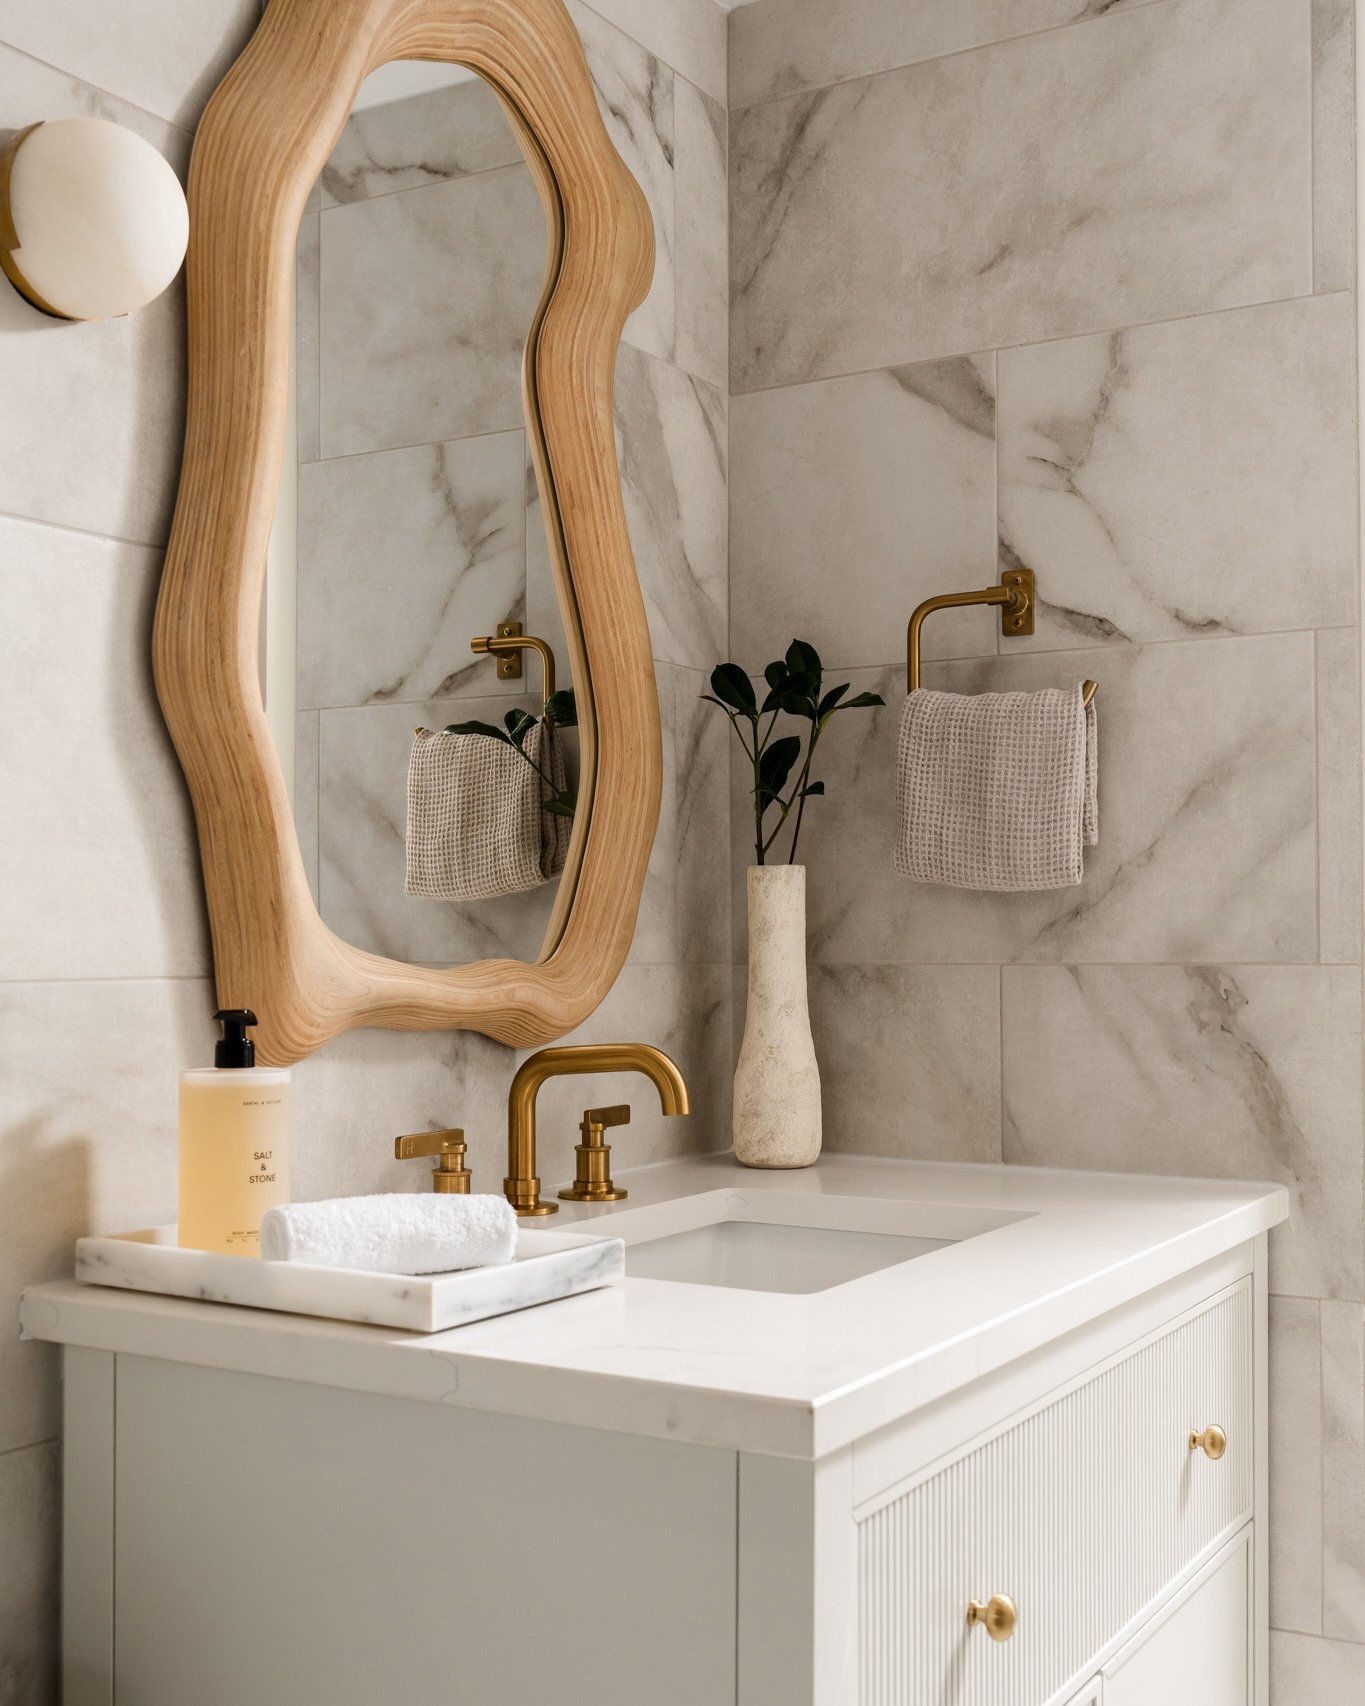
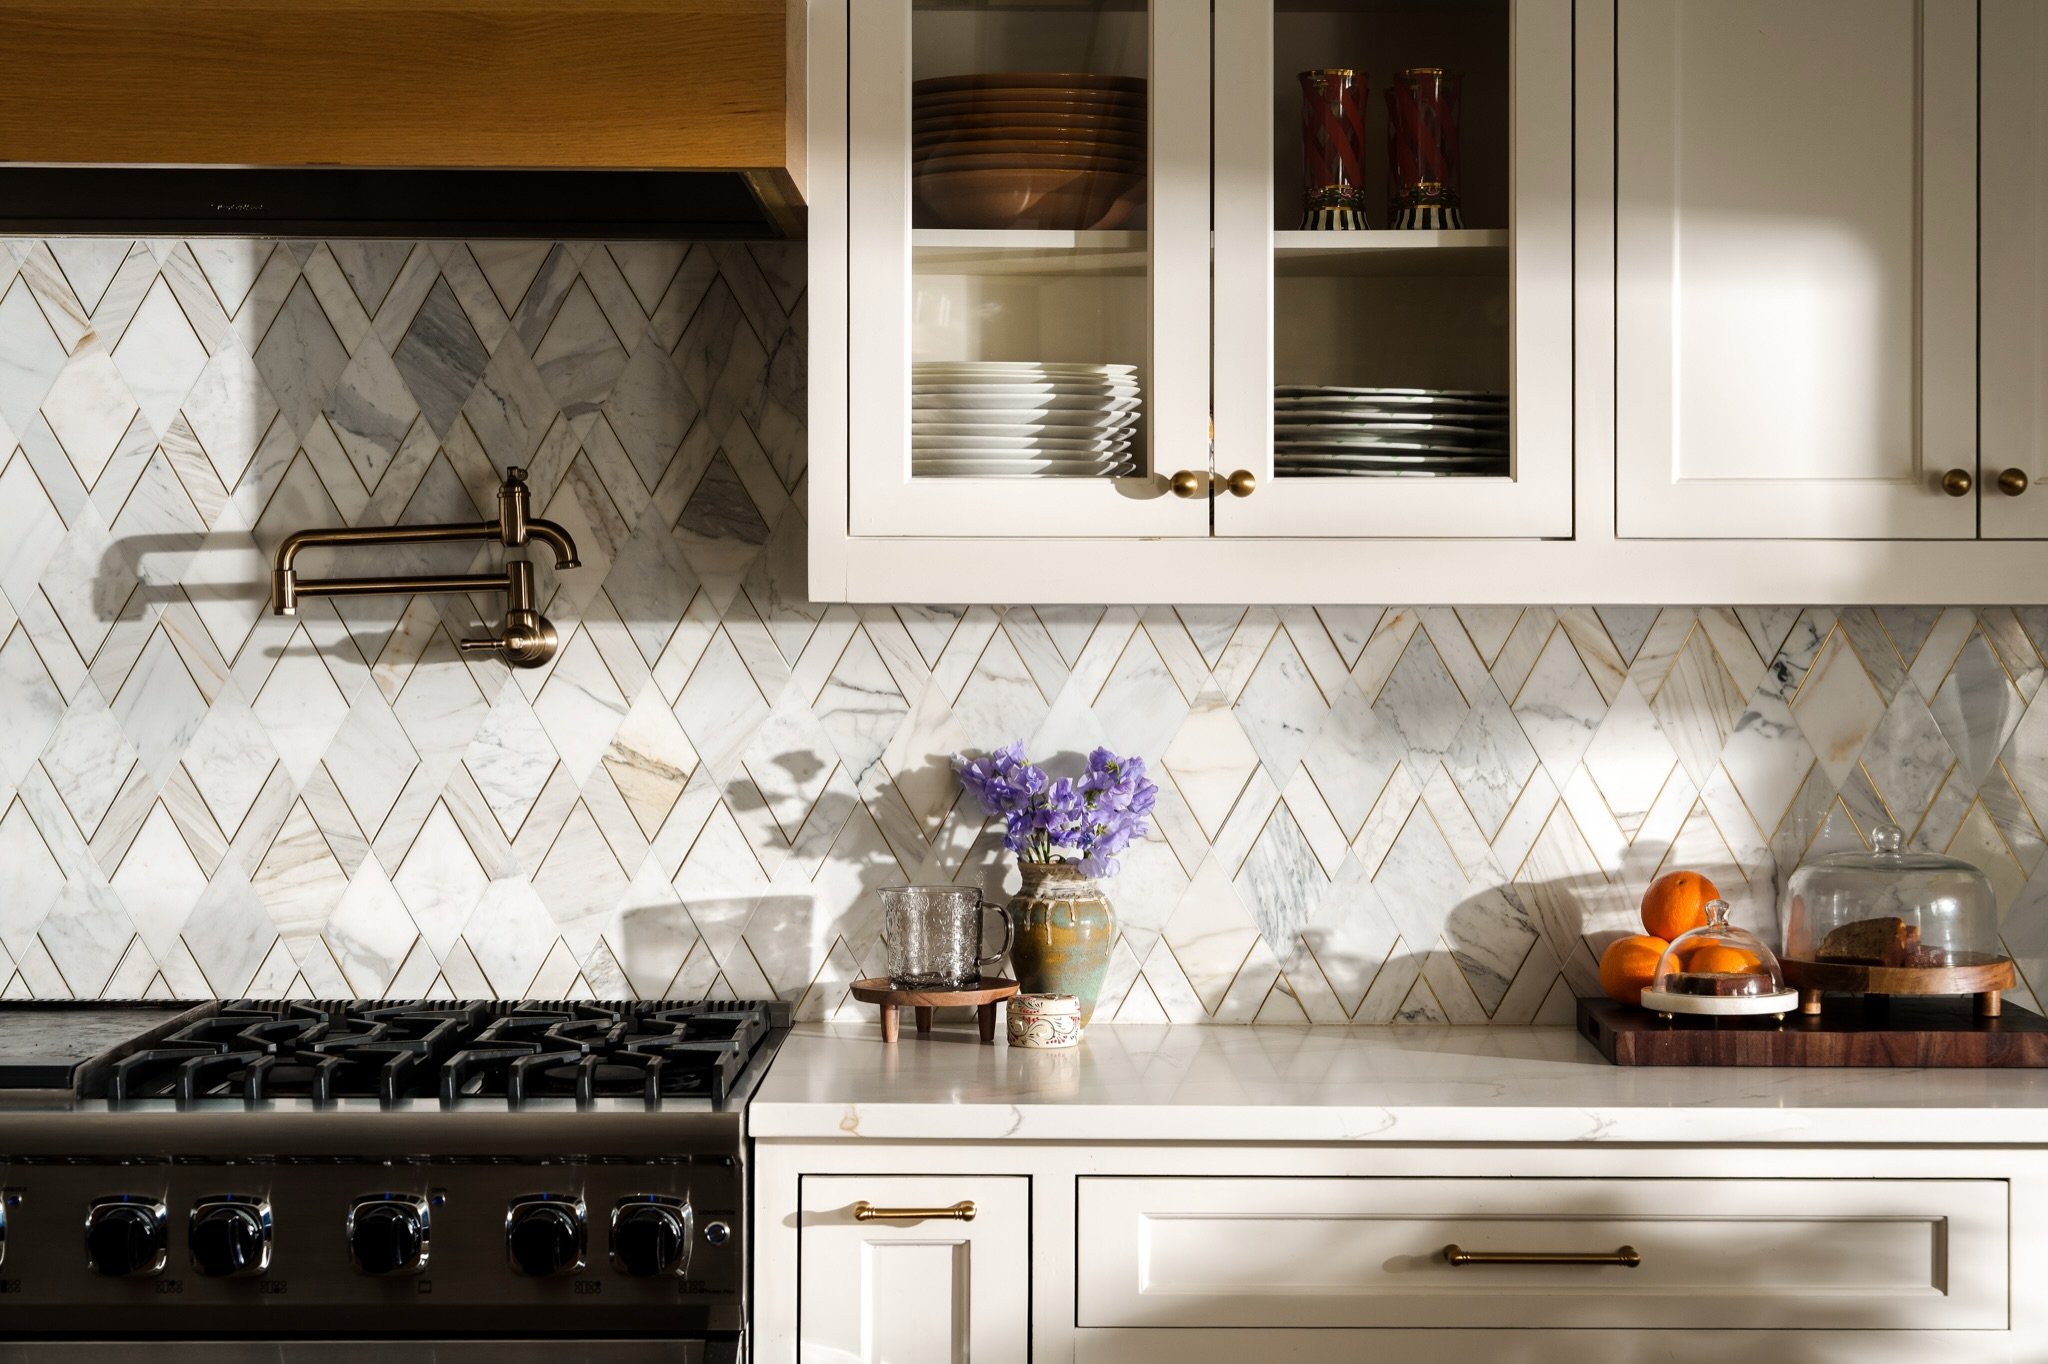
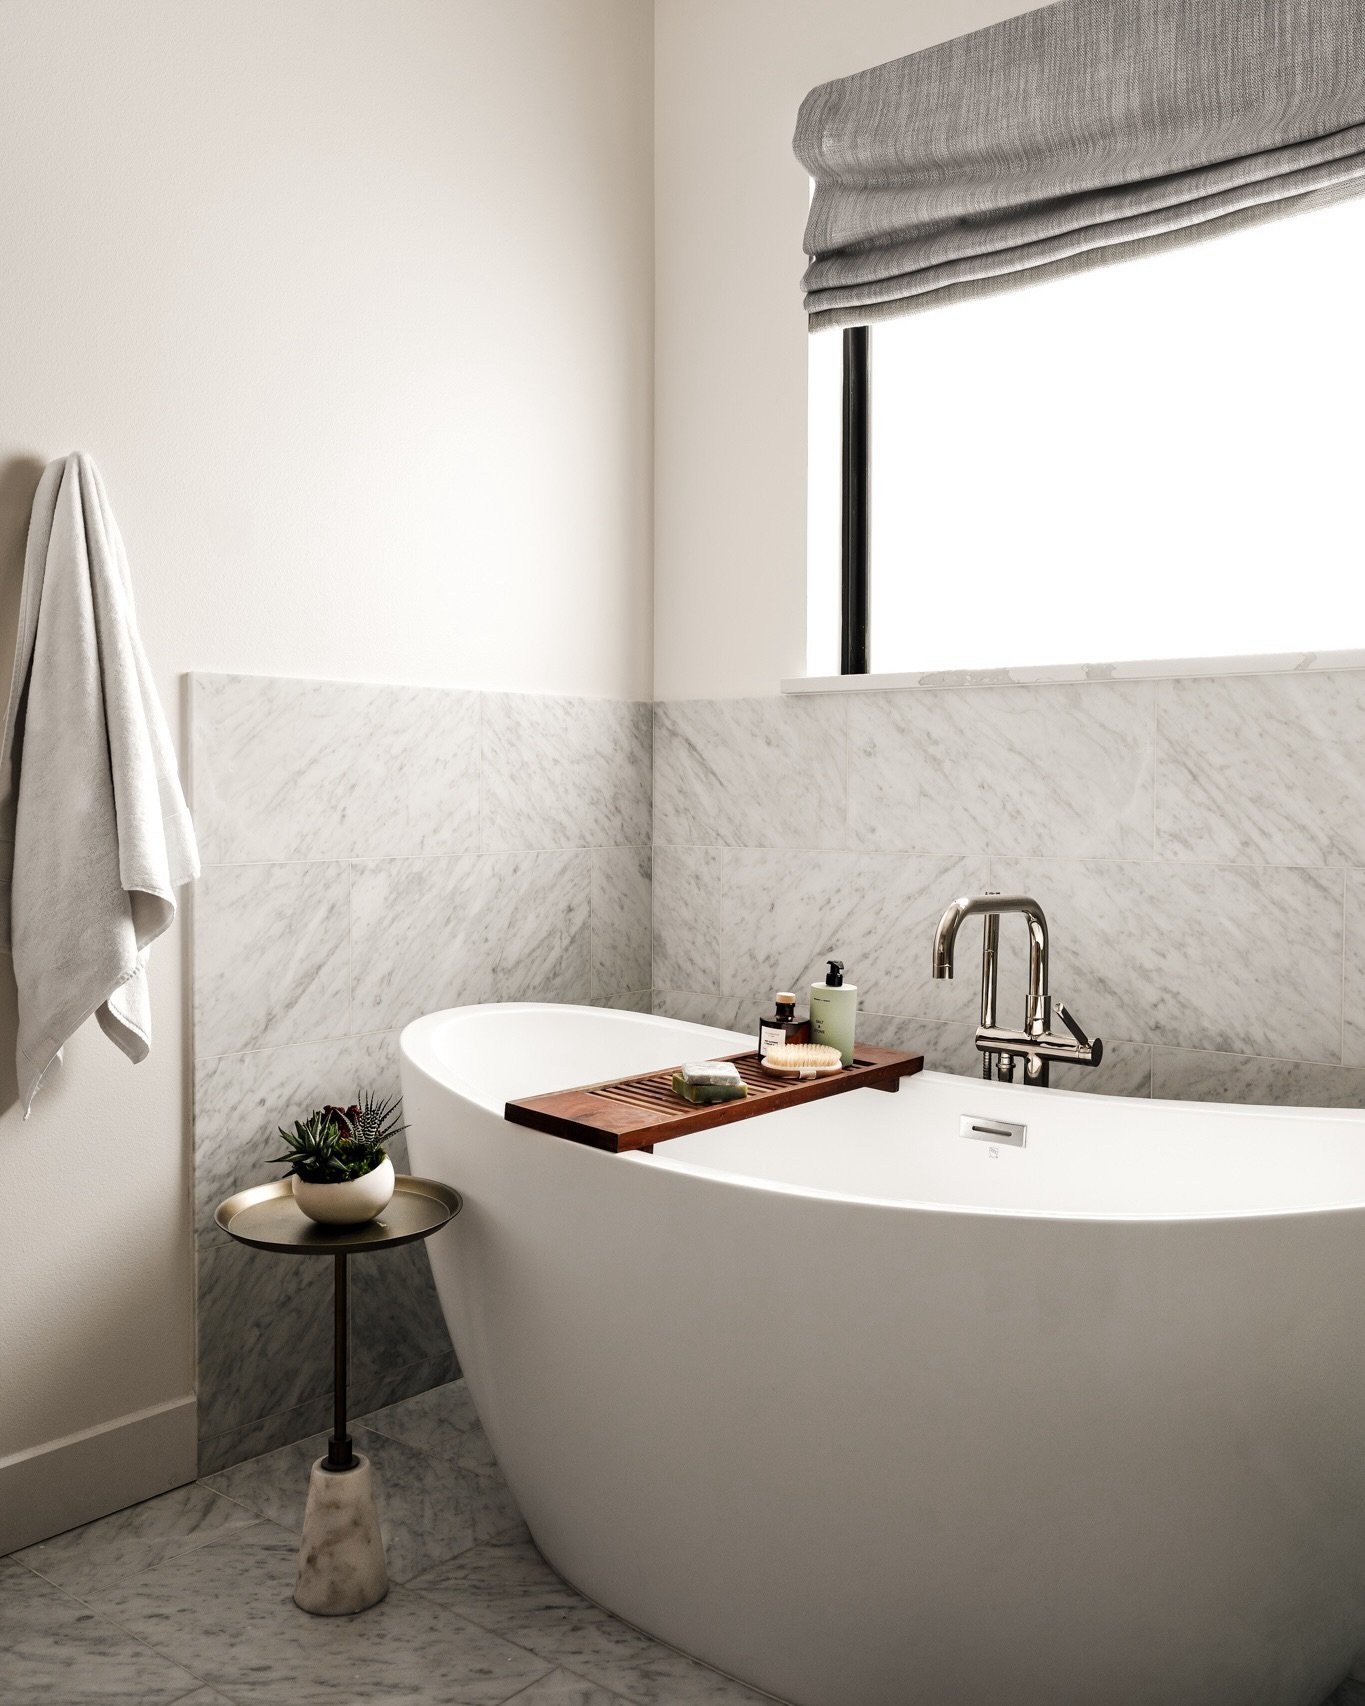
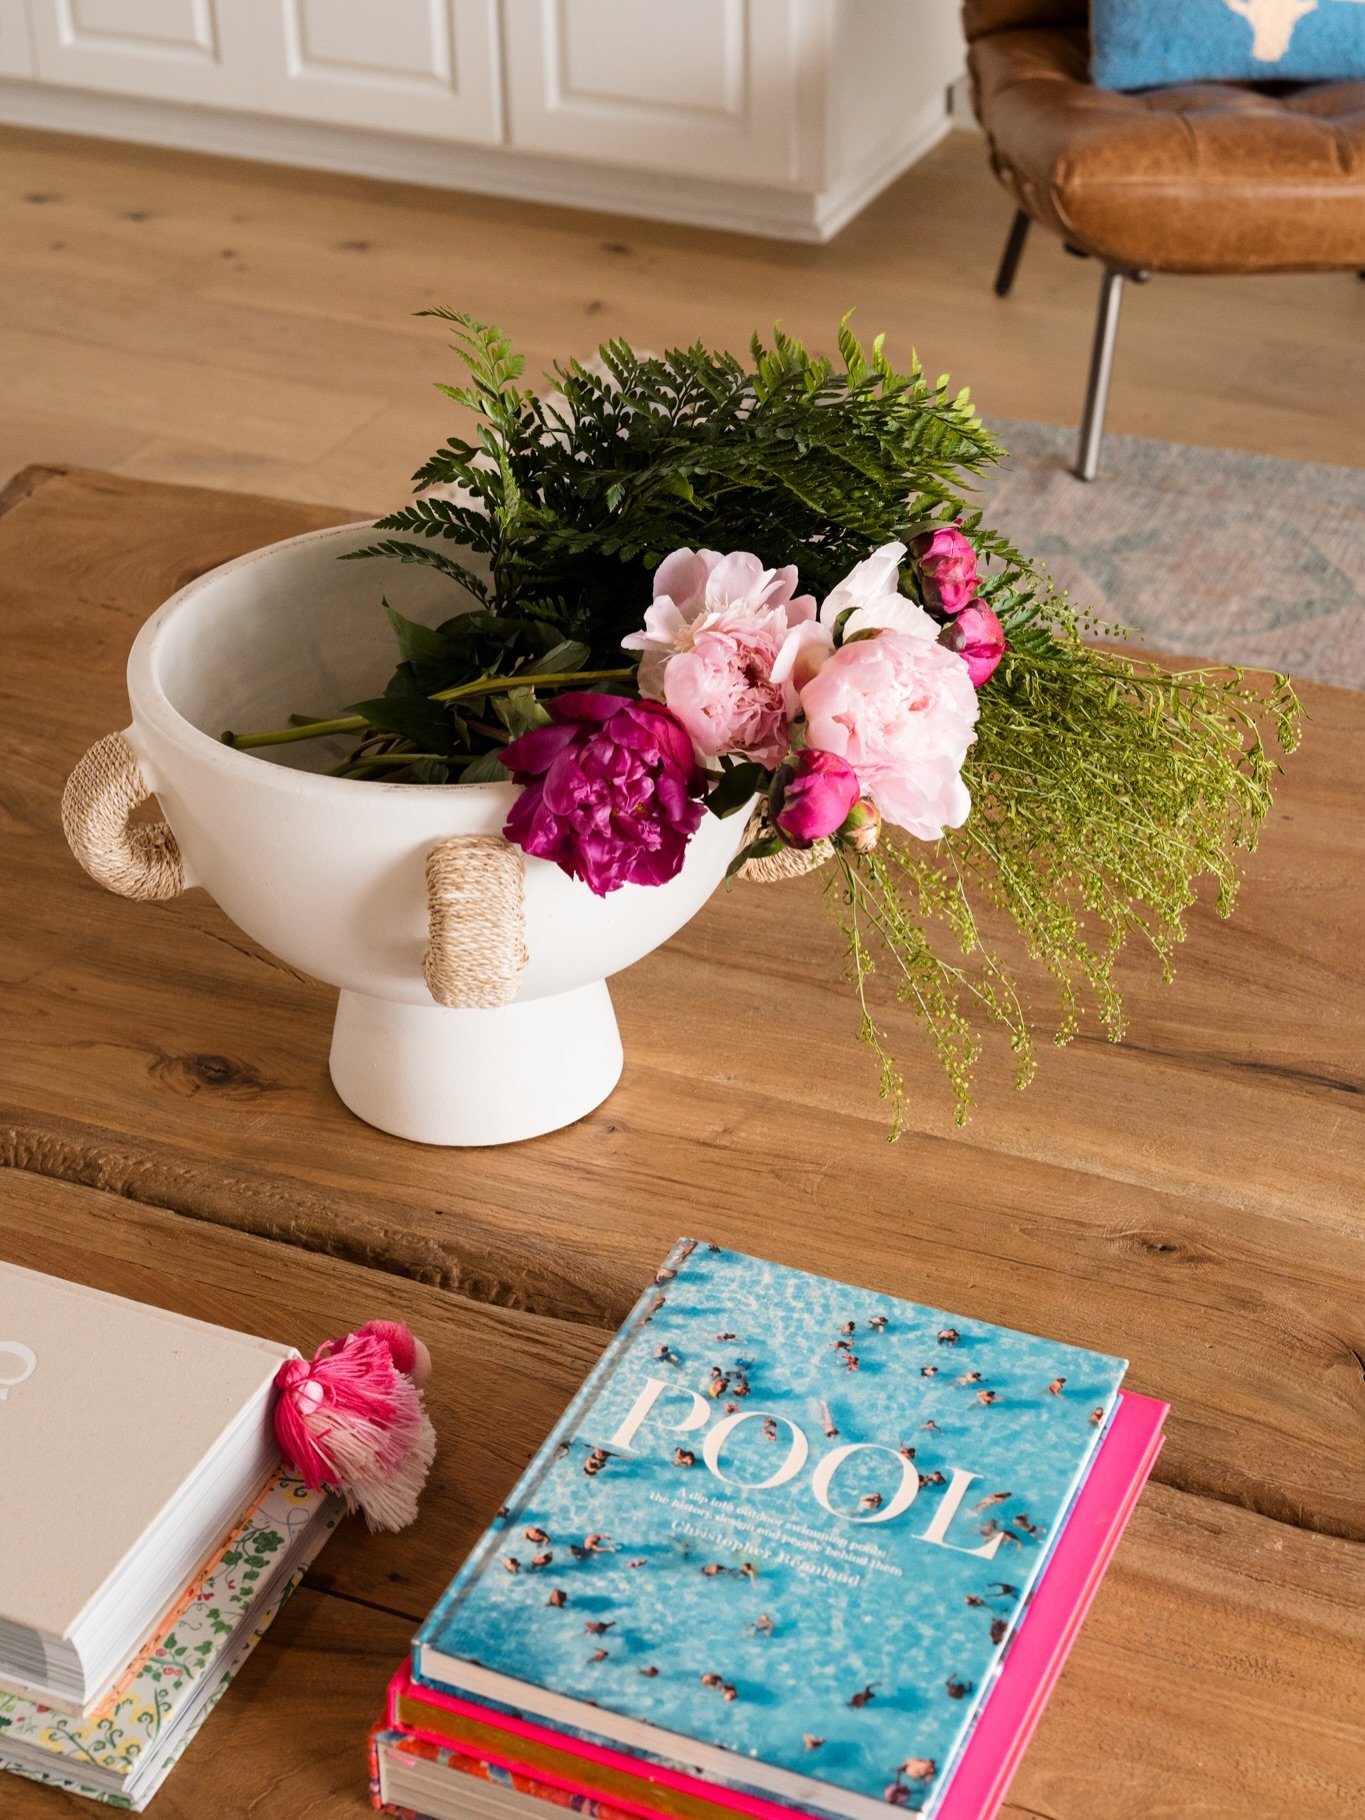
They might show an architectural transition, a material relationship, custom millwork, a lighting detail, a styled vignette, or a smaller composition within a larger room.
Neither is more important than the other.
A gallery made entirely of wide photographs can document a project thoroughly but struggle to communicate its personality. A collection made entirely of details can be beautiful but fail to explain the architecture.
The strongest project galleries contain both.

4. Prepare and Style the Space
The camera notices things differently than the eye does.
A room that appears perfectly balanced while standing in it may need small adjustments once viewed through the camera. A chair may overlap awkwardly with another piece of furniture. Accessories may compete with an architectural feature. A countertop that feels appropriately styled in person may suddenly appear crowded within a two-dimensional composition.
That is why styling for photography is different from styling a room for everyday life.
Before the session, I recommend completing as much preparation as possible: construction and installations finished, surfaces cleaned, cords managed, personal items removed, accessories available, linens and curtains steamed, and major styling decisions made.
During photography, we can then make smaller adjustments specifically for the composition.
The objective isn't to make the room look artificially perfect. It's to remove visual distractions so the design itself remains the focus.
Related: Last-Minute Styling Fixes That Make a Big Impact in Photos
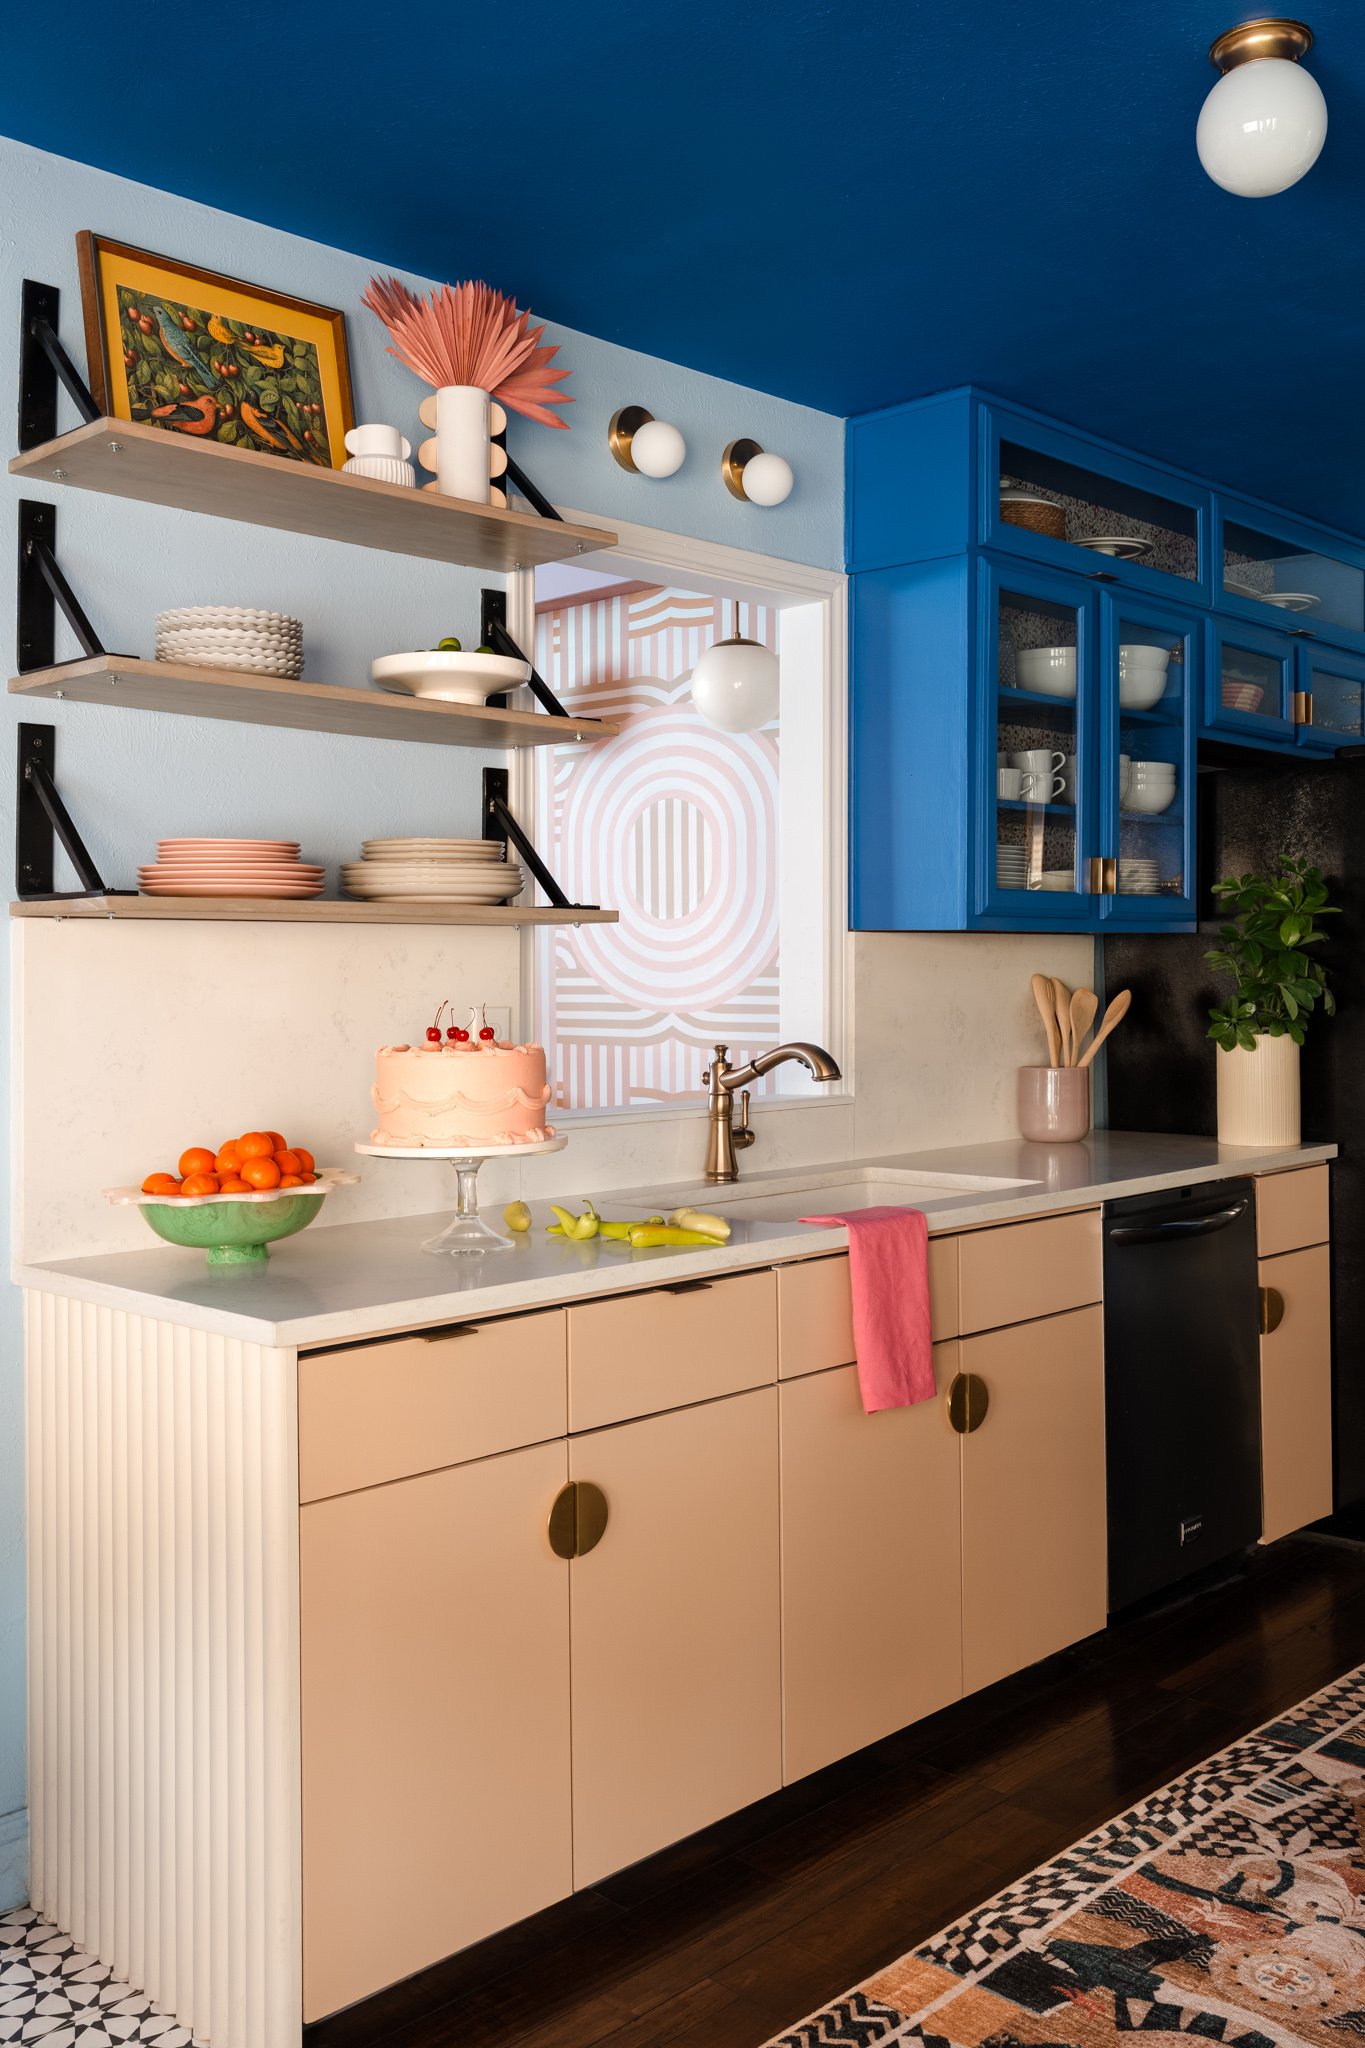
5. Photograph the Space With A Plan
Once photography begins, the goal isn't to capture every possible angle.
It's to find the compositions that communicate the space most clearly.
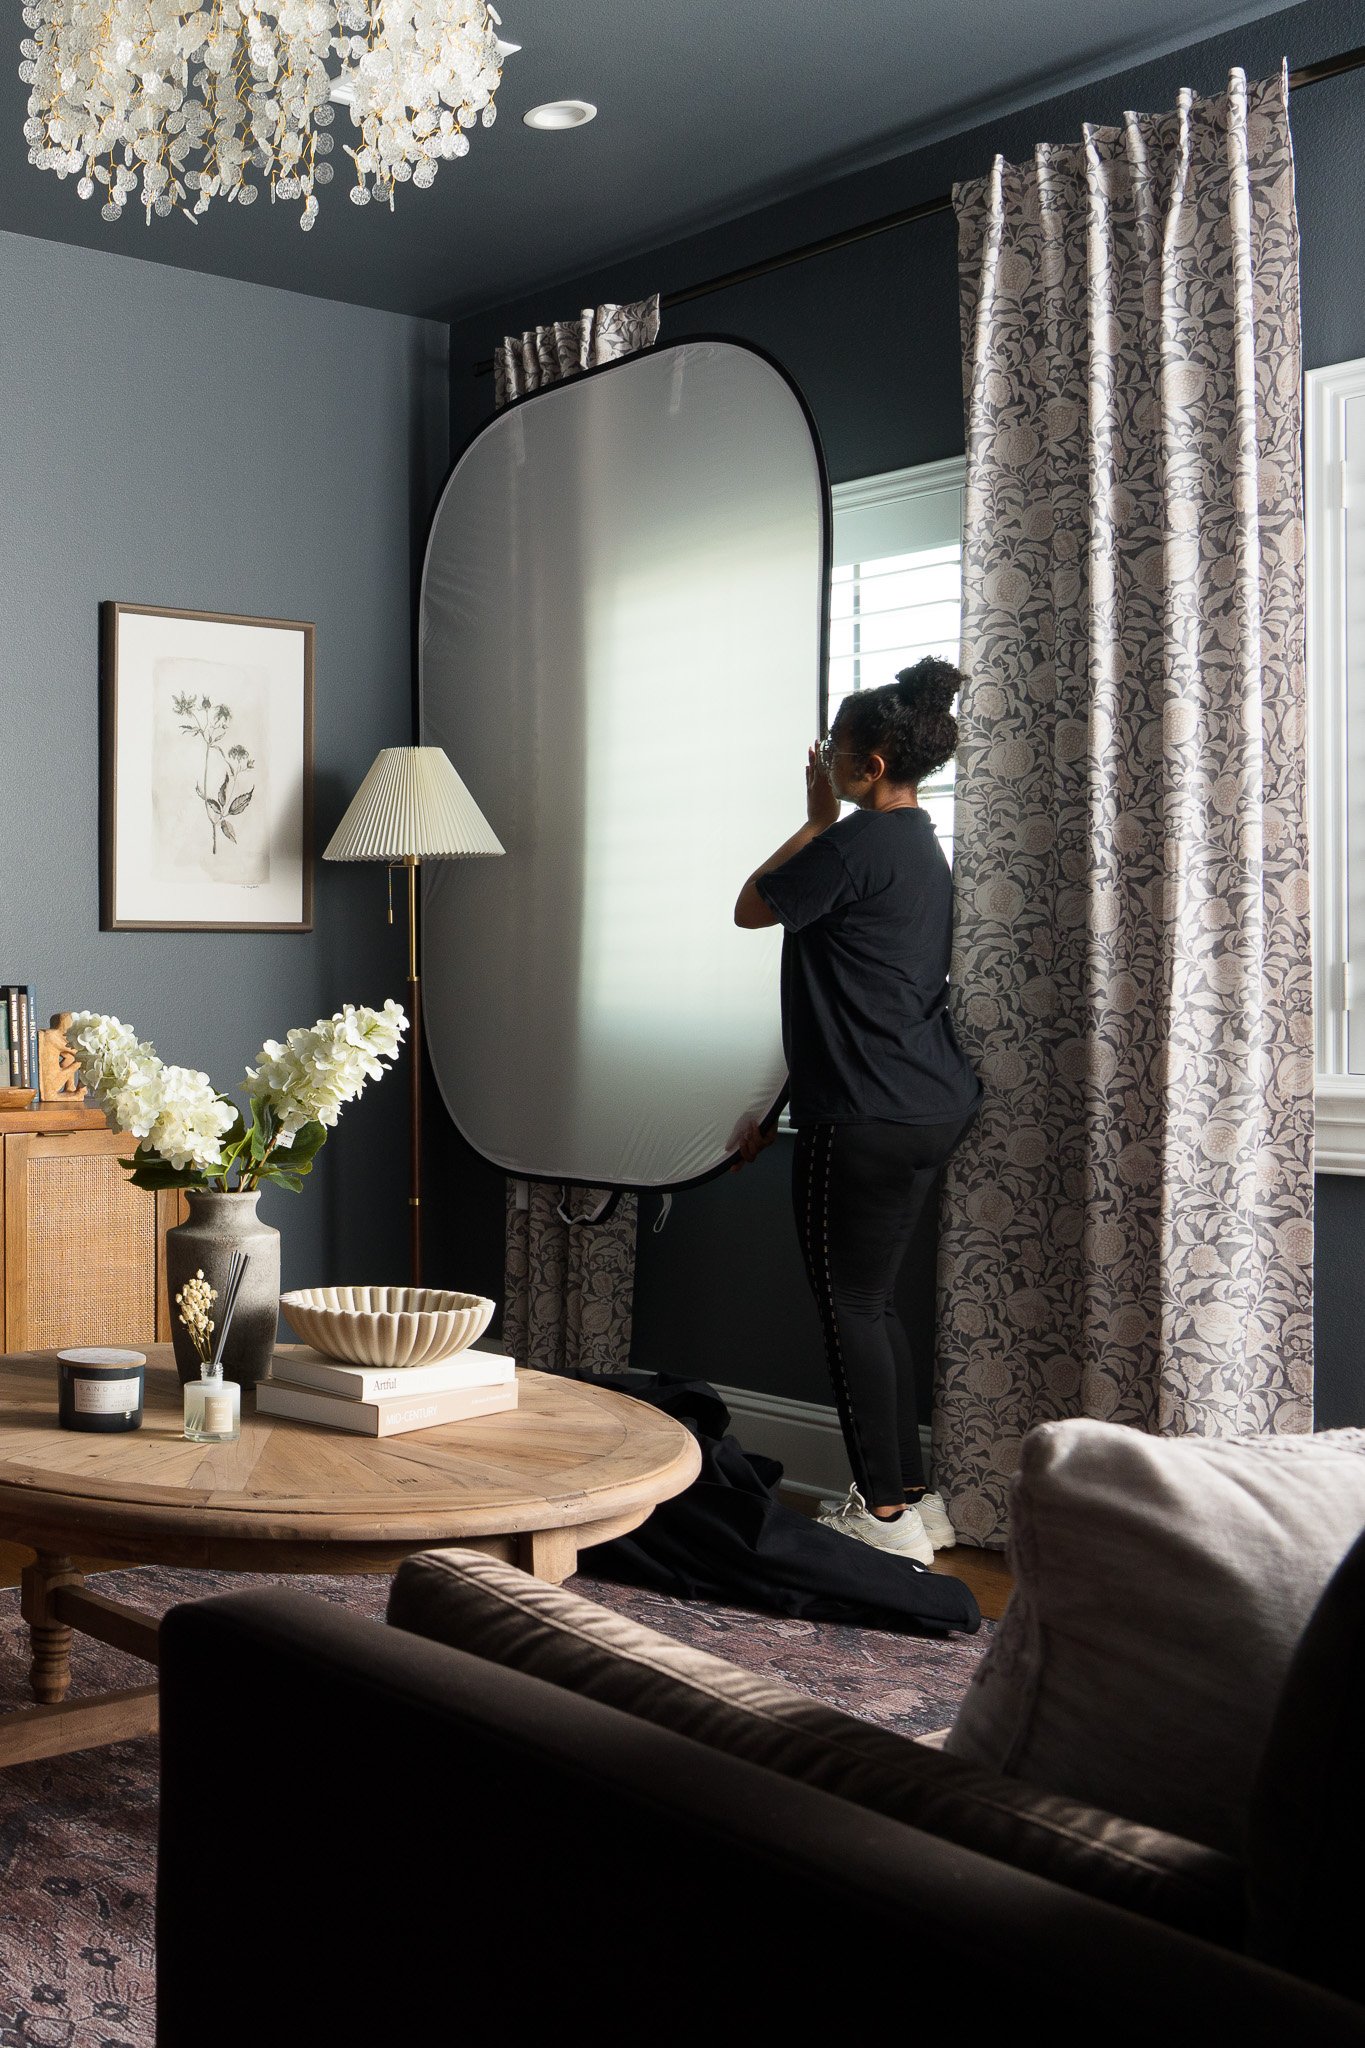
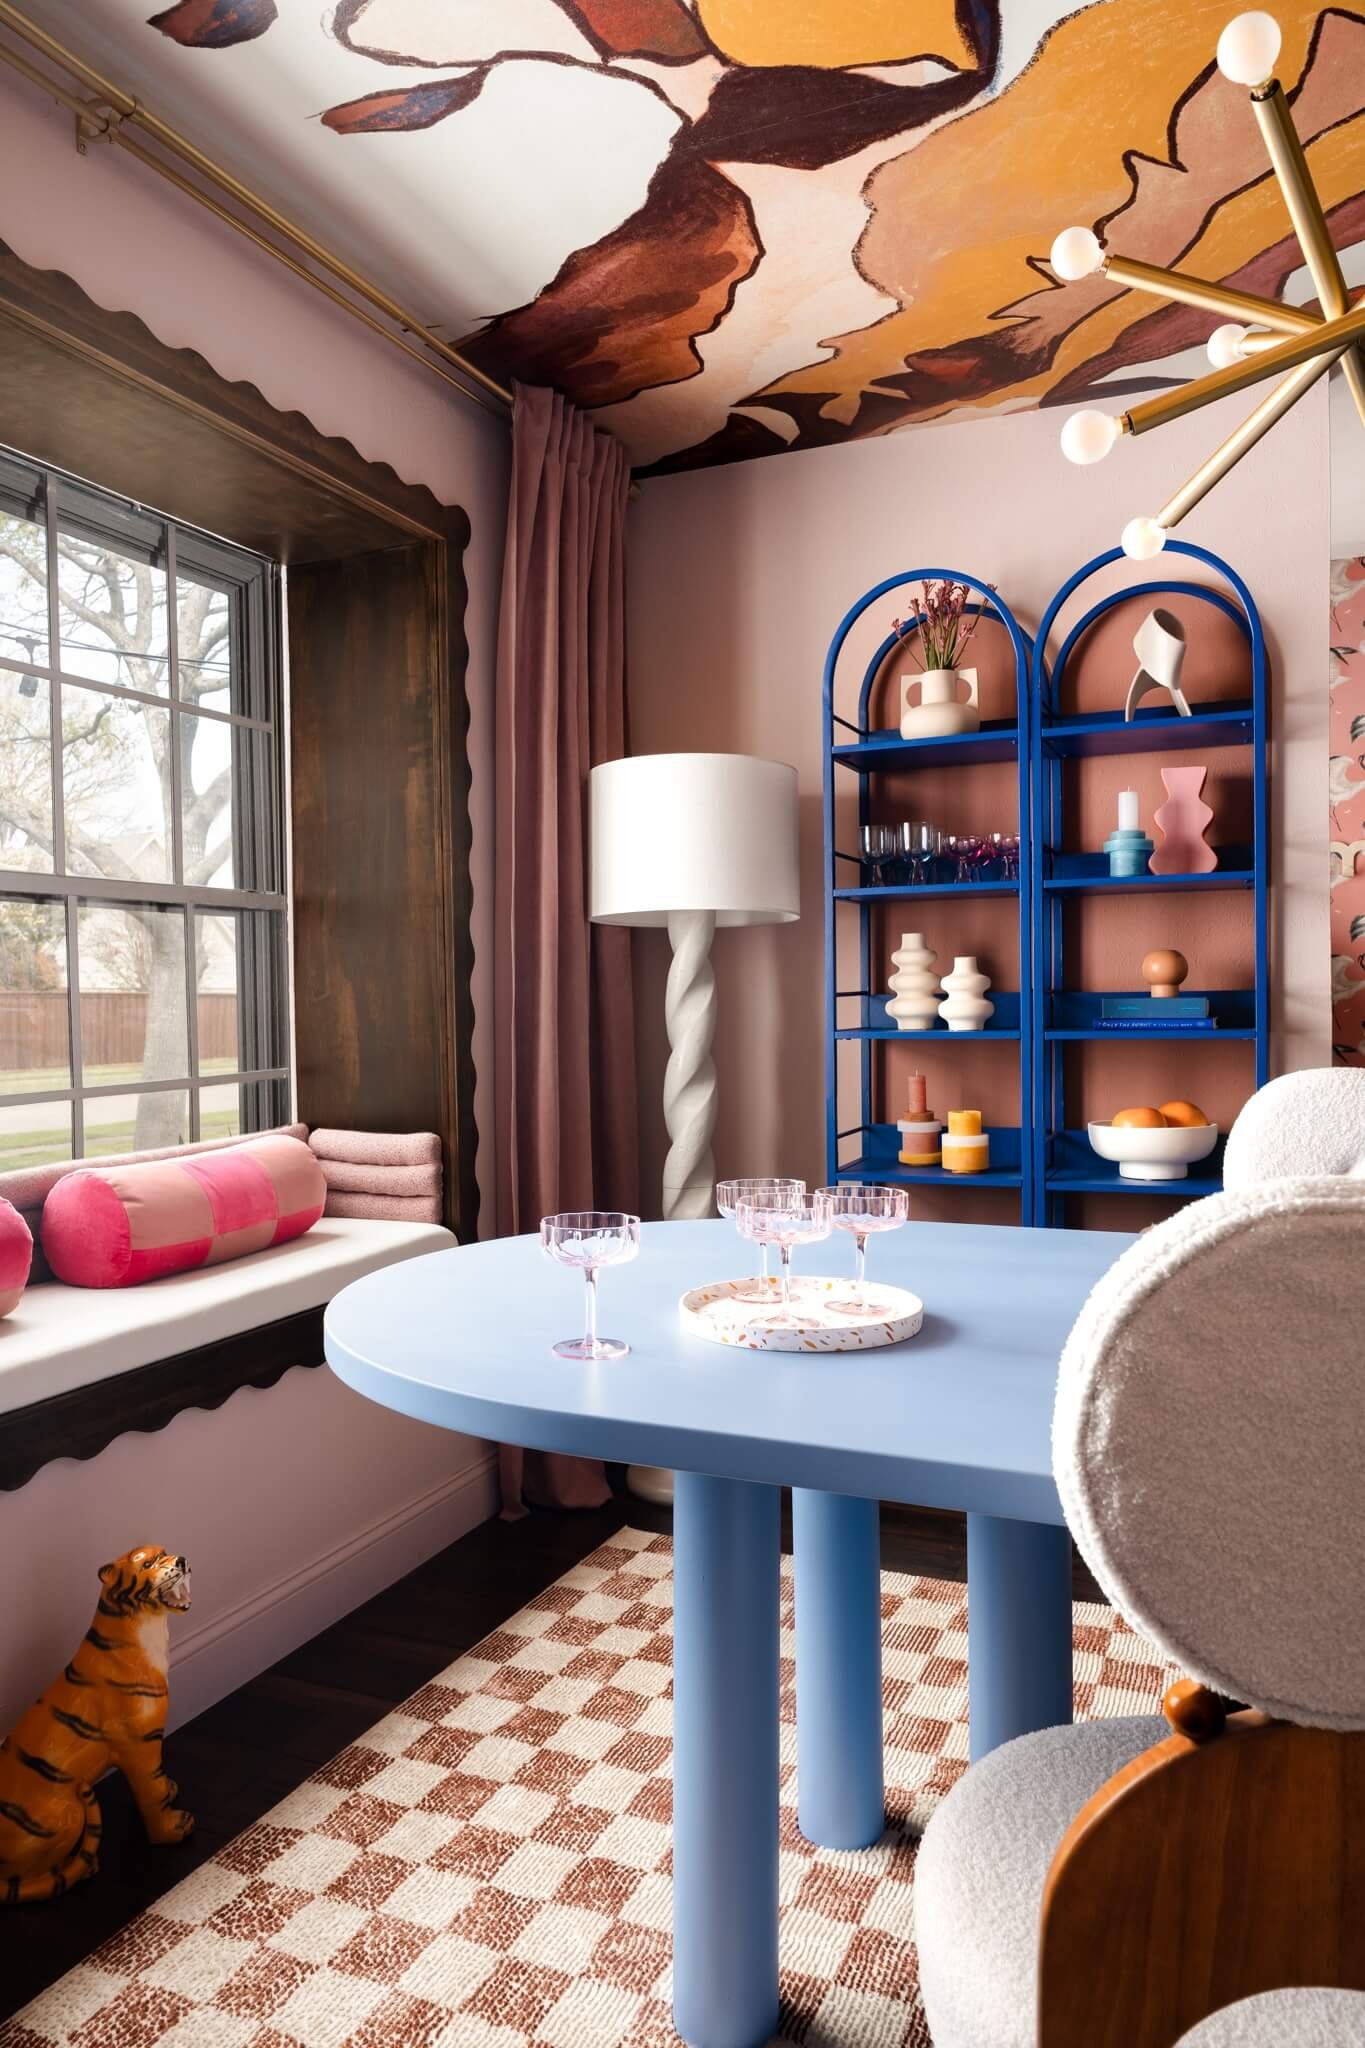
I typically begin by establishing the architecture: how the room is organized, where the eye naturally travels, and which elements are essential to understanding the design. From there, I refine the composition and lighting before moving into supporting perspectives and details.
Lighting plays an important role in that process.
Interior photography needs to preserve the colors, finishes, and tonal relationships the designer selected while still giving the photograph dimension. Depending on the space, that can require controlling or supplementing the existing light rather than simply documenting whatever light happens to be present.
The result should still look believable.
My goal is for someone viewing the photograph to notice the design before they notice the photography.
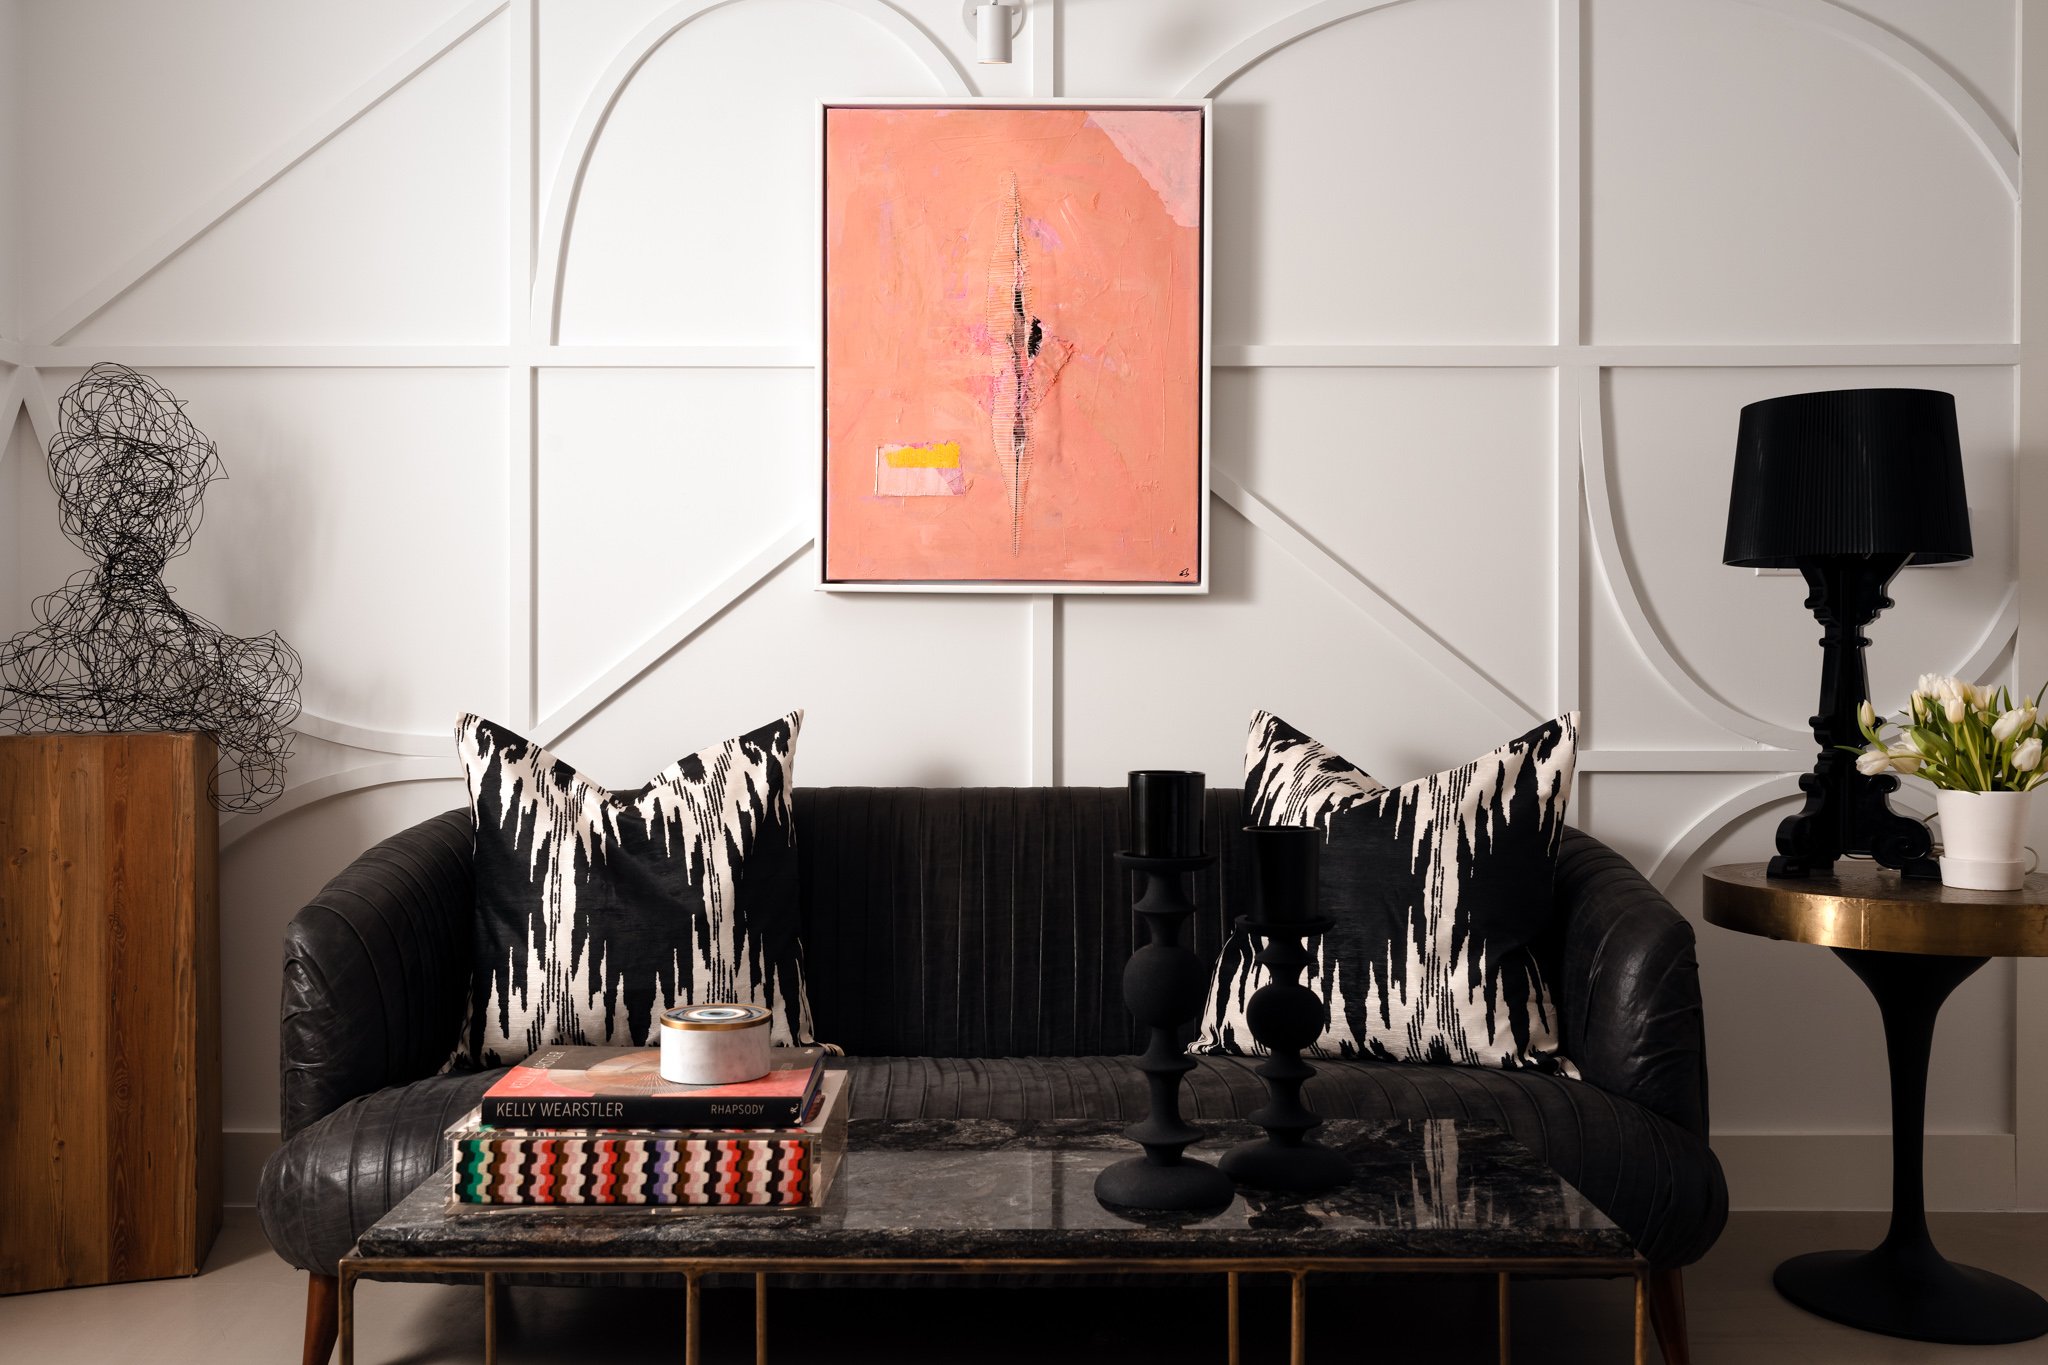
6. Think Beyond the Empty Room
Not every photograph of an interior needs to be completely unoccupied.
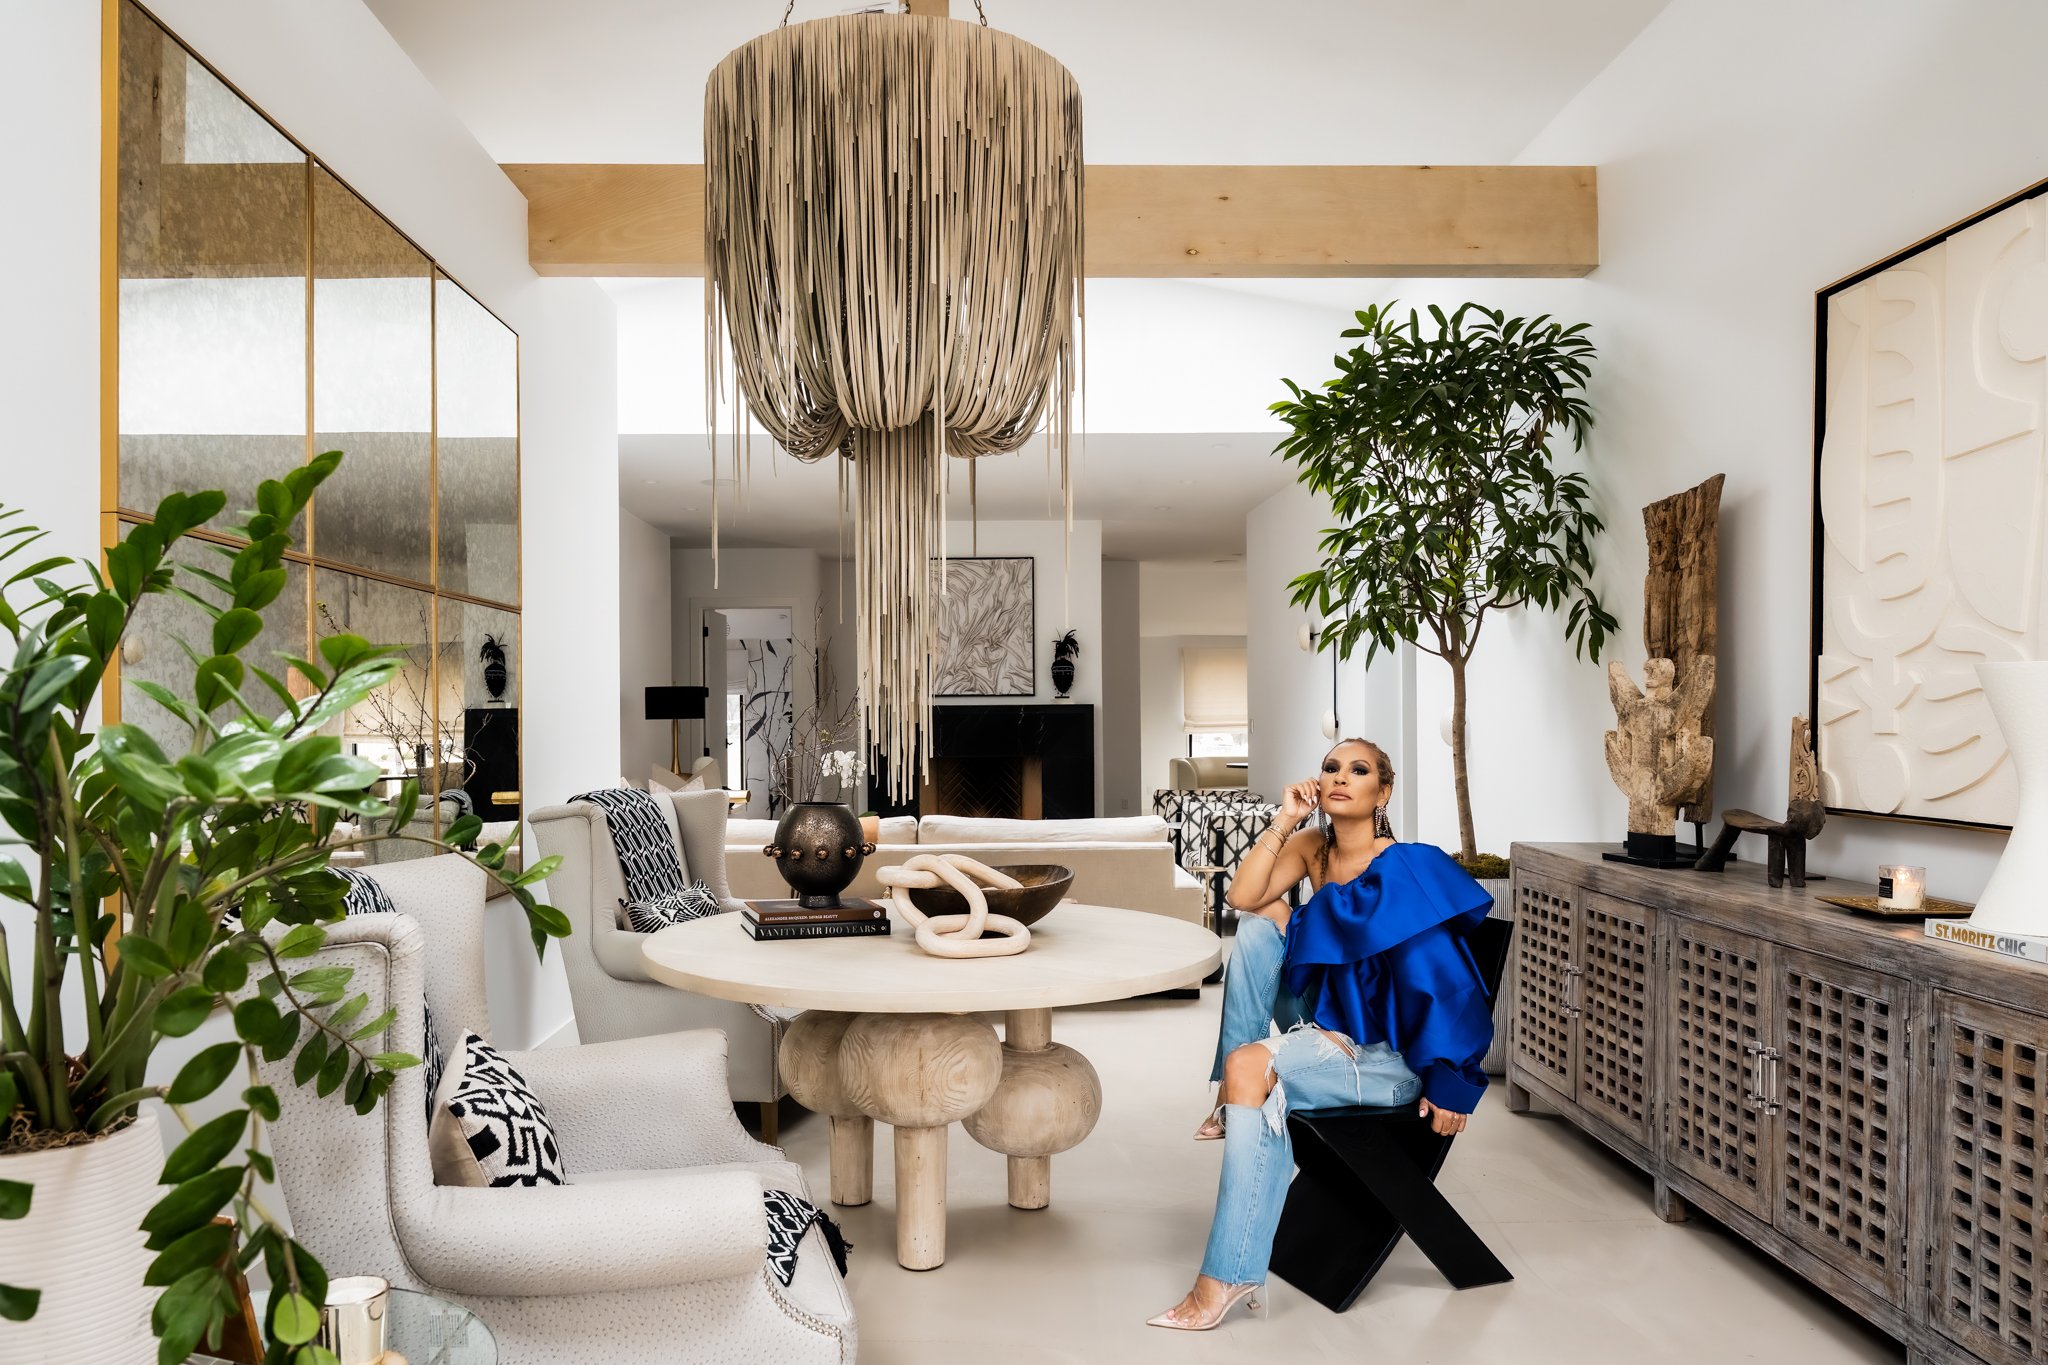
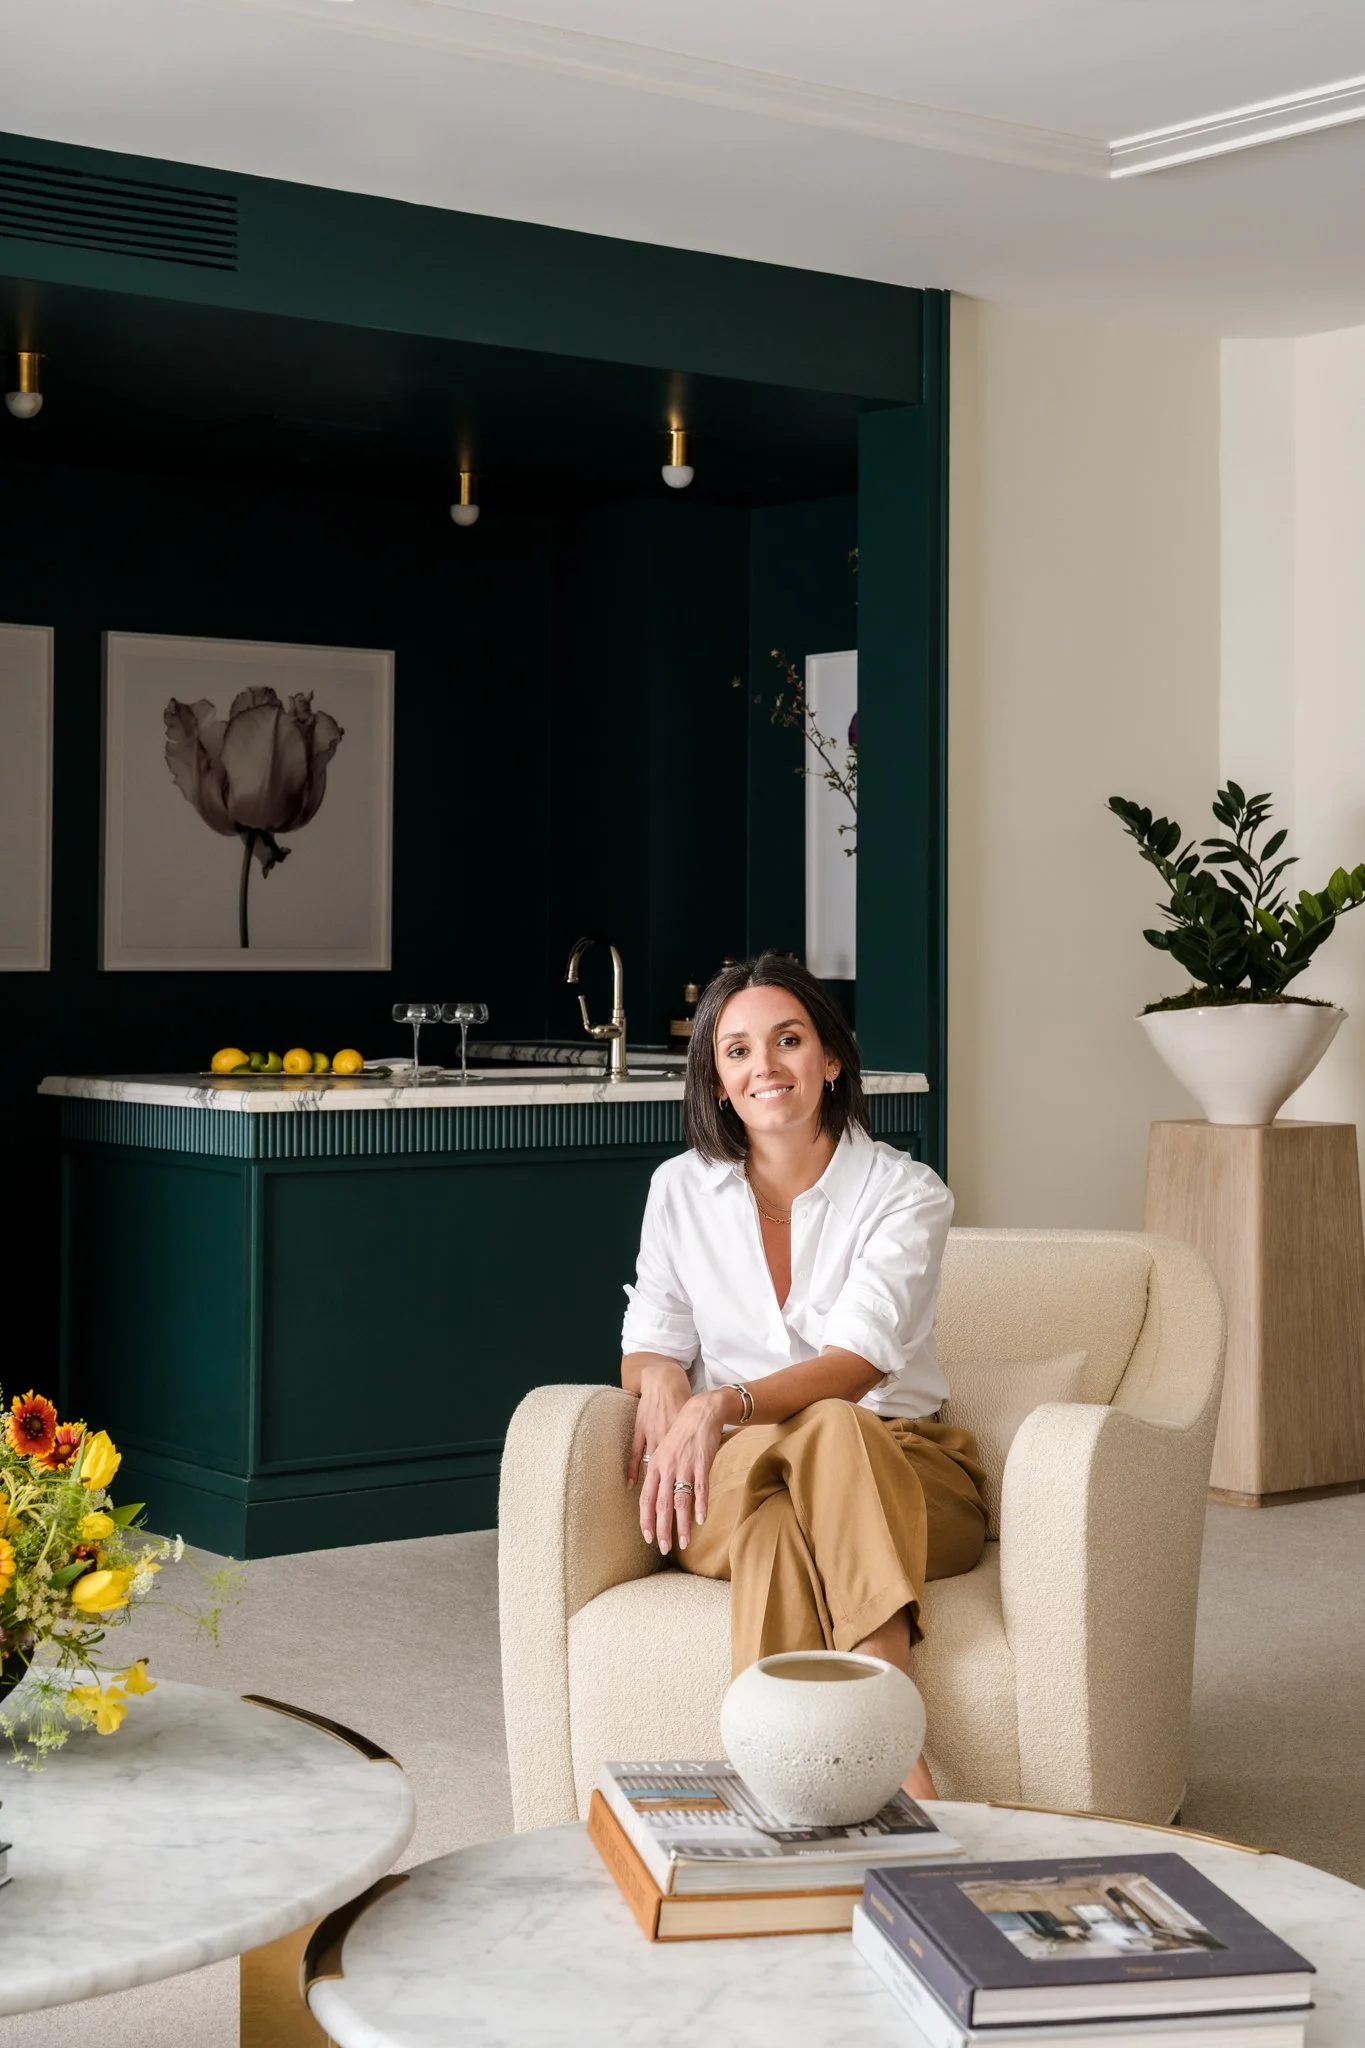
Including the designer, architect, builder, or homeowner in a small number of photographs can add another layer to the project's story and give the resulting collection greater marketing versatility.
For designers in particular, environmental portraits can connect the person behind the work to the spaces they create. These images can be useful for editorial features, About pages, social media, speaking opportunities, press, and other places where a traditional project photograph doesn't tell the entire story.
The key is intentionality.
The goal isn't to turn an interior photography session into a branding shoot. It's to create a handful of photographs that provide context and personality when they genuinely add value to the collection.
7. Retouching Should Refine, Not Reinvent
The photography process doesn't end when the camera is packed away.
Professional retouching is where distractions are refined, tonal relationships are balanced, and the individual photographs are brought together into a cohesive collection.
For interiors, restraint matters.
Colors need to remain true to the designer's selections. Materials should retain their natural texture. Windows, reflective surfaces, lighting, and architectural lines may require additional attention, but the finished photograph should still represent the actual project.
Retouching should elevate what was photographed, not redesign the room after the fact.
That distinction is especially important when photographs will be used by designers, architects, builders, manufacturers, or publications as an accurate representation of their work.
8. Understand Who Can Use the Photographs
One of the most misunderstood parts of professional photography is licensing.
The person or company commissioning a photography session doesn't automatically receive unrestricted ownership of the photographs. Instead, photography is licensed according to who will use the images and how they will be used.
This becomes particularly important in interior design and architecture because a single finished project may involve an interior designer, architect, builder, landscape designer, fabricator, furniture maker, product manufacturers, and other collaborators.
Those businesses may all benefit from the photographs, but they are separate commercial entities.
Licensing establishes those usage rights clearly from the beginning and allows the photography investment to reflect how broadly the images need to work across the project team.
For projects with multiple collaborators, licensing is worth discussing during planning rather than waiting until photographs begin circulating after delivery.
9. Build a Collection, Not Just a Portfolio
The most obvious use for professional photography is the portfolio, but that should be only the beginning.
A well-planned project can create imagery for:
Website portfolios and project pages
Social media
Pinterest
Email marketing
Press and editorial submissions
Awards
Speaking engagements and presentations
Printed collateral
Proposals and client presentations
Project partners and collaborators
This is another reason image variety matters.
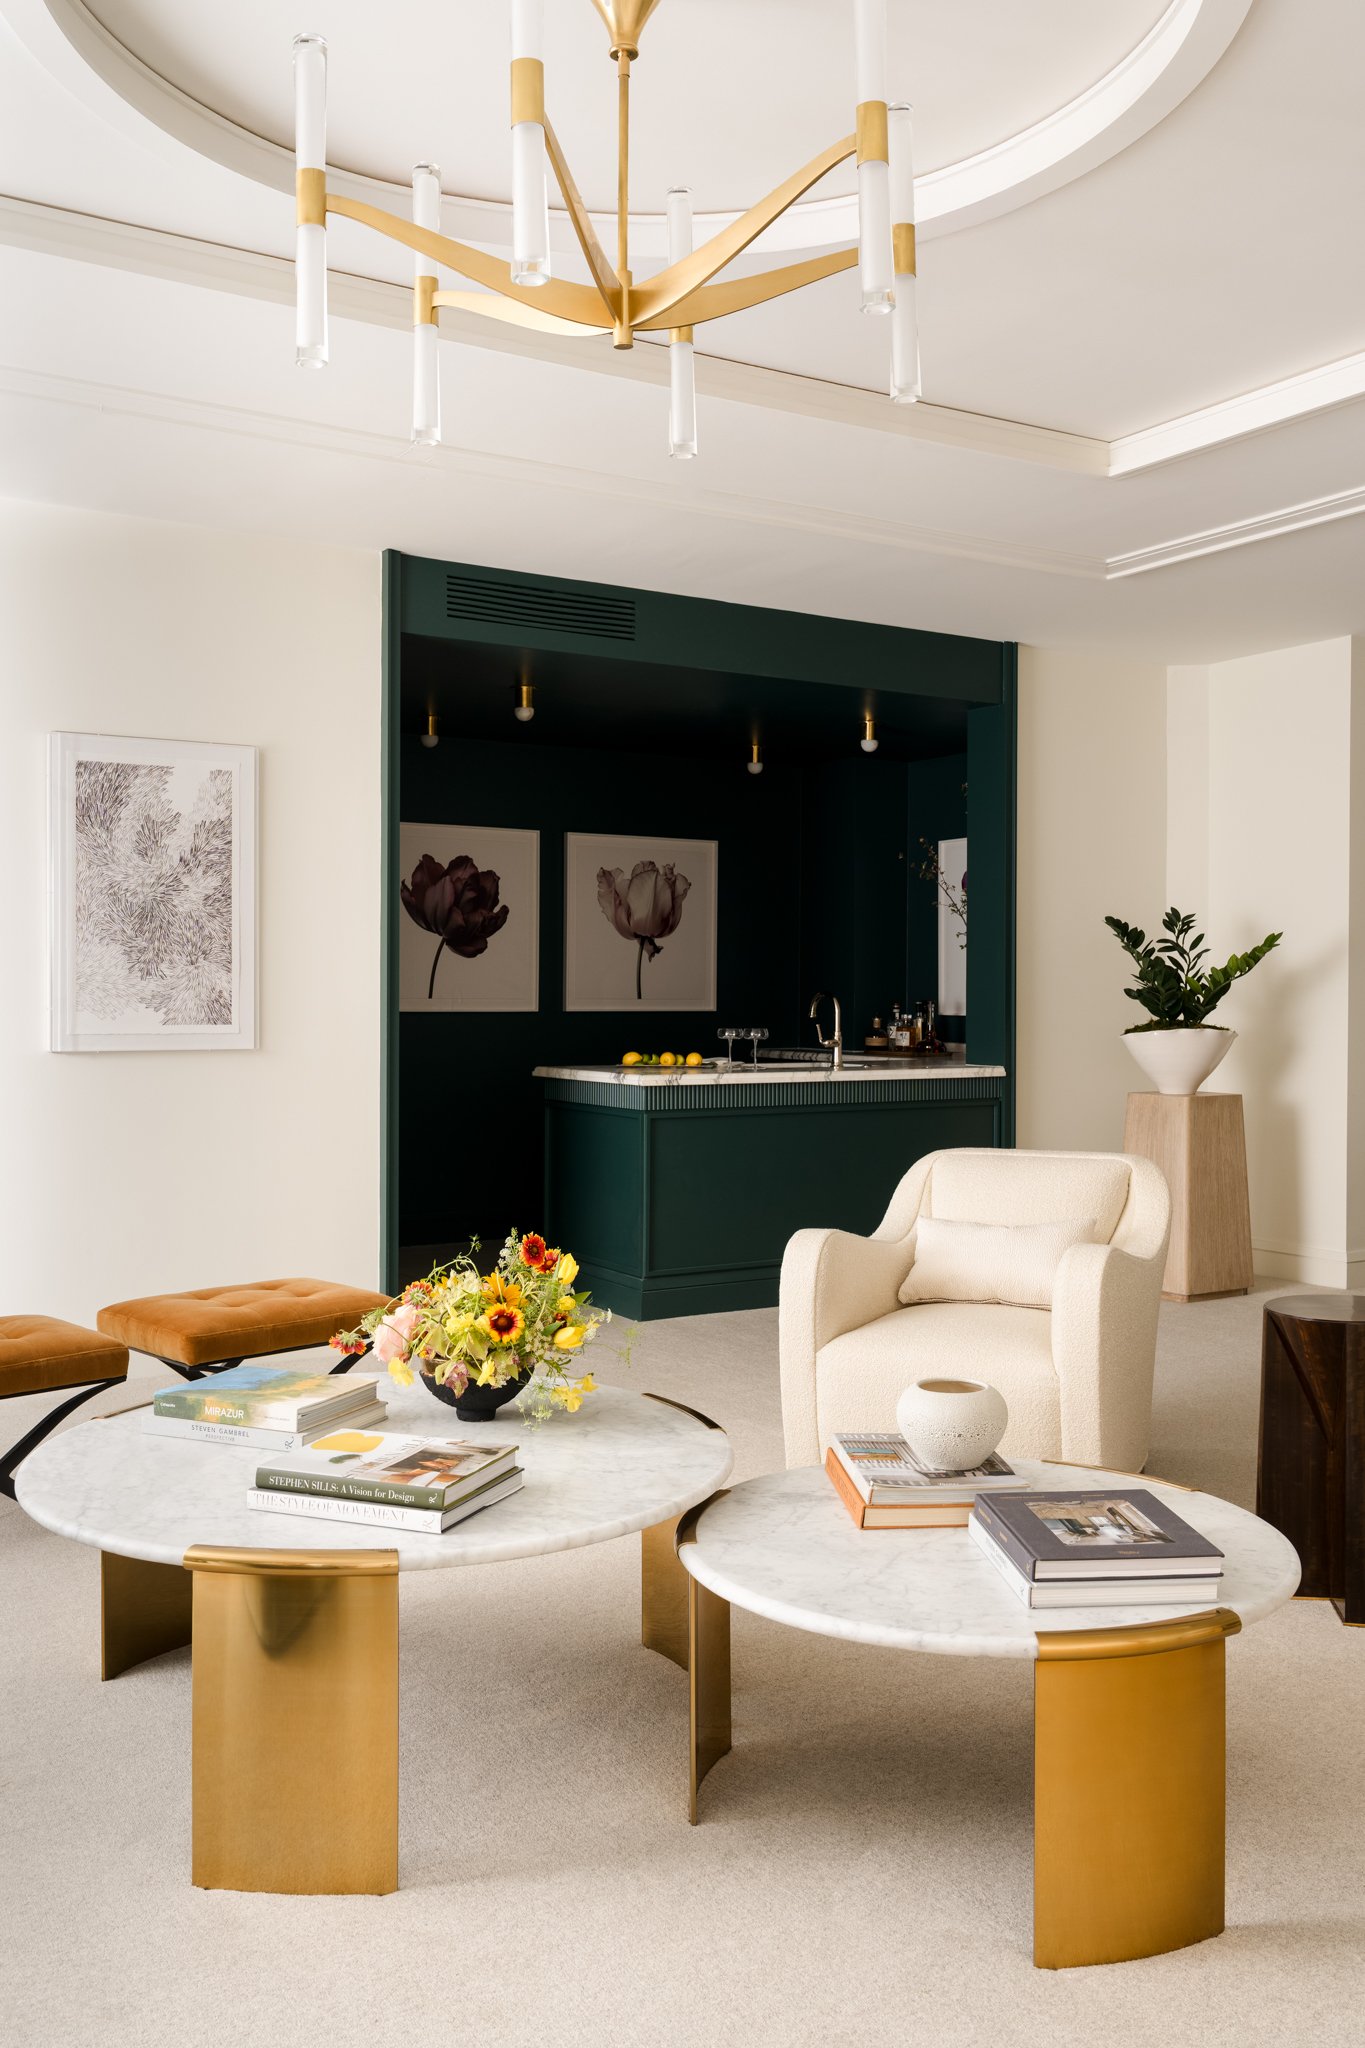
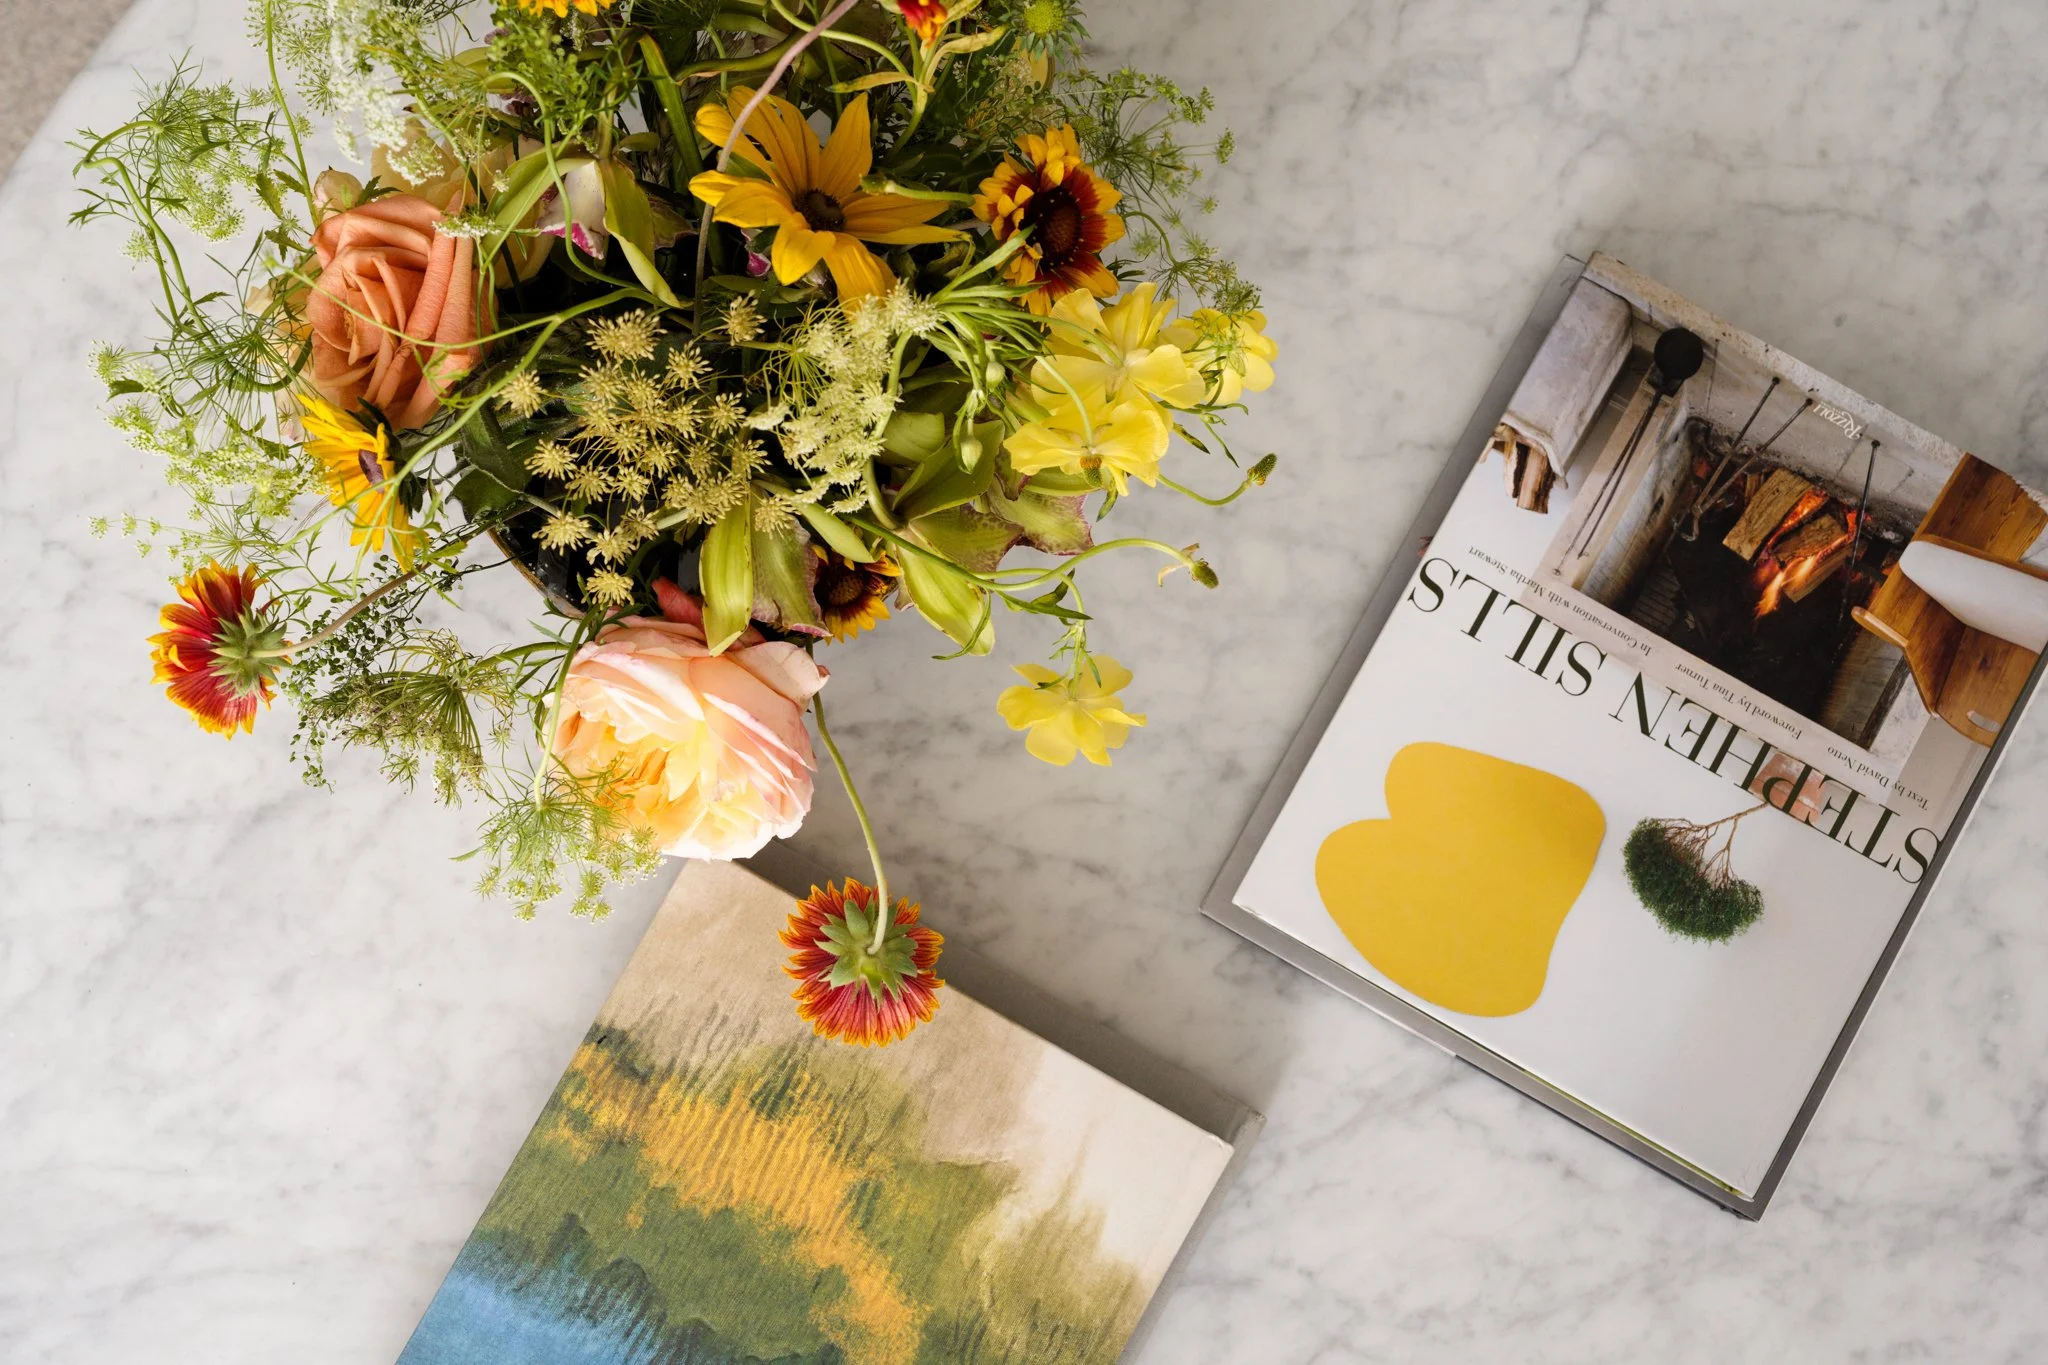
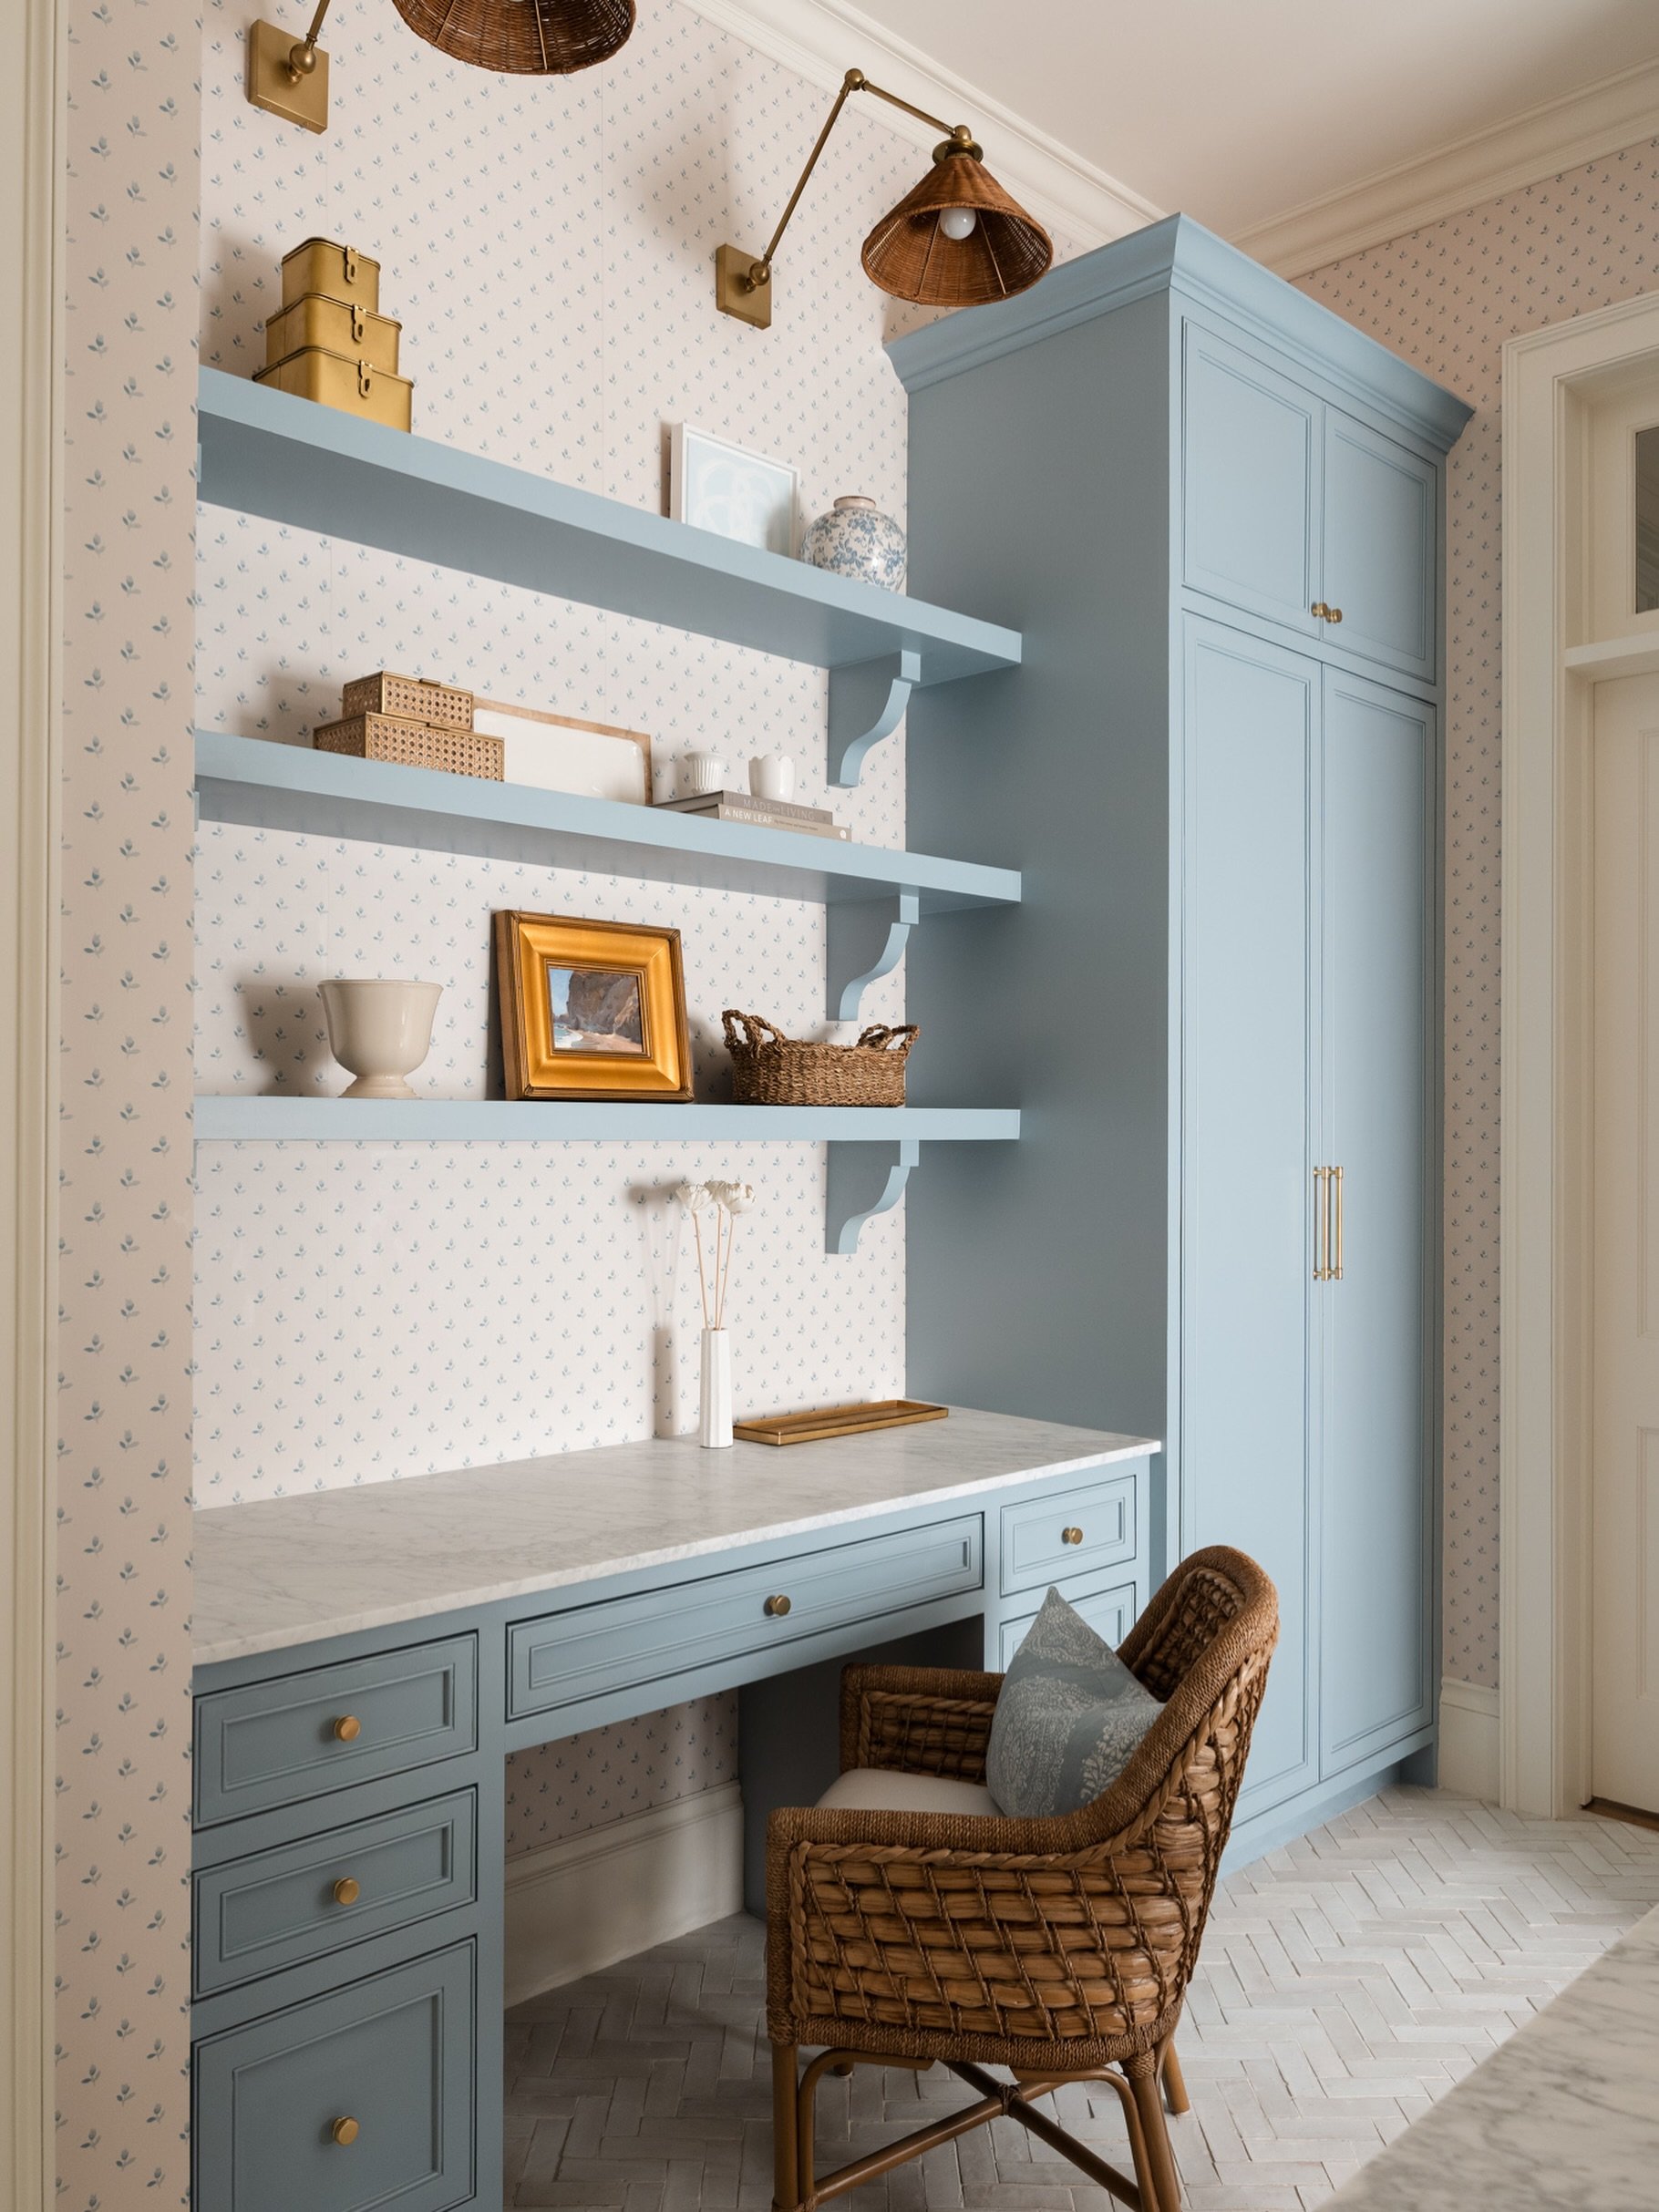
A horizontal full-room photograph may work beautifully across a website banner or editorial spread. A vertical composition may be more useful for social media or publication layouts. Details give you opportunities to revisit a project without repeatedly sharing the same hero image.
When those needs are considered before photography begins, one project can create months or even years of useful visual material.
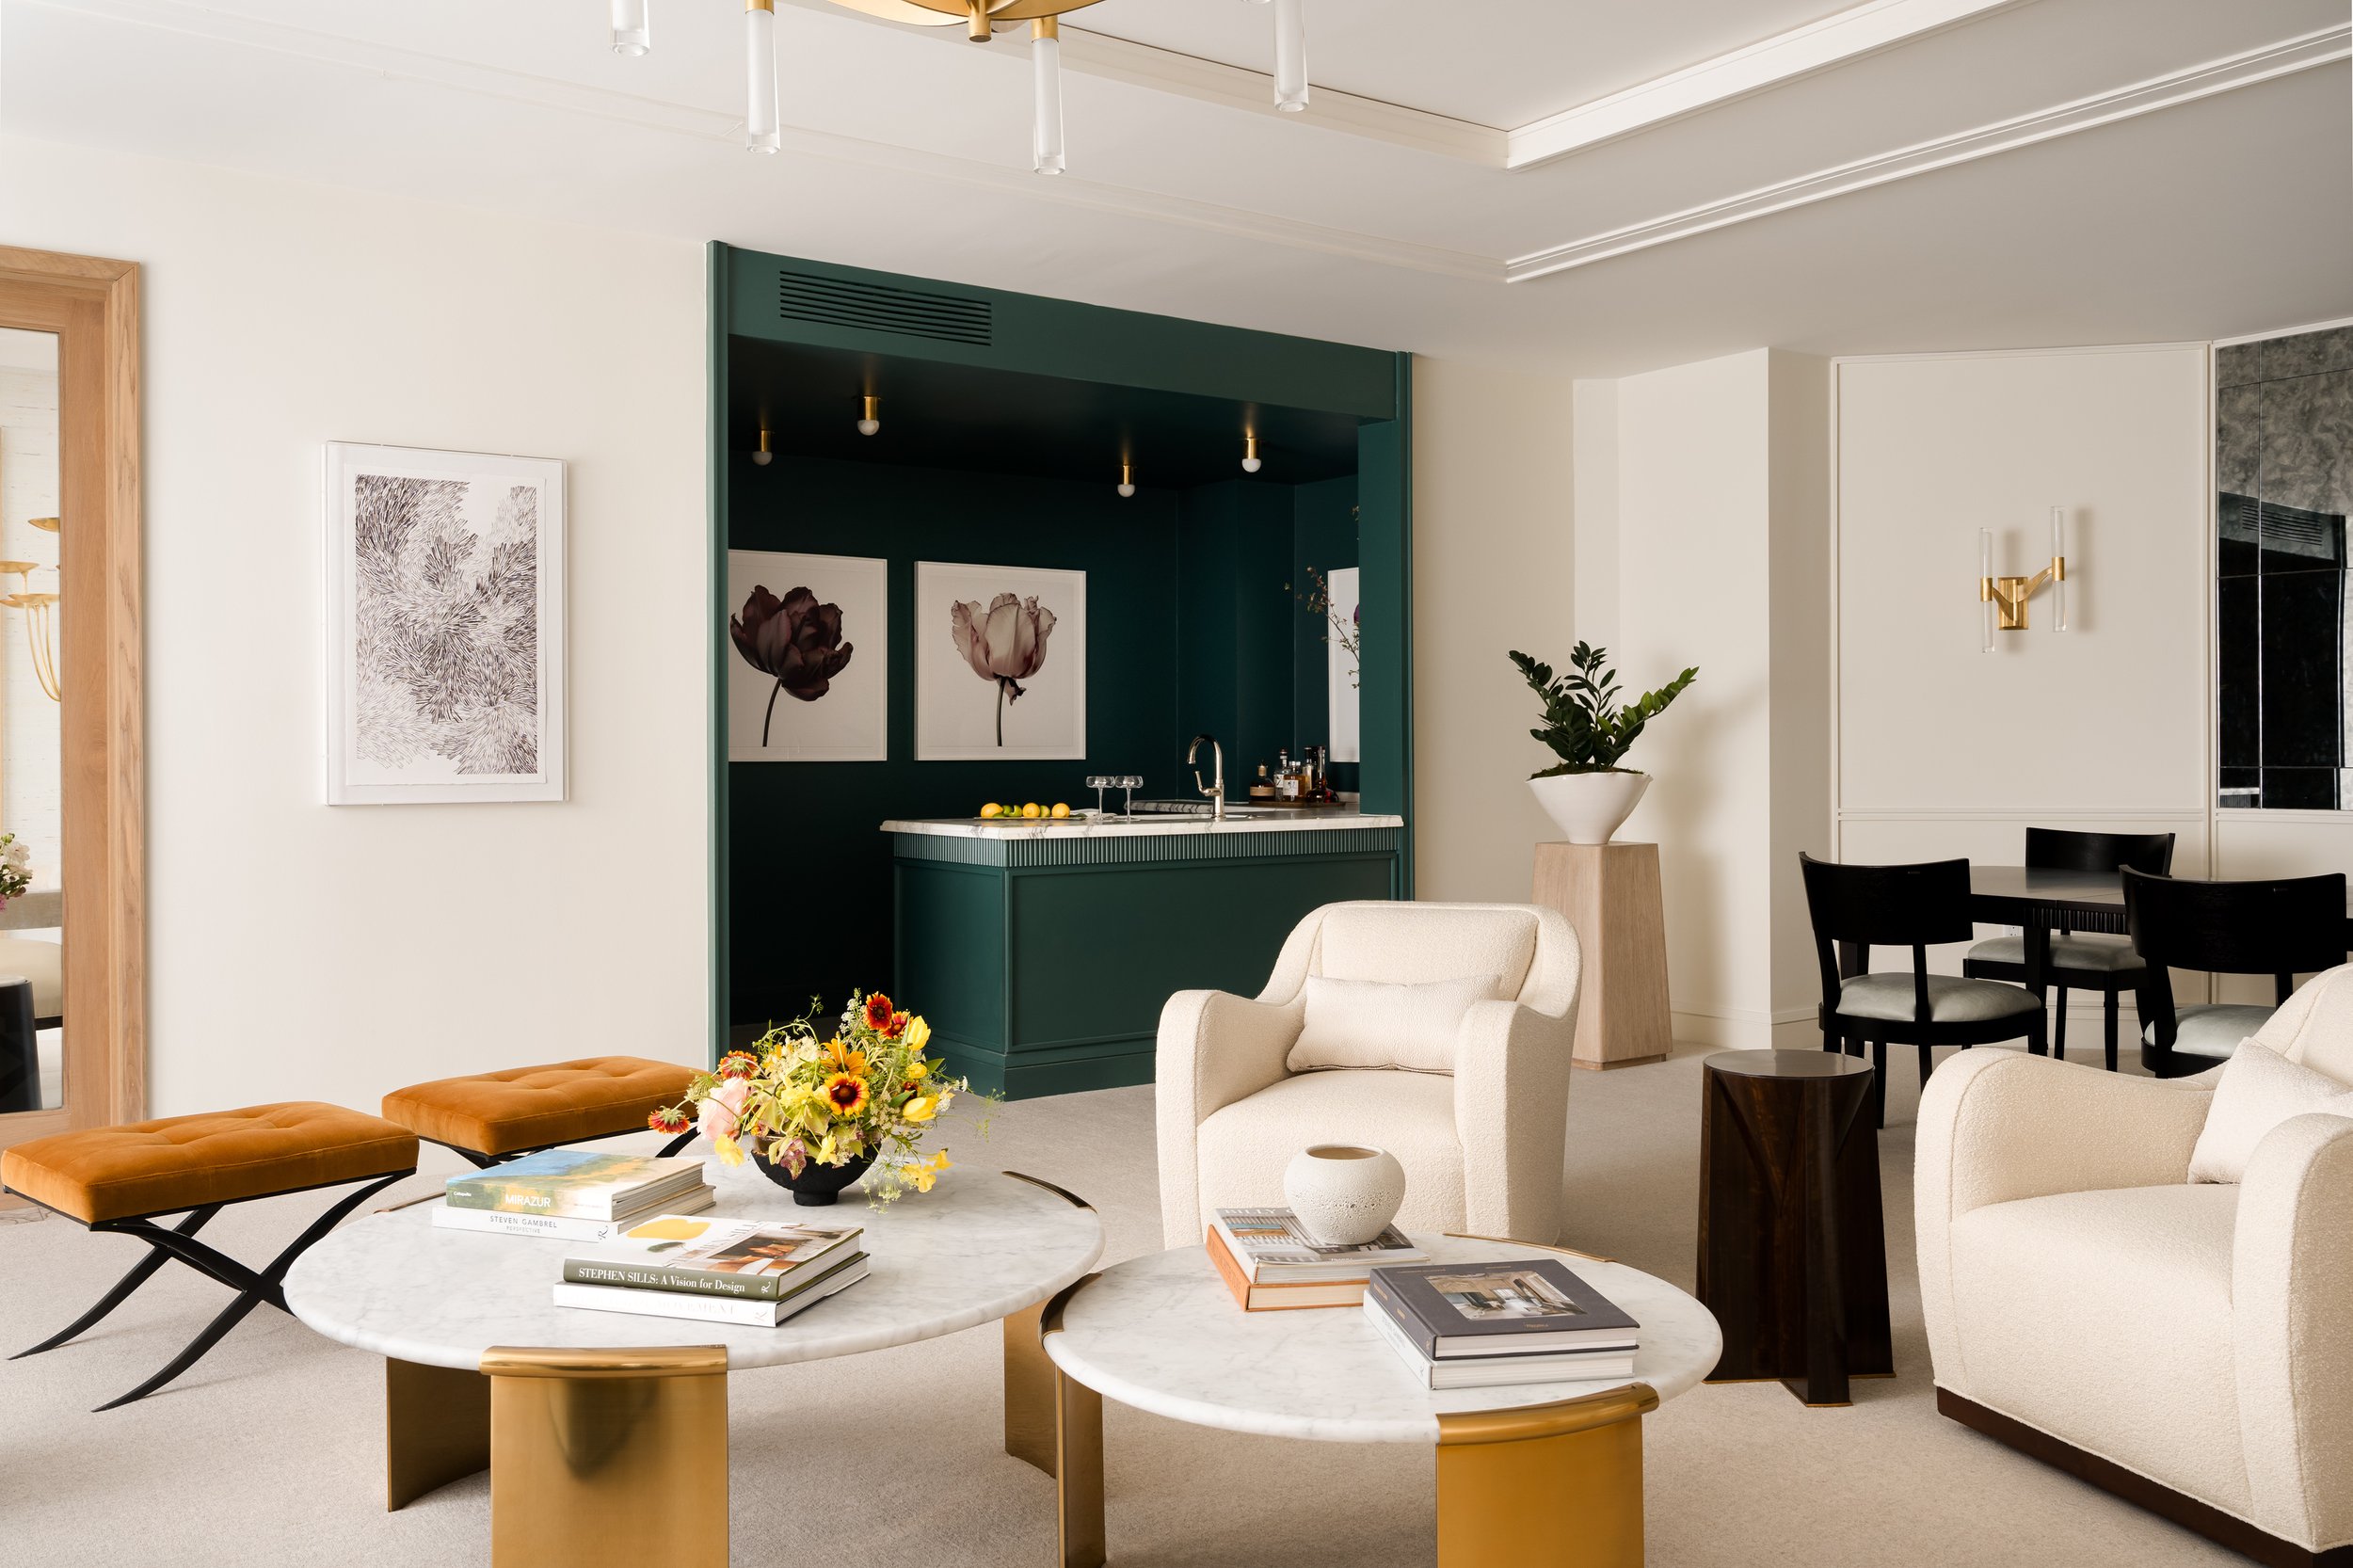
10. Plan for Editorial Opportunities
If a project has publication potential, photography should support that possibility from the beginning.
Editors need enough imagery to tell a complete story. That generally means more than one beautiful hero photograph.
A strong editorial collection may include establishing views, full-room compositions, vertical and horizontal options, architectural relationships, design details, and images that reveal how spaces connect.
The photographs also need to be technically suitable for publication and accompanied by accurate project information, credits, and captions when requested.
Not every project will ultimately be published, and publication can never be guaranteed. But photographing with editorial versatility in mind preserves the opportunity.
The same comprehensive collection remains useful even if the project never appears in print.
The Goal: Photography With a Life Beyond Session Day
The best interior photography isn't simply documentation of what a room looked like on the day it was photographed.
It preserves the thinking behind the project.
The architecture. The materials. The craftsmanship. The details. The relationships between spaces. The decisions that might otherwise disappear once a project is completed and everyone moves on to the next one.
For the businesses behind those spaces, the photographs then become something equally valuable: a long-term library of visual assets that can continue communicating the quality of their work.
That is why I approach interior photography as a creative production rather than simply a photoshoot.
We begin by deciding what the images need to accomplish, build the photography around those goals, and create a collection designed to continue working long after the session is over.
Related Reading:
Preparing for Your Interior Design Photography Session
How to prepare the space, establish priorities, and make the most of your photography day.
Beyond the Finished Room: Why Interior Designers Should Be Part of Their Photography
Why including the person behind the design can create a more versatile marketing collection.
Commercial vs. Editorial Photography
Understanding the difference between photographing a space for commercial use and creating imagery with an editorial story in mind.
Follow Along on Instagram
Recent projects, behind-the-scenes moments, and a closer look at the spaces, details, and designers I have the opportunity to photograph.
Thinking About Photographing Your Next Project?
Professional interior photography for designers, architects, and builders who value timeless imagery, thoughtful planning, and photographs designed to support the way their work is marketed.